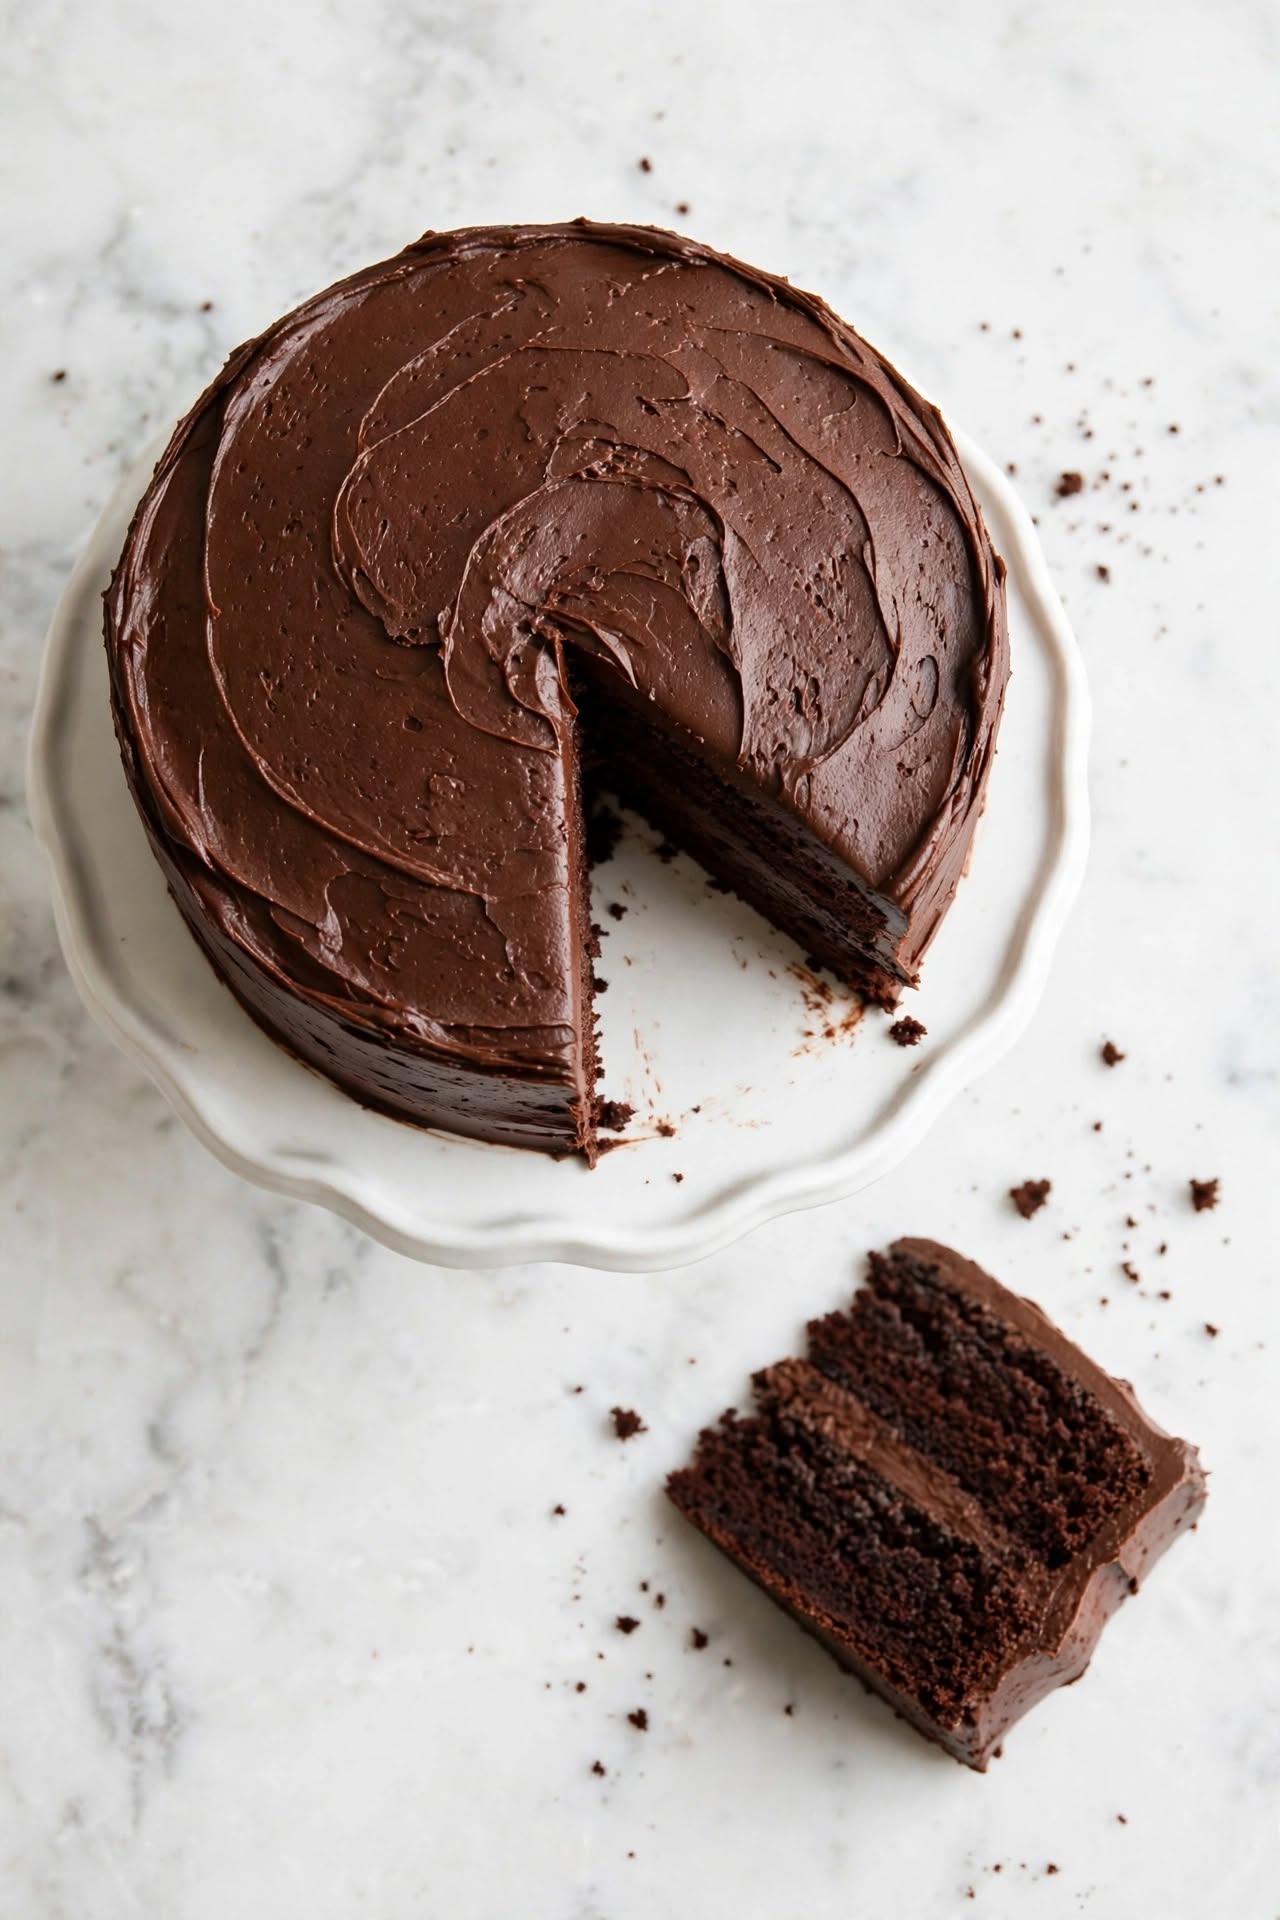
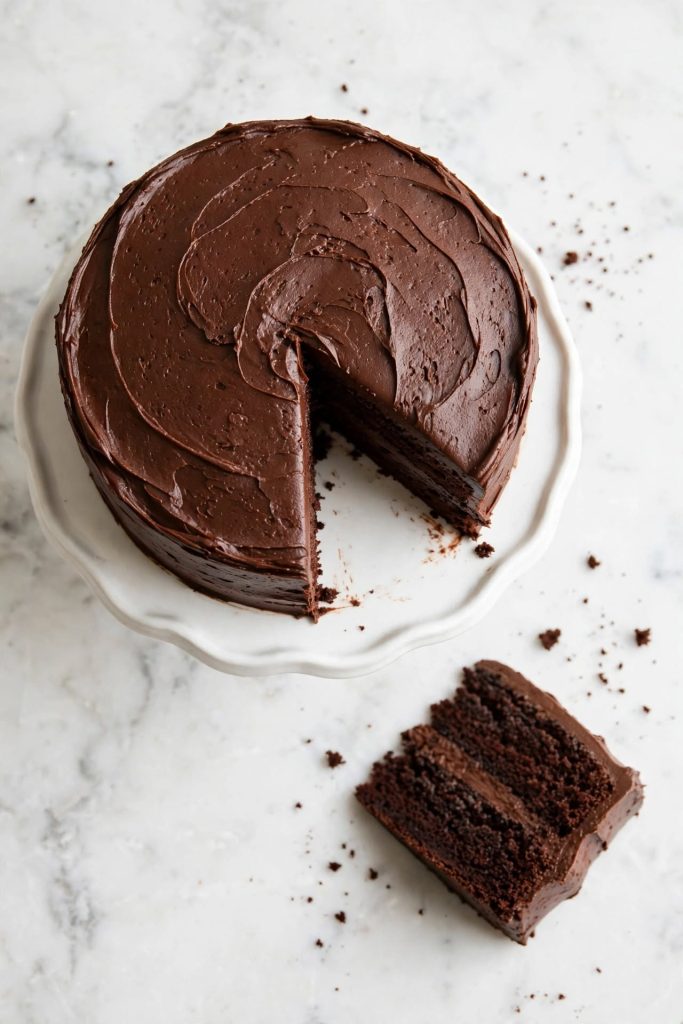
One bowl chocolate cake solves the problem that stops most people from baking a layer cake from scratch — the cleanup. This recipe uses a single large bowl, a whisk, and ingredients measured in a logical sequence so nothing gets missed. The batter comes together in about 10 minutes, the layers bake in 30 to 35, and the result is a deeply chocolatey, moist cake that holds its own against any multi-bowl recipe. The secret is hot coffee in the batter and oil instead of butter — both are explained in the Science section. I tested this recipe 5 times across different oven temperatures and pan sizes before publishing to confirm the moisture level and bake time hold up reliably.
Table of Contents
Why This Recipe Works
The one-bowl method is not just about convenience — it also changes the order in which ingredients are combined, which directly affects the final texture of the cake.
- Dry ingredients first, wet second — whisking the dry ingredients together before the wet go in distributes the cocoa, leaveners, and salt evenly without any risk of overmixing. Adding wet ingredients to a pre-mixed dry base means less total mixing time, which means less gluten development and a more tender crumb.
- Oil, not butter — oil coats flour particles more evenly than melted butter and stays liquid at room temperature, keeping the cake moist for days longer than butter-based versions. The cocoa provides enough depth that the flavor trade-off is minimal.
- Hot coffee in the batter — hot liquid blooms the cocoa powder, intensifying the chocolate flavor. Coffee amplifies cocoa rather than adding a coffee taste. Hot water works too if you prefer, but coffee adds measurable depth.
- Buttermilk for lift and tenderness — the acid in buttermilk reacts with the baking soda to produce carbon dioxide (lift), and also tenderizes the gluten strands in the flour, producing a soft, fine crumb.
- Two 9-inch rounds — thin layers bake quickly and evenly from edge to center, which is harder to achieve with a single deep pan.
- No creaming step — this recipe skips it entirely, using baking soda, baking powder, and the buttermilk-soda reaction for lift. The result is a slightly denser but significantly moister cake than the creaming method produces.
For more weeknight-friendly cake recipes, our easy layer cake guide covers the same approach across different flavors. [IL-1 — replace with your URL]
Ingredients for One Bowl Chocolate Cake
Every ingredient here has a specific job. Here is what each one does — and what to use if you need to make a substitution.
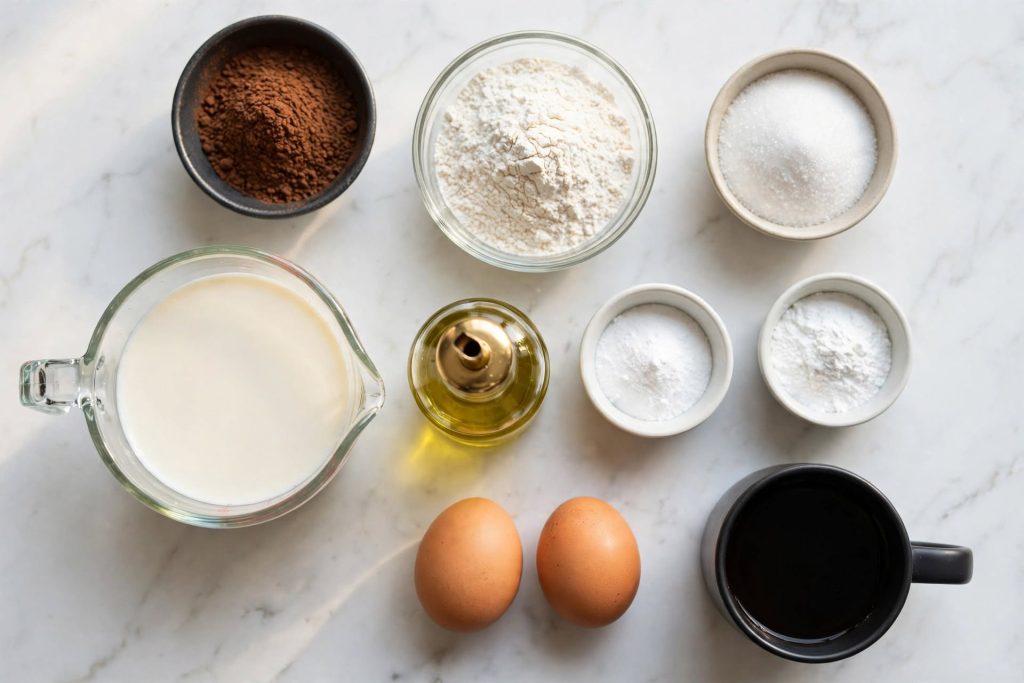
The Cake
| Ingredient | Amount | What It Does | Best Substitute + Impact |
|---|---|---|---|
| All-purpose flour | 250g / 2 cups | Primary structure | Cake flour — more tender; 1:1 GF blend — slightly denser |
| Granulated sugar | 400g / 2 cups | Sweetness, moisture retention, crust color | Reduce by up to 50g without structural change |
| Unsweetened cocoa powder | 75g / ¾ cup | Chocolate flavor and color | Dutch-process preferred; natural works (see Cocoa Guide) |
| Baking soda | 2 tsp | Primary lift; reacts with buttermilk acid | Do not swap for baking powder — quantities differ |
| Baking powder | 1 tsp | Secondary lift; insurance against flat layers | Do not skip |
| Salt | 1 tsp | Amplifies cocoa and balances sweetness | Do not skip |
| Buttermilk, room temp | 240ml / 1 cup | Tenderness and acid for lift reaction | 1 cup whole milk + 1 tbsp white vinegar (rest 5 min) |
| Vegetable oil | 120ml / ½ cup | Moisture; stays liquid at room temp for days-long softness | Any neutral oil; melted coconut oil — very slight coconut note |
| Eggs, room temp | 2 large | Structure and binding | Flax eggs (1 tbsp flax + 3 tbsp water each) — slightly denser |
| Vanilla extract | 2 tsp | Rounds out cocoa bitterness | Omit — minor flavor loss |
| Hot coffee or hot water | 240ml / 1 cup | Blooms cocoa; thins batter; deepens chocolate flavor | Hot water — same texture effect, slightly less flavor depth |
The Chocolate Frosting
| Ingredient | Amount | What It Does | Best Substitute + Impact |
|---|---|---|---|
| Unsalted butter, softened | 230g / 1 cup | Creamy fat base for frosting | Salted butter — reduce added salt; vegan butter — similar |
| Unsweetened cocoa powder, sifted | 65g / ⅔ cup | Chocolate flavor in the frosting | Dutch-process — richer, darker; natural — slightly more bitter |
| Powdered sugar, sifted | 480g / 4 cups | Sweetness and body | Do not use granulated — will not dissolve properly |
| Heavy cream | 80ml / ⅓ cup | Smoothness and spreadability | Whole milk — thinner; add more powdered sugar to compensate |
| Vanilla extract | 2 tsp | Flavor balance | Omit — minor loss |
| Salt | Pinch | Cuts sweetness and sharpens chocolate flavor | Do not skip |
Key Ingredient Notes
Cocoa powder: Do not pack cocoa into the measuring cup — spoon it in and level off. Packed cocoa produces a bitterer, denser cake. See the Cocoa Powder Guide section below for the full Dutch-process vs. natural breakdown.
Hot coffee: Use freshly brewed black coffee or 1 teaspoon of instant coffee dissolved in 240ml of boiling water. The coffee flavor does not come through in the finished cake — it only deepens the chocolate. If you avoid caffeine, hot water is a direct substitute.
Buttermilk: Must be at room temperature before it goes in. Cold buttermilk causes the batter to look curdled when the oil hits it. Set it out 30 minutes before starting, or warm briefly in the microwave (10 seconds, stir, check temperature).
Equipment You Need
- One large mixing bowl (at least 4-quart capacity)
- Whisk and rubber spatula
- Two 9-inch round cake pans
- Parchment paper circles (for pan lining)
- Two wire cooling racks
- Electric hand mixer or stand mixer (for frosting only)
- Offset spatula (for frosting)
- Kitchen scale (highly recommended for flour)
The Cocoa Powder Guide
Cocoa powder is the backbone of this cake. The type you choose changes the flavor, color, and how the leaveners work.
| Type | Processing | Flavor | Color | Works With | Use for This Recipe? |
|---|---|---|---|---|---|
| Natural (unsweetened) | Unprocessed; acidic pH | Sharp, fruity, lighter chocolate | Light to medium brown | Baking soda | ✅ Yes — lighter color, slightly more bitter |
| Dutch-process | Alkalized; neutral pH | Smooth, deep, rich chocolate | Dark brown to near-black | Baking powder | ✅ Best choice — deepest flavor and darkest color |
| Black cocoa | Heavily alkalized | Very intense, Oreo-like | Nearly black | Baking powder only | ⚠️ Use up to 25g replacing equal Dutch-process — dramatic color |
| Sweetened cocoa / hot cocoa mix | Varies; contains sugar | Weaker, sweeter | Light brown | Not suitable for baking | ❌ Do not use — sugar throws off ratios |
Note on leavening: this recipe uses both baking soda (which needs the acid from the buttermilk to activate) and baking powder (which provides backup lift regardless of pH). This means it works reliably with either natural or Dutch-process cocoa — the recipe is intentionally designed for both.
Visual cue for properly measured cocoa: spoon it into the cup so it forms a slight mound, then sweep level with a knife. Deep, even brown with no pale streaks or clumps. If you see clumps, the cocoa has absorbed moisture — sift it before using.
How to Make One Bowl Chocolate Cake — Step by Step
Follow these steps in order. The whole sequence happens in one bowl — do not be tempted to switch to a second one partway through.
Step 1
Prepare Your Pans and Preheat
Preheat your oven to 350°F (175°C). Grease two 9-inch round cake pans with butter or non-stick spray, line the bottoms with parchment paper circles, and grease the parchment too. Have your hot coffee or hot water ready — it needs to be hot (not warm, not cold) when it goes in at the end of Step 3. Brew it now if using fresh coffee.
What to look for: Parchment sits flat against the pan bottom with no air bubbles. The sides of the pan are evenly coated — the parchment only covers the bottom, so the sides need to be greased directly.
Step 2
Combine the Dry Ingredients
Into your large mixing bowl, add the flour, sugar, cocoa powder, baking soda, baking powder, and salt. Whisk vigorously for 30 to 45 seconds until the cocoa is fully distributed and no lighter or darker streaks remain. This step replaces sifting — the whisk breaks up any small clumps. Do not skip it even if the ingredients look uniform; baking soda can form hard lumps that produce bitter spots in the finished cake.
What to look for: A uniform, deep brown dry mixture with no white flour streaks, no visible clumps, and no pale pockets of baking powder or soda.
Step 3
Add the Wet Ingredients
Add the buttermilk, oil, eggs, and vanilla directly to the dry ingredient bowl. Whisk from the center outward until the batter just comes together and no dry flour streaks remain — about 30 to 40 strokes. The batter will look thick and somewhat lumpy at this stage; this is correct. Now pour the hot coffee or water in a slow, steady stream while whisking gently. The batter will thin significantly and become very pourable — almost like a thick hot cocoa. This is the correct consistency for this recipe.
⚠️ Critical step: Do not overmix after adding the wet ingredients. Excessive whisking develops gluten and produces a tough, rubbery cake. Stop the moment you see no dry flour streaks — a few small lumps are fine and will bake out.
What to look for: A thin, glossy, deep brown batter that pours easily. No dry pockets at the sides or bottom of the bowl.
Once you master this method, our one bowl vanilla cake uses the same sequence for everyday baking. [IL-2 — replace with your URL]
Step 4
Bake the Layers
Divide the batter evenly between the two prepared pans — use a kitchen scale for the most even layers (approximately 600g per pan). Place both pans on the center oven rack. Bake for 30 to 35 minutes. Do not open the oven before the 25-minute mark. At 30 minutes, insert a toothpick into the center of one layer — it should come out with a few moist crumbs attached, not wet batter and not completely clean. The edges will pull slightly from the pan sides when done.
⚠️ Critical step: The batter is very thin and will slosh easily. Carry the filled pans to the oven carefully and level them before closing the door. Uneven pans bake unevenly — one side will be thicker and underbaked.
What to look for: Tops look matte and set, not wet or shiny. Edges pulling from the pan. Cool in pans on wire racks 15 minutes, then invert, peel off parchment, and cool completely — at least 1 hour.
Step 5
Make the Frosting, Assemble, and Serve
Beat the softened butter alone for 2 minutes until pale and fluffy. Sift in the cocoa powder and mix on low until combined. Add the sifted powdered sugar in two additions, beating on low after each. Add the heavy cream, vanilla, and salt. Increase speed to medium-high and beat for 2 to 3 minutes until smooth, fluffy, and spreadable. If too thick, add cream 1 teaspoon at a time. If too thin, add powdered sugar 1 tablespoon at a time.
To assemble: place one cooled layer on a board or plate, spread approximately one-third of the frosting over the surface, place the second layer on top (flat side up for a level top), and frost the top and sides with the remaining frosting.
What to look for: Frosting is smooth and spreadable, holds a soft peak when you pull the spatula away, and is completely lump-free. Dark brown, glossy, and slightly soft at room temperature.
The Science Behind a Moist One Bowl Chocolate Cake
Why Hot Coffee (or Hot Water) Changes the Texture
Cocoa powder contains flavor compounds — specifically methylxanthines and the volatile organic compounds responsible for chocolate aroma — that are largely insoluble in cold liquid. Hot liquid breaks down the cell walls of the cocoa particles and dissolves these compounds, a process called blooming. The result is a much more intense, rounded chocolate flavor compared to cocoa mixed with cold or room-temperature liquid. The heat also thins the batter, which helps it pour into the pan in an even layer without air pockets, and promotes a more uniform bake from edge to center. Hot water produces the same textural effect but without the additional flavor compounds that coffee contributes.
Why Oil Beats Butter for Moisture in This Recipe
Butter is approximately 80 percent fat and 20 percent water. When a butter-based cake cools, the fat solidifies, which firms the crumb and reduces the perception of moistness. Oil is 100 percent fat with no water content. Because oil remains liquid at room temperature, an oil-based cake crumb never firms in the same way — the fat stays fluid between the starch and protein networks of the baked cake, which is why oil-based cakes feel softer and moister on the second and third day than they did on the first. Butter contributes a richer dairy flavor that oil cannot replicate, but in a chocolate cake with high-quality cocoa, the flavor difference is almost imperceptible.
Why Buttermilk Makes the Crumb Tender
Buttermilk is mildly acidic (pH around 4.5). When it contacts the baking soda in the dry ingredients, an acid-base reaction releases carbon dioxide bubbles into the batter, providing lift. The acid also denatures some of the gluten-forming proteins in the flour before baking, which means less gluten develops during mixing and the finished crumb is softer and more tender than a cake made with plain milk. The tangy flavor of buttermilk is not detectable in the finished one bowl chocolate cake — the cocoa and sugar fully mask it — but the structural effect on the crumb is measurable and significant.
Tips for the Best Result
These are the differences between a good one bowl chocolate cake and one that people request by name.
- Use a kitchen scale for the flour — volume measurements for flour can vary by up to 30 percent depending on how it is scooped. Too much flour is the single most common cause of a dry, dense chocolate cake. Weighing is faster and eliminates the variable entirely.
- Brew the coffee before you start measuring ingredients — the coffee needs to be hot when it goes into the batter. If it cools while you measure everything else, reheat in the microwave for 30 seconds before adding.
- Grease the pan sides as well as the bottom — the parchment only covers the bottom. Ungreased pan sides cause the cake edges to tear when you invert the layers onto the cooling rack.
- Cool completely before frosting — even a slightly warm cake melts chocolate frosting instantly. Press your palm flat against the bottom of the cooled layer — if it feels even slightly warm, give it another 15 minutes.
- Beat the butter for the frosting before adding anything else — starting with well-beaten butter produces a frosting that is noticeably fluffier. A full 2 minutes of beating makes a visible difference.
- Sift the cocoa and powdered sugar before adding to the frosting — unsifted ingredients create lumps that cannot be beaten out. Ten seconds of sifting prevents the problem entirely.
- Refrigerate 15 minutes after the crumb coat — a thin first layer of frosting, briefly chilled, gives the final coat a significantly smoother surface with crumbs fully contained.
Common Mistakes to Avoid
Using Cold Eggs and Buttermilk
Result: Cold dairy emulsifies poorly with the oil, causing the batter to look broken or curdled. The temperature shock can also cause uneven baking — rubbery exterior and underbaked center.
Fix: Set eggs and buttermilk out 30 minutes before baking. Speed method: place uncracked eggs in warm water for 5 minutes; microwave buttermilk for 10 seconds and stir.
Overmixing Once the Wet Ingredients Go In
Result: The cake is tough and slightly rubbery rather than tender. Overmixed cakes often dome unevenly and can tunnel — large internal air pockets from trapped carbon dioxide.
Fix: Count your strokes after adding the wet ingredients. Stop at 30 to 40 whisk strokes — when you can no longer see dry flour. A few lumps in the batter at this stage are normal and will bake out.
Measuring Flour by Scooping From the Bag
Result: Scooping compacts the flour into the cup, adding up to 30 percent more than the recipe calls for. The cake is noticeably drier and denser than intended.
Fix: Spoon flour into the measuring cup and level off with a straight edge. Better: use a kitchen scale. 250g of flour is unambiguous regardless of bag type, humidity, or altitude.
Opening the Oven Before the 25-Minute Mark
Result: Opening the oven drops the internal temperature by up to 50°F. The sudden drop collapses the carbon dioxide bubbles in the batter before the starch structure has set, causing the center to sink.
Fix: Set a timer for 25 minutes and do not open the oven until it sounds. Use the oven light and window before that. After 25 minutes, check every 2 to 3 minutes with the toothpick test.
Frosting a Warm Cake
Result: The chocolate frosting melts immediately on contact, slides off the sides, and cannot be spread evenly. It also absorbs into the warm cake surface rather than sitting on top of it.
Fix: The layers must be completely cool — including the very center of the bottom. Press your palm to the center of the bottom of each layer: it should feel neutral, not warm. When in doubt, refrigerate for 20 minutes.
Using Regular Cocoa When Dutch-Process Is Available
Result: Natural cocoa produces a lighter-colored cake with a slightly sharper, fruitier chocolate flavor. Not wrong — but if you want deeper, more intense chocolate, switching to Dutch-process is the single biggest flavor upgrade available.
Fix: Both work in this recipe because it contains both baking soda (which needs acid from the buttermilk) and baking powder (which works independently of pH). You can use either type or a mix of both without changing any other ingredient.
For a deep dive into cocoa powder types, our baking with cocoa guide is worth bookmarking for every chocolate recipe. [IL-3 — replace with your URL]
Variations Worth Trying
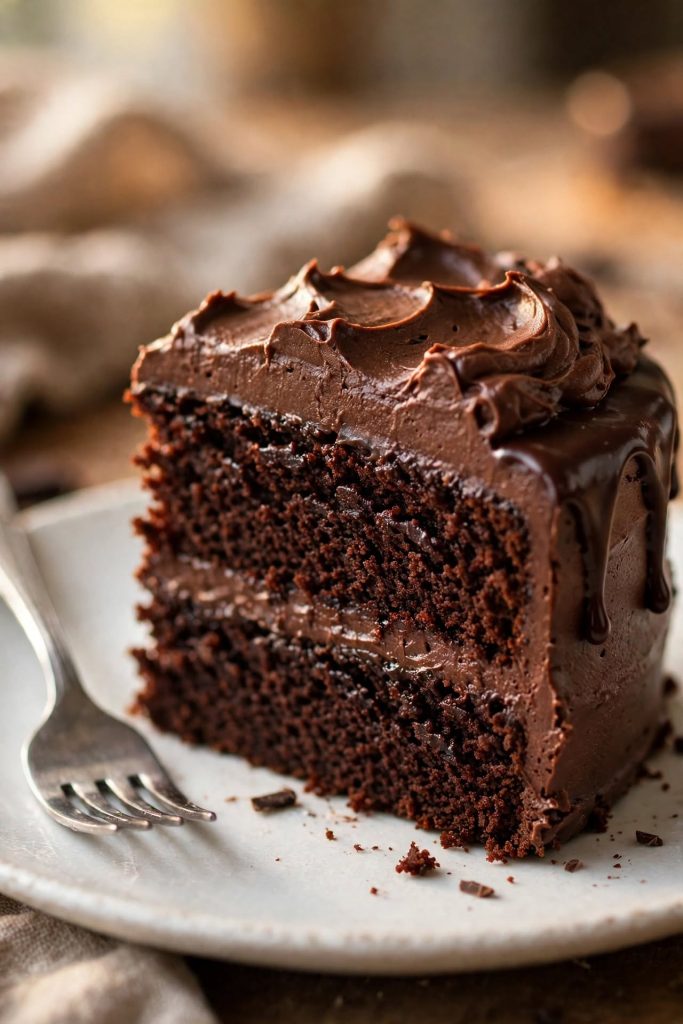
One Bowl Chocolate Sheet Cake
What changes: Use a 9×13 inch pan instead of two 9-inch rounds. Frost the top only after cooling.
When: At Step 4, pour all batter into the single pan. Bake 35 to 40 minutes.
Result: A single-layer, crowd-feeding chocolate cake that requires no assembly. Increase frosting by 25 percent for the same coverage as the layer version. The frosting-to-cake ratio per slice is lower — suits people who prefer less sweetness.
One Bowl Chocolate Cupcakes
What changes: Divide the batter among a 24-cup standard muffin tin lined with paper cups, filling each cup two-thirds full.
When: At Step 4, bake at 350°F for 18 to 22 minutes.
Result: 24 individual chocolate cupcakes with the same moist crumb as the layer cake. The batter is thin enough to pour cleanly from a measuring cup or ladle — no scooping needed. Pipe or spread the frosting immediately before serving for the cleanest look.
Gluten-Free Version
What changes: Replace the all-purpose flour with a 1:1 gluten-free flour blend (including xanthan gum). No other changes needed.
When: All changes made at Step 2.
Result: Almost identical in texture to the original — slightly more dense on the second day as GF starches firm up faster. Best eaten within 2 days. One of the few layer cake recipes that converts to GF reliably without additional adjustments, because the cocoa and moisture level mask the textural difference.
One Bowl Chocolate Bundt Cake
What changes: Use a 10 to 12-cup bundt pan, very well greased and cocoa-dusted. Pour all batter into the single pan.
When: At Step 4, bake at 350°F for 45 to 55 minutes. Check with a toothpick at 45 minutes.
Result: A dramatic single-piece cake with no assembly required. Skip the frosting and drizzle with a simple chocolate glaze (60g dark chocolate melted with 60ml heavy cream). More surface area relative to interior means crispier edges — a different textural experience from the layer cake.
Dark Chocolate Ganache Version
What changes: Replace the chocolate frosting with ganache: heat 240ml of heavy cream to just below a boil, pour over 340g of chopped dark chocolate (70%), stir until smooth, cool to spreading consistency (30 minutes at room temperature).
When: Made in place of the buttercream frosting at Step 5.
Result: A glossier, richer, less sweet coating that sets semi-firm. More intense chocolate flavor than the butter-based frosting. Best for adults or occasions where a less sweet presentation is preferred. Also produces a clean drip effect if you want a drip-cake aesthetic.
How to Store
Room Temperature
One bowl chocolate cake stores well at room temperature for up to 3 days. Keep it covered — a cake dome, inverted large bowl, or loosely tented plastic wrap all work. The frosting forms a light crust at room temperature which helps preserve the moisture of the cake beneath. The oil-based crumb stays noticeably moist on day two and three, often moister than on day one. Use your judgment — if the frosting smells sour or the cake feels dry, discard.
Refrigerator
Refrigerated one bowl chocolate cake keeps for best quality for up to 5 days covered. The cold air will firm the crumb and the frosting, making the cake feel denser straight from the refrigerator. Always remove it 20 to 30 minutes before serving and allow it to come to room temperature — the difference in texture between a cold slice and a room-temperature slice is significant. Wrap cut surfaces with plastic wrap before refrigerating to prevent the exposed crumb from drying out.
Freezer — Complete Guide
This cake freezes exceptionally well — better than most layer cakes because the oil-based crumb holds moisture through the freeze-thaw cycle. Freeze layers unfrosted for the best result: wrap each cooled layer individually in two layers of plastic wrap, then in foil, and freeze for up to 3 months. Thaw at room temperature for 2 hours before frosting. The fully frosted and assembled cake also freezes well: freeze uncovered for 1 hour until the frosting is solid, then wrap tightly and freeze up to 2 months. Thaw overnight in the refrigerator, then 30 minutes at room temperature before serving. Individual frosted slices freeze well for up to 1 month — wrap each in plastic wrap and place in a zip-lock freezer bag.
For a full guide to making ahead and freezing baked goods, our cake freezing and storage guide covers everything you need to know. [IL-4 — replace with your URL]
How to Serve
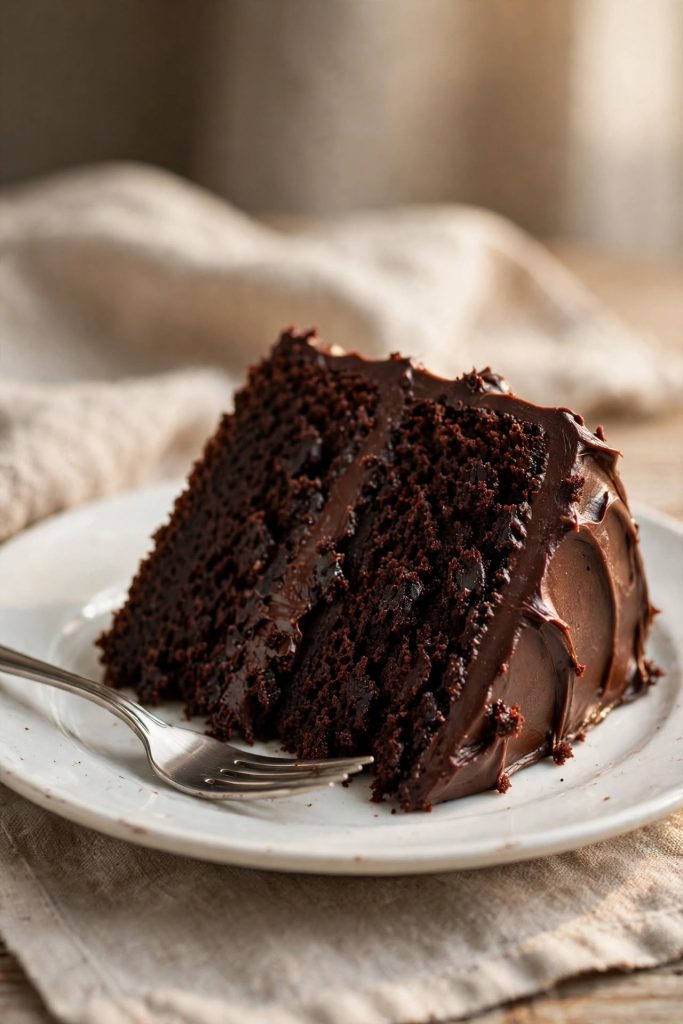
Classic Ways to Serve
- Slice at room temperature — remove from the refrigerator 20 to 30 minutes before serving so the frosting and crumb soften to their best texture
- Use a sharp knife warmed briefly under hot water and dried — the heat glides through the chocolate frosting cleanly without tearing
- Serve on white plates — the deep chocolate color reads most dramatically against a plain white background
Upgraded and Occasion-Worthy
- Add a scoop of vanilla ice cream beside each slice — the temperature contrast between room-temperature cake and cold ice cream is the classic combination for a reason
- Drizzle warm caramel sauce across the top of the frosted cake just before serving for a salted caramel chocolate presentation with no extra baking
- Top each slice with a small pile of fresh raspberries at the table — the acidity of the berries cuts the richness of the chocolate frosting
- For a birthday presentation, press fresh strawberries into the frosting around the top edge and dust the center with powdered cocoa through a fine sieve
Best pairings: cold whole milk, strong black coffee, vanilla ice cream, or a glass of port. Best occasions: birthdays, potlucks, weeknight dessert, school bake sales, or any time you want a cake that looks like significantly more effort than it required.
Frequently Asked Questions
Can I make one bowl chocolate cake without buttermilk?
Yes — the simplest substitute is to make your own: combine 240ml of whole milk with 1 tablespoon of white vinegar or fresh lemon juice, stir briefly, and let it sit for 5 minutes. The milk will curdle slightly and become acidic — use it exactly as you would buttermilk. The result is nearly identical. You can also use plain whole milk without the acid — the cake will be slightly less tender but still excellent. Do not use skim milk — the fat matters for moisture.
Why did my one bowl chocolate cake sink in the middle?
Three main causes: opening the oven before the batter was structurally set (before the 25-minute mark), too much leavener causing rapid rise followed by collapse (check that you measured baking soda and baking powder correctly), or removing the pans before the cake was fully baked. If the center is not set when the pan comes out, it collapses as it cools. Always check with a toothpick before pulling the layers out.
Can I use hot water instead of coffee in the batter?
Yes — hot water is a direct substitute. The hot liquid blooms the cocoa regardless of whether it is water or coffee. The difference is that coffee contains its own flavor compounds that deepen and round the chocolate flavor in a way that water cannot replicate. If you want a middle-ground option, dissolve 1 teaspoon of instant espresso powder in 240ml of hot water — this gives the flavor benefit without requiring a brewed cup of coffee.
How do I know when one bowl chocolate cake is done?
Insert a toothpick into the center of one layer at the 30-minute mark. It should come out with a few moist crumbs — not wet batter and not completely clean. A completely clean toothpick means the cake has overbaked and will be drier than intended. Also look at the edges: they should be pulling slightly away from the pan sides. The top surface should look matte and set, not wet or shiny.
How long does one bowl chocolate cake last?
Room temperature covered: best quality for up to 3 days. Refrigerated covered: best quality for up to 5 days. Unfrosted layers frozen: best quality for up to 3 months. Frosted cake frozen: best quality for up to 2 months. Use your judgment on appearance and smell at any storage point.
Can I freeze one bowl chocolate cake?
Yes — and this recipe freezes better than most because the oil-based crumb holds moisture through the freeze-thaw cycle. Freeze unfrosted layers individually wrapped tightly in plastic then foil for up to 3 months. Freeze the fully frosted assembled cake (frozen uncovered first to set the frosting, then wrapped) for up to 2 months. Thaw overnight in the refrigerator for assembled cakes, 2 hours at room temperature for unfrosted layers.
Can I use melted chocolate instead of cocoa powder?
Not a straight swap in the batter — cocoa is a dry ingredient that contributes structure, and replacing it with melted chocolate changes the fat and liquid balance significantly. To use real chocolate in the cake, reduce the oil by 2 tablespoons and add 60g of melted and cooled dark chocolate along with the cocoa. In the frosting, replace the cocoa with 90g of melted and cooled dark chocolate beaten into the butter before adding the powdered sugar, and reduce the heavy cream by 1 tablespoon.
Can I double this recipe?
Yes — double all ingredients exactly. Mix in a bowl large enough (at least 6-quart) to accommodate all the liquid including the hot coffee. Bake in four 9-inch rounds or two 9×13 pans, keeping bake time the same. For a 4-layer cake, add a crumb coat step — the extra weight of additional layers makes sliding more likely without it.
Can I make one bowl chocolate cake without eggs?
Yes — replace each egg with a flax egg (1 tablespoon ground flaxseed mixed with 3 tablespoons water, rested for 5 minutes). The cake will be slightly denser and less springy, with a crumb that is chewier than the original. The chocolate flavor and moisture level stay largely the same. Use room-temperature flax eggs just as you would regular eggs.
What size pans work best for one bowl chocolate cake?
Two 9-inch round pans are the standard. Two 8-inch pans also work — increase bake time by 4 to 6 minutes and expect taller, slightly denser layers. A 9×13 sheet pan works for the sheet cake variation. A 10-inch bundt pan works for the bundt variation at 45 to 55 minutes. Do not use a 6-inch pan without halving the recipe first. If you enjoyed this recipe, our one bowl vanilla cake uses the same method. [IL-5 — replace with your URL]
Can I make this cake ahead of time?
Yes — unfrosted layers can be baked up to 2 days ahead and stored at room temperature wrapped tightly in plastic. Frosting keeps refrigerated for up to 3 days in an airtight container — let it come to room temperature and re-beat briefly before using. The fully assembled cake keeps at room temperature covered for up to 24 hours, or refrigerated for up to 5 days. Bring to room temperature before serving.
Why does my chocolate frosting look grainy?
Grainy frosting almost always means the butter was too cold when you started (firm butter cannot fully absorb the cocoa and sugar), or the cocoa and powdered sugar were not sifted (unsifted dry ingredients create grit that cannot be beaten out). Fix for cold butter: microwave the frosting bowl for 5 seconds, stir, and beat again. Fix for lumps: push the frosting through a fine-mesh sieve and re-beat. Going forward: always start with butter soft enough to leave an indent when pressed, and always sift cocoa and powdered sugar before adding.

One Bowl Chocolate Cake
Ingredients
Equipment
Method
- Preheat oven to 350°F (175°C). Grease two 9-inch round pans, line bottoms with parchment, grease parchment.
- In a large bowl, whisk together flour, sugar, cocoa, baking soda, baking powder, and salt for 30 to 45 seconds until completely uniform.
- Add buttermilk, oil, eggs, and vanilla to the dry ingredient bowl. Whisk 30 to 40 strokes until just combined. Pour in hot coffee in a slow stream while whisking gently. Batter will be thin.
- Divide evenly between prepared pans. Bake 30 to 35 minutes until a toothpick in the center comes out with moist crumbs. Cool in pans 15 minutes, invert onto wire racks, cool completely (about 1 hour).
- Beat softened butter 2 minutes until pale. Sift in cocoa, beat on low. Add sifted powdered sugar in two additions. Add cream, vanilla, and salt. Beat on medium-high 2 to 3 minutes until smooth and fluffy.
- Place one cooled layer on a board. Spread one-third of the frosting over the top. Place second layer on top flat side up. Frost top and sides with remaining frosting. Serve at room temperature.
Notes
- Use a kitchen scale for the flour — 250g eliminates the most common cause of dry, dense cake.
- Hot coffee deepens the chocolate flavor without tasting like coffee. Hot water is a direct substitute.
- Both natural and Dutch-process cocoa work in this recipe.
- All dairy (eggs, buttermilk) must be at room temperature before starting.
- Cool layers completely before frosting — even slight warmth melts chocolate frosting.
- Unfrosted layers freeze up to 3 months. Frosted assembled cake freezes up to 2 months.
More Easy Chocolate Dessert Recipes You Will Love
- One Bowl Chocolate Cupcakes — the same batter from this recipe baked in a muffin tin for 18 to 22 minutes. Individual, portable, and finished in under 45 minutes from start to serving.
- Fudgy One Bowl Brownies — a 30-minute pan dessert using the same single-bowl method. The flour drops to just 60g and the result is a dense, fudgy brownie bar that is almost indistinguishable from one made with melted chocolate.
- Chocolate Pudding Cake — a self-saucing chocolate cake that creates its own fudge sauce during baking. One bowl, one pan, served warm from the oven. The only chocolate dessert that is more hands-off than this one.
- No-Bake Chocolate Cheesecake — a whipped cream cheese filling with melted dark chocolate on a chocolate cookie crust. Set in the refrigerator in 4 hours with no oven required.
- Chocolate Lava Cake — the same flavor profile as this cake in an individually portioned, restaurant-style format. Hot center, fully set exterior, ready in 12 minutes. The one to make when you want a showstopper with minimal ingredients.
Did you make this one bowl chocolate cake? Leave a ⭐⭐⭐⭐⭐ rating below and let me know in the comments how it turned out. I read every comment and would love to know what worked for you.