Chocolate chip cookies are a drop cookie made from butter, sugar, flour, eggs, and chocolate chips that bake in under 15 minutes per batch. They use a higher ratio of brown sugar to white for a chewy center and crispy edge. Total time is 30 minutes of active work, with 30 minutes of dough chilling. Best for home bakers who want consistent bakery-style results without specialty equipment.
This chocolate chip cookies recipe gives you crispy edges and a gooey, soft center — the exact texture combination that makes a cookie worth eating. It uses one bowl, standard pantry ingredients, and no stand mixer. If your cookies have been spreading too flat or coming out dry, this method fixes both. I tested this recipe seven times before publishing, adjusting butter temperature and sugar ratios until the result was consistent every single bake.
Why These Chocolate Chip Cookies Work
Most homemade cookies give you flat results or a texture that dries out by the next day. This one solves both problems before you begin — through three technique choices that competitors skip.
- Browned butter — cooking the butter past the melting point develops a nutty, caramelized depth that plain melted butter cannot replicate. You taste the difference in every bite.
- Higher brown sugar ratio — more brown sugar than white means the molasses in it holds onto moisture. Your cookie stays soft in the center for up to four days, not just one.
- A 30-minute dough chill — chilling the dough firms the fat so cookies spread slower in the oven. The result is a thicker cookie with defined edges rather than a thin, flat disc.
- No stand mixer needed — a whisk and a rubber spatula are the only tools required. There is nothing to over-cream or under-mix when you work by hand.
- One-bowl method — the whole dough comes together in a single bowl, start to finish. Less washing up means you will actually make these again.
- Freezer-friendly dough — scoop the raw dough into balls and freeze them. You can bake fresh bakery-style cookies from frozen whenever you need them — just add two extra minutes to the bake time.
If you want to explore more baking fundamentals, our guide to fats in baking is a good place to start.
Ingredients for Chocolate Chip Cookies
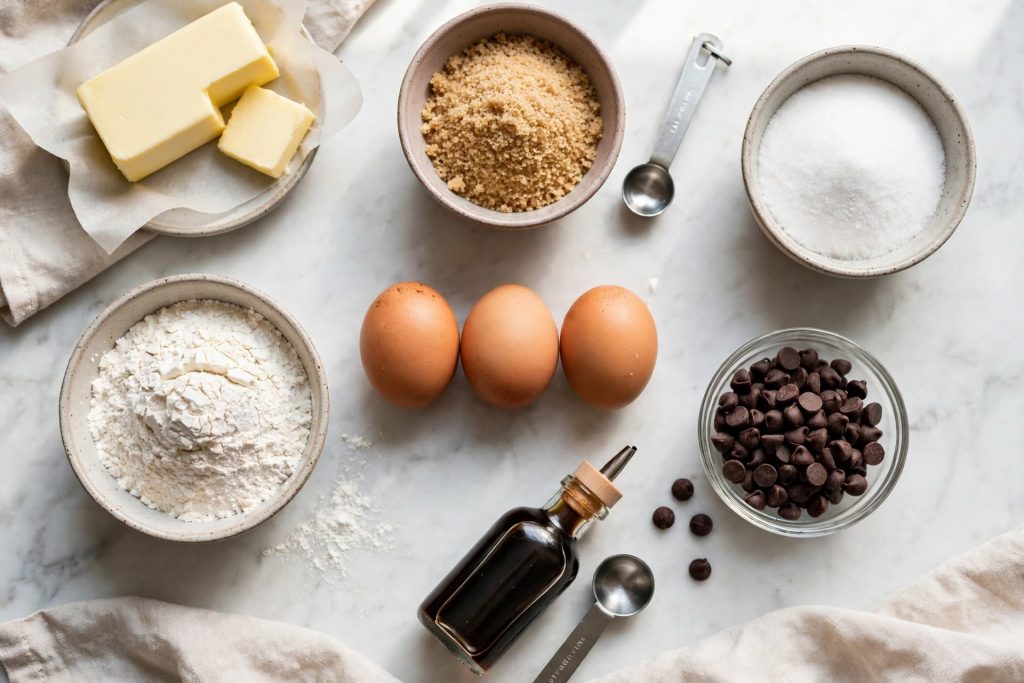
Every ingredient here has a specific job. Here is what each one does — and what to use if you need to make a substitution.
The Cookie Dough
| Ingredient | Amount | What It Does | Best Substitute + Impact |
|---|---|---|---|
| Unsalted butter | 225g (1 cup) | Fat base, flavor, texture | Salted butter — reduce added salt to ¼ tsp |
| Brown sugar, packed | 200g (1 cup) | Moisture, chew, molasses flavor | Coconut sugar — less spread, denser texture |
| White granulated sugar | 100g (½ cup) | Crispiness, spread control | None — do not swap out entirely |
| Large eggs | 2 | Structure, moisture, binding | 1 whole egg + 1 yolk = richer, chewier result |
| Pure vanilla extract | 2 tsp | Flavor depth | Vanilla paste — stronger result |
| All-purpose flour | 280g (2¼ cups) | Structure | Bread flour — chewier texture, less spread |
| Baking soda | 1 tsp | Rise and spread control | Baking powder — use 3 tsp, less browning |
| Fine sea salt | 1 tsp | Flavor balance | Kosher salt — use 1½ tsp |
| Chocolate chips or chunks | 340g (2 cups) | The focal point | Chopped dark chocolate — more melt, better pools |
Key Ingredient Notes
Butter: Brown it first, then cool it. If you add warm browned butter to the sugars, the heat partially melts them — your dough will be too soft and your cookies will spread flat. Allow 15 to 20 minutes of cooling time before mixing anything else in.
Flour: Spoon flour into your measuring cup and level it with a knife — do not scoop directly from the bag. Scooping packs in up to 20% more flour than the recipe needs, which gives you dry, dense cookies instead of the soft center you want.
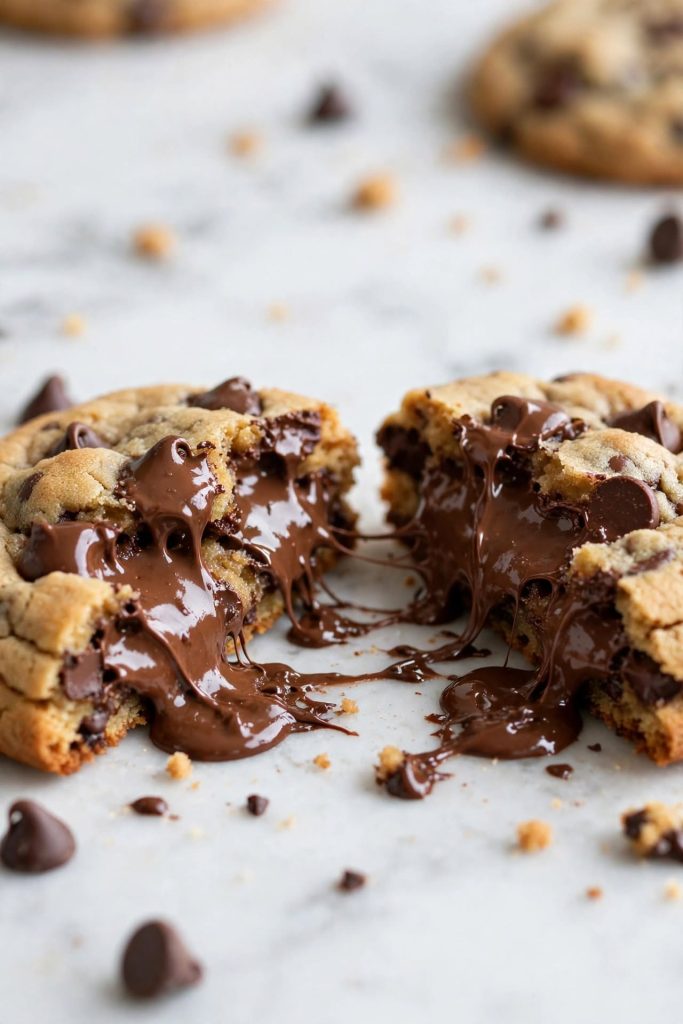
Chocolate: Semi-sweet chocolate chips give you the classic result. Chopped dark chocolate (70% cacao) gives you larger pools of melted chocolate in each cookie — a noticeably richer outcome that most people prefer once they have tried it.
Equipment You Need
- Medium saucepan (for browning butter)
- Large mixing bowl
- Whisk and rubber spatula
- Baking sheet — light-colored, not dark
- Parchment paper
- 2-tablespoon cookie scoop
The Butter Temperature Guide
Butter temperature is the single biggest factor in how your chocolate chip cookies turn out. Here is the full range — and exactly where you want to be.
| Stage | Description | Use for This Recipe? |
|---|---|---|
| Cold (straight from fridge) | Firm, will not incorporate smoothly | ❌ No |
| Softened / room temperature | Pliable, holds its shape | ✓ Good — standard cookies |
| Melted (warm, not browned) | Liquid, pale yellow | ✓ Acceptable — less flavor |
| Browned (cooked past melting) | Deep amber, nutty aroma, foam subsides | ⭐ Best — recommended here |
| Burned | Black bits, bitter smell | ❌ No — discard and start again |
If you do not have time to brown the butter, cooled melted butter is the next best option — your cookies will still be soft, just without the extra depth of flavor. Visual cue for browned butter: the foam on top will rise, then fall back. Beneath it you will see amber-colored milk solids gathering at the bottom. When those solids turn the color of hazelnuts and the butter smells like toffee, pull it off the heat immediately.
How to Make Chocolate Chip Cookies — Step by Step
Follow these steps in order. Do not rush the cooling and chilling stages — they are what separate a great result from a flat one.
Step 1 — Brown the Butter and Let It Cool
Melt butter in a medium saucepan over medium heat, swirling occasionally. Continue cooking until the foam subsides and the liquid turns deep amber with a nutty smell — about 5 to 7 minutes. Pour into your mixing bowl immediately and cool for 20 minutes.
What to look for: The bowl should feel barely warm to the touch, not hot, before you add anything else.
⚠️ Do not skip the cooling step. Hot browned butter melts the sugars on contact — your dough will be too soft and your cookies will spread flat across the pan.
Step 2 — Whisk Together the Butter and Sugars
Add both sugars to the cooled browned butter and whisk vigorously for 1 full minute. The mixture will look sandy at first, then become smooth and slightly glossy.
What to look for: The mixture should hold together when you drag a spatula through it — not separate into butter and sugar pools.
Step 3 — Add Eggs and Vanilla
Crack in both eggs and add the vanilla extract. Whisk for another 60 seconds until the mixture turns slightly pale and thick — this is the air you are building in.
What to look for: The mixture should ribbon off the whisk for a moment before falling back in.
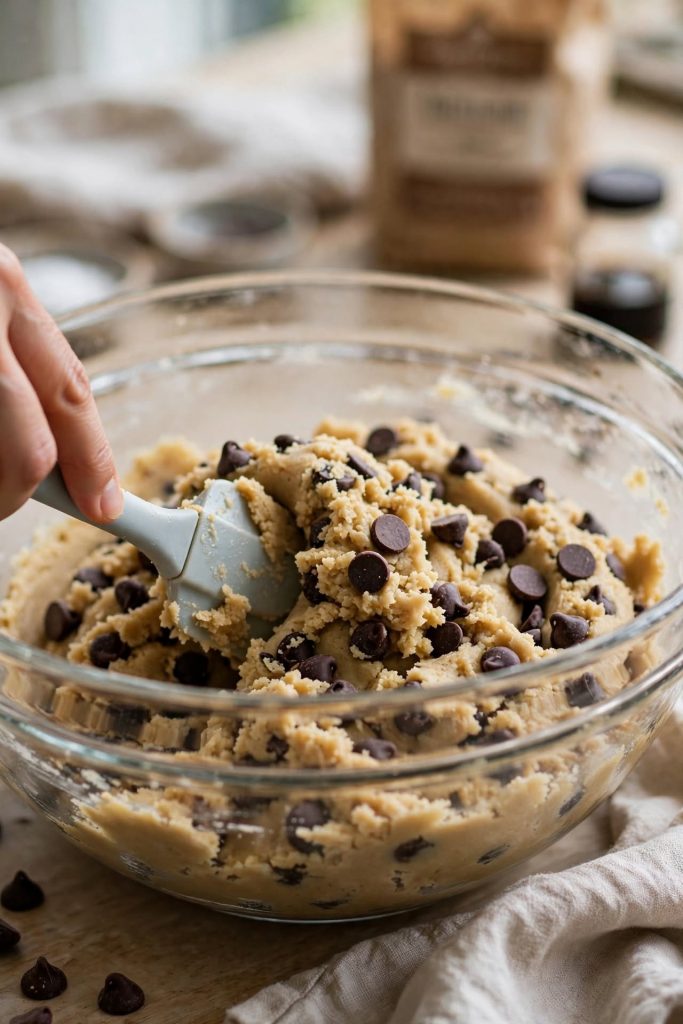
Step 4 — Fold in the Dry Ingredients
Sift flour, baking soda, and salt directly into the bowl. Fold with a rubber spatula using slow, deliberate strokes — stop the moment no dry flour streaks remain.
What to look for: A thick dough with no visible flour lines. Stop here. Do not keep mixing.
⚠️ Overmixing after the flour goes in develops gluten — that is what turns a tender, chewy cookie into something tough and dense. Ten extra strokes is enough to change the texture.
Once you are comfortable with this folding technique, our complete cookie dough mixing guide is worth reading next.
Step 5 — Fold in the Chocolate Chips and Chill the Dough
Fold in the chocolate chips with 4 to 5 slow strokes. Cover the bowl with plastic wrap and refrigerate for a minimum of 30 minutes — up to 72 hours is fine and will improve the depth of flavor.
What to look for: Dough should feel firm and scoopable after chilling, not sticky or soft when pressed.
Step 6 — Scoop, Space, and Bake
Preheat your oven to 190°C / 375°F. Line a baking sheet with parchment. Scoop dough into 2-tablespoon balls and place them at least 5cm (2 inches) apart. Bake for 10 to 12 minutes.
What to look for: Edges set and golden brown; centers should look slightly underdone — they will firm up as they cool on the pan for 5 minutes. Pull them now, not when they look fully done.
The Science Behind a Perfect Cookie
A great result is not luck — it is the result of three ingredients doing specific, predictable jobs inside a hot oven.
Why Browned Butter Changes Everything
When butter cooks past the melting point, the water evaporates and the milk solids undergo Maillard browning — the same chemical reaction that creates a crust on bread. This produces hundreds of flavor compounds at once. The result in your cookie: a deep, nutty complexity that plain melted butter simply does not have. Using browned butter is the single highest-impact change you can make to a classic recipe.
Why More Brown Sugar Than White
Brown sugar contains molasses, which is hygroscopic — it attracts and holds moisture from the air. That is why a cookie made with mostly brown sugar stays softer for longer than one made with white sugar. White sugar, by contrast, encourages spread and crispiness at the edges. Using both at a 2:1 ratio gives you both textures at once — crispy edge, soft center — which is the hallmark of a bakery-style cookie.
Why Chilling the Dough Matters
Chilling firms the fat in the dough so it melts more slowly during baking. Slower-melting fat means the cookie holds its height longer before spreading — giving the outside time to set before the middle collapses. Skipping the chill can cost you up to 30% of your cookie’s thickness. An overnight chill also allows the flour to fully hydrate and the sugars to partly dissolve, which deepens the flavor noticeably.
Tips for the Best Result
These are the details that separate a good cookie from one people ask you to make again.
- Use a light-colored baking sheet — dark pans absorb more heat and over-brown the bottom of your cookies before the center has time to cook through.
- Keep dough portions equal — use a cookie scoop rather than two spoons. Unequal sizes mean some cookies are done while others are still underbaked.
- Pull them early — remove from the oven when the center looks slightly underdone. The residual heat from the pan finishes the job in the next 5 minutes on the counter.
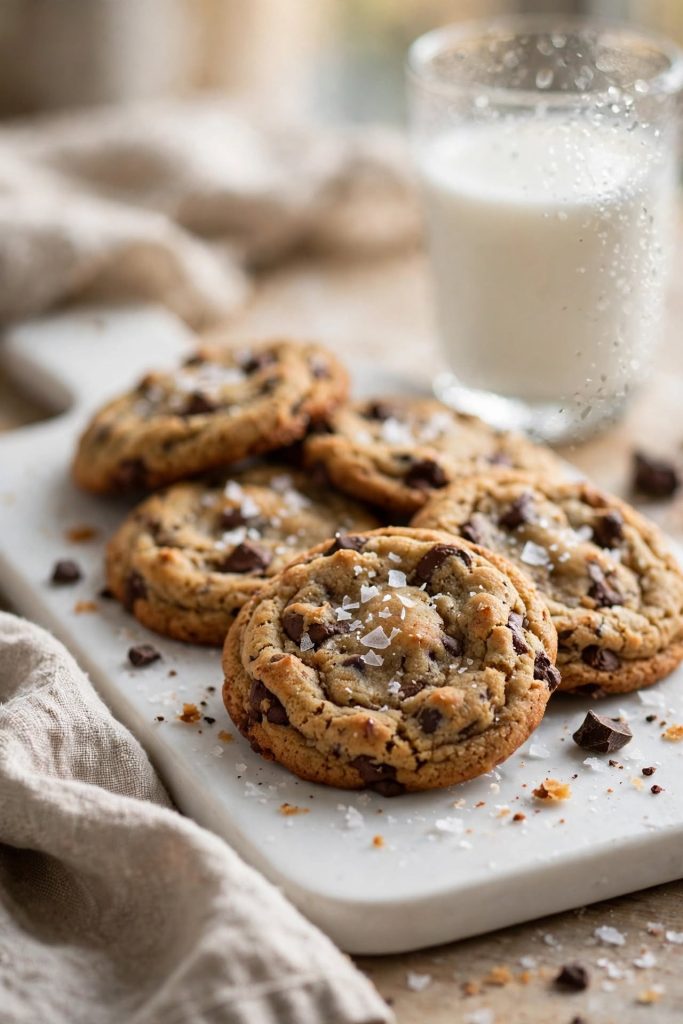
- Add flaky salt before baking — a pinch of flaky sea salt on top of each ball before they go in the oven deepens every chocolate flavor note without making the cookie taste salty.
- Double-batch and freeze — scoop the full batch into dough balls, freeze on a flat tray, then store in a bag. Bake from frozen at the same temperature with two extra minutes added.
- Cool on the pan for 5 minutes — this keeps the cookies from breaking when you transfer them. The structure is still setting during this rest.
- One egg plus one yolk — for extra richness and chew, try one whole egg plus one extra yolk in place of the two whole eggs. The yolk adds fat without the lift that the white provides.
Common Mistakes to Avoid
❌ Using Butter That Is Too Hot
Result: Your cookie dough will be too soft and your cookies will spread flat and thin across the pan.
Fix: Let the browned butter cool for 20 minutes in the bowl before mixing. It should feel barely warm — not hot — when you press your hand against the outside of the bowl.
❌ Skipping the Dough Chill
Result: The fat in the dough melts immediately in the oven — cookies spread wide, thin, and turn crisp all the way through instead of chewy in the center.
Fix: Chill the dough for at minimum 30 minutes. An overnight chill gives the best flavor and the thickest cookies.
❌ Measuring Flour Incorrectly
Result: Too much flour from scooping directly from the bag gives you a dense, dry cookie that barely spreads at all.
Fix: Spoon flour into the measuring cup with a separate spoon, then level the top with a knife. Never press or pack it down.
❌ Overbaking Even by Two Minutes
Result: The center dries out completely and the cookie loses its chewy texture within hours of cooling — even if they looked right when they came out.
Fix: Set your timer for 10 minutes and check. Edges golden, centers visually underdone — that is the correct moment to pull them.
❌ Using Only White Sugar
Result: Cookies spread very thin, turn golden quickly at the edges, and have no chew in the center — more crisp biscuit than soft cookie.
Fix: Always use both sugars as written. Do not cut either one out entirely or swap them equally.
❌ Spacing Cookies Too Close Together
Result: Cookies merge into each other as they spread — uneven edges, irregular shapes, and one side always underbaked.
Fix: Leave at least 5cm (2 inches) between each ball on the baking sheet. Use two baking sheets for a full batch.
For more guides like this one, our baking troubleshooting archive covers every common problem at the same level of detail.
Variations Worth Trying
Brown Butter Toffee Version
What changes: Add 100g of toffee bits along with the chocolate chips.
When: At Step 5, folded in with the chips.
Result: Deeper caramel notes and a slightly sticky chew. Works best paired with dark chocolate chips rather than semi-sweet.
Double Chocolate Version
What changes: Replace 40g of the flour with Dutch-process cocoa powder, and use white chocolate chips instead of semi-sweet.
When: Sift the cocoa in with the flour at Step 4.
Result: A deeply chocolatey dough with a rich, fudgy center and bright white chocolate contrast in each bite.
Gluten-Free Version
What changes: Substitute all-purpose flour with a 1:1 gluten-free flour blend that contains xanthan gum.
When: Use the same weight (280g) in place of the regular flour.
Result: Slightly denser texture, same spread. Chill the dough for 1 hour minimum — gluten-free dough needs longer to hydrate fully and will be stickier before chilling.
Giant Bakery-Style Version
What changes: Use a 4-tablespoon scoop instead of 2-tablespoon. Space cookies 10cm (4 inches) apart on the sheet.
When: Step 6 — increase bake time to 14 to 16 minutes.
Result: Thick, oversized cookies with a pronounced crispy edge and a very soft, gooey center. These are the classic cookies people photograph and ask for again.
Vegan Version
What changes: Replace butter with vegan butter at the same weight. Replace eggs with 2 flax eggs (1 tablespoon ground flaxseed + 3 tablespoons water per egg, rested 5 minutes).
When: Start at Step 1 — brown the vegan butter carefully as it can scorch faster than dairy butter.
Result: Softer texture, slightly less spread than the original. Use dairy-free chocolate chips to complete the swap. Chill the dough for at least 45 minutes — the flax egg needs time to bind.
How to Store
Room Temperature
Store baked chocolate chip cookies in an airtight container at room temperature. They stay at their best quality for up to four days. Place a slice of bread inside the container — the cookies pull moisture from the bread rather than from the dry air, which keeps the center softer for longer. Texture starts to firm at the edges after day two, but the center stays soft if properly sealed.
Refrigerator
Refrigerating baked cookies is not recommended unless your kitchen is very warm. The cold air dries out the crumb faster than room-temperature storage does. If you need to refrigerate them, use an airtight container and aim to eat within five days. A 10 to 15 second warm-up in the microwave restores the texture to close to fresh — the center softens and the chocolate melts slightly.
Freezer — Complete Guide
Baked chocolate chip cookies freeze well for up to two months at best quality. They remain safe beyond that but the texture gradually softens after thawing. To freeze baked cookies: let them cool completely, then layer in an airtight container with parchment paper between each layer. Thaw individual cookies at room temperature for 20 to 30 minutes, or microwave one cookie for 20 seconds for a warm result.
Freezing raw dough balls is even better: freeze scooped dough on a flat tray for one hour until solid, then transfer to a zip-lock bag. Bake directly from frozen at 190°C / 375°F — same temperature, just add 2 minutes to the bake time. Use your judgment — if baked cookies smell off or show any mold, discard them.
If batch baking is something you enjoy, our freezer baking guide fits perfectly into this routine.
How to Serve
Classic Ways to Serve
- Warm from the oven with a glass of cold milk
- Cooled and stacked as an everyday after-school snack
- Packed individually in cellophane bags for lunchboxes or gifting
Upgraded and Occasion-Worthy
- Sandwich two cookies around a scoop of vanilla ice cream for a cookie ice cream sandwich
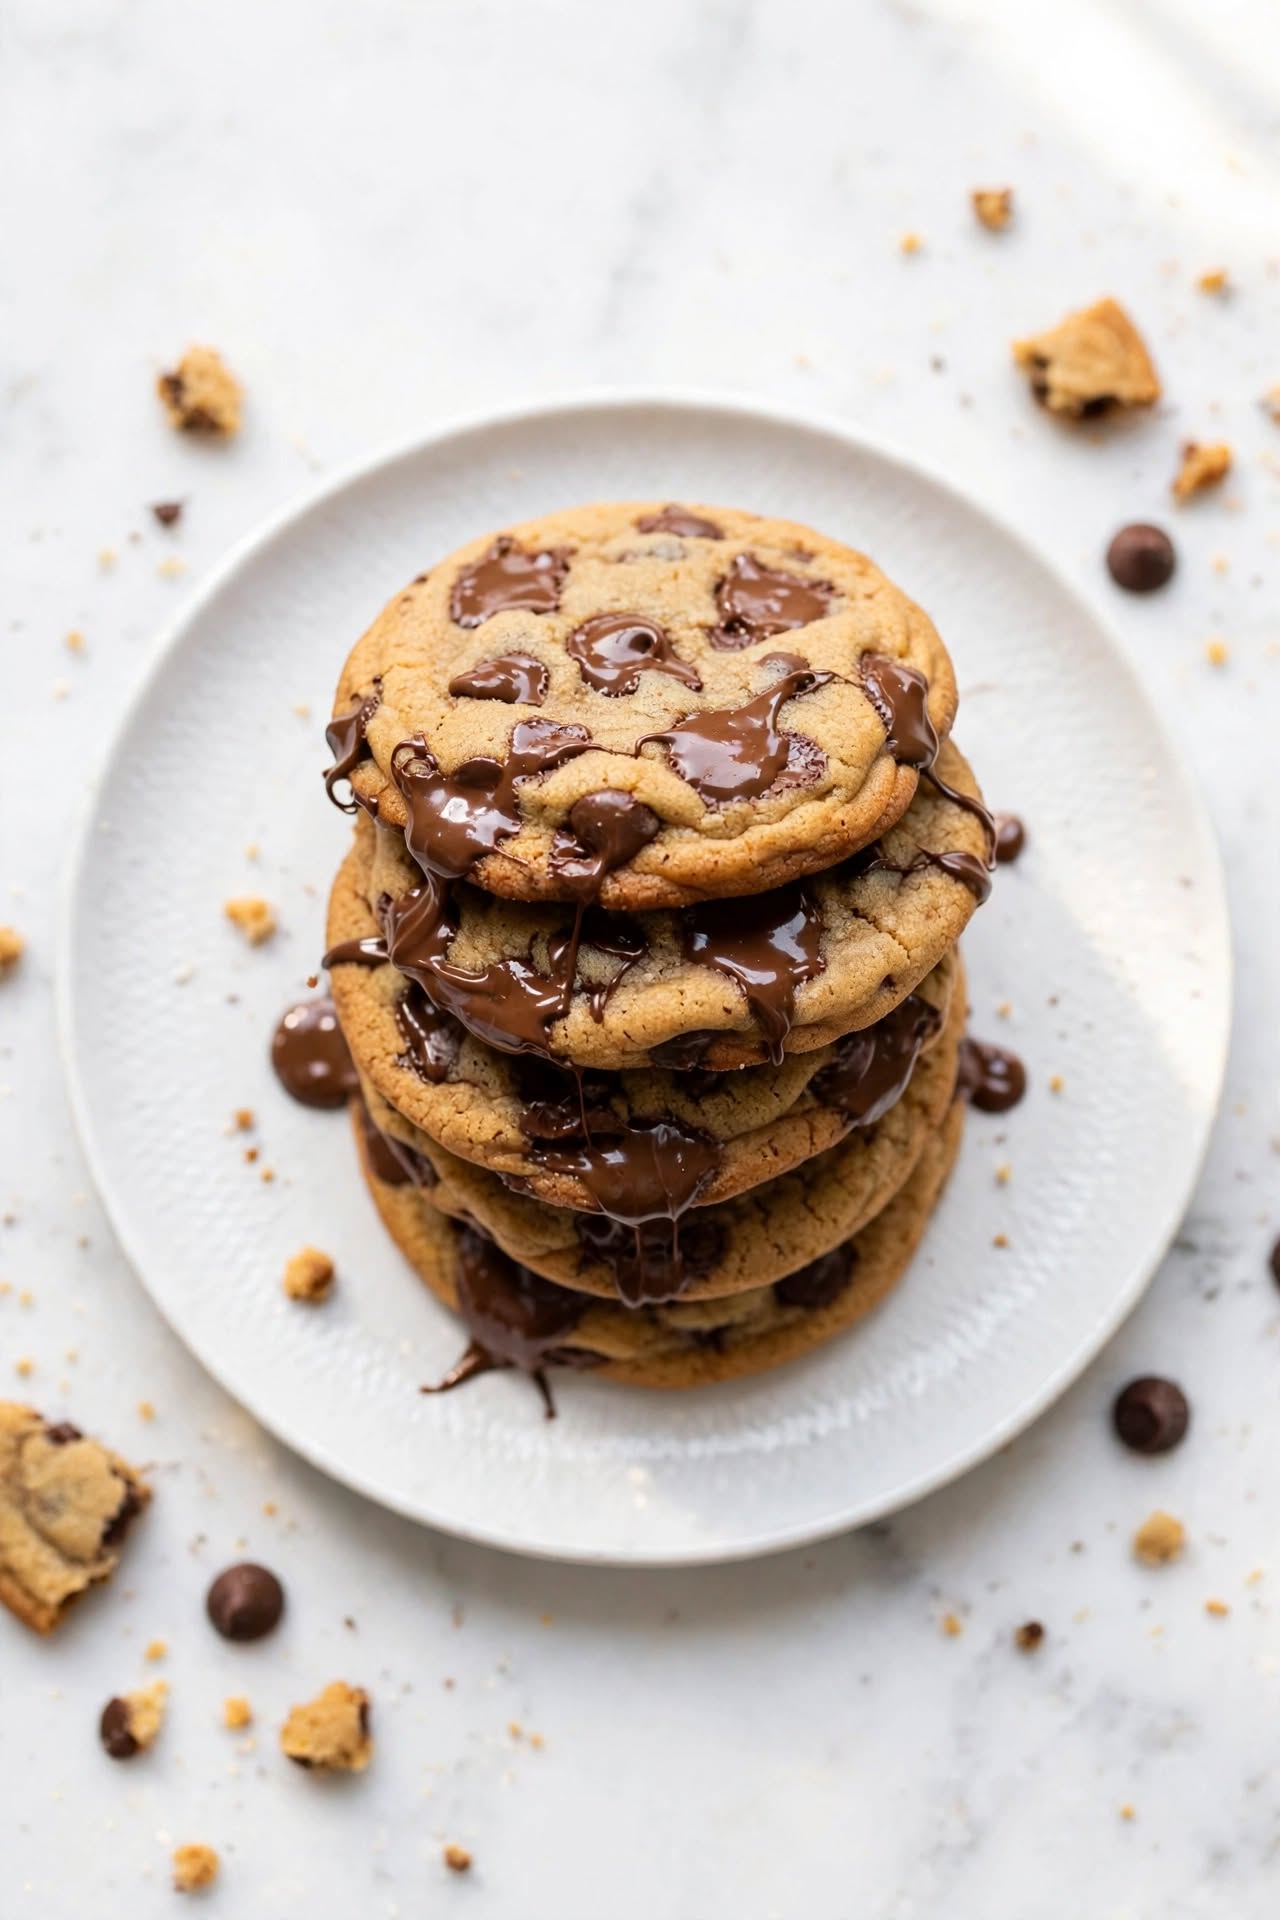
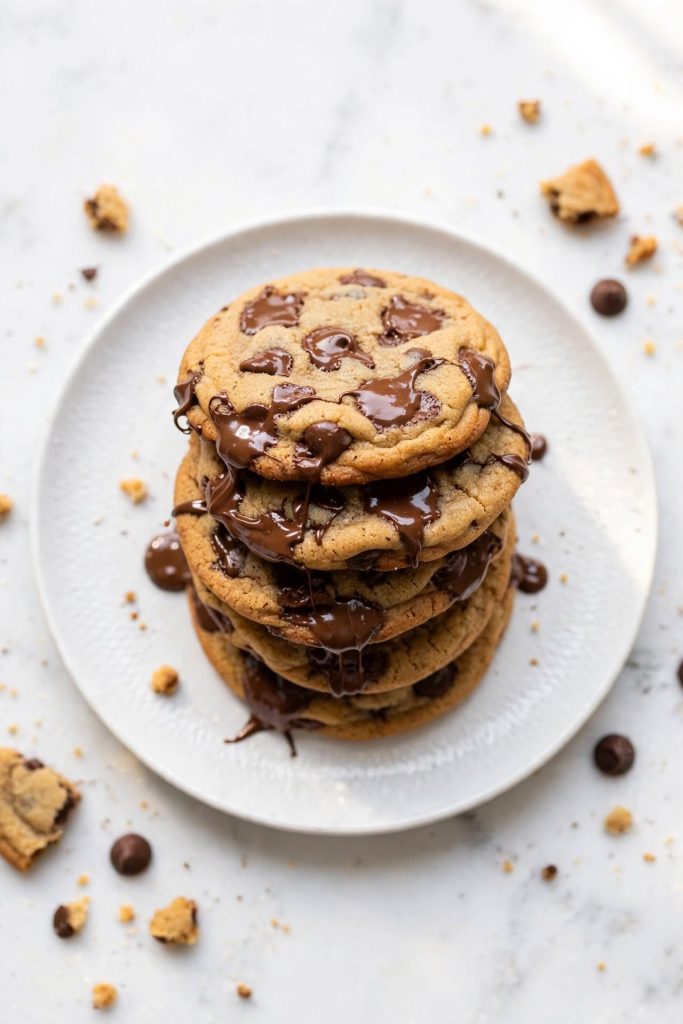
- Stack three high on a plate, drizzle with melted dark chocolate, and add a pinch of flaky salt for a dessert table centerpiece
- Serve four large cookies warm on a wooden board with a small bowl of caramel sauce for dipping — a crowd-pleasing dinner party dessert
- Package in a kraft box with ribbon as a homemade gift for any occasion
Classic cookies pair well with cold milk, black coffee, or a scoop of vanilla ice cream. These are the right bake for weeknights, bake sales, care packages, or any occasion where you need something that travels and holds up well.
Frequently Asked Questions
Can I make chocolate chip cookies without eggs?
Yes — replace each egg with a flax egg (1 tablespoon ground flaxseed mixed with 3 tablespoons water, rested for 5 minutes). The texture will be slightly denser and less chewy, but the cookies will hold their shape. Use at room temperature for best results and add one extra minute to the bake time.
Why did my chocolate chip cookies spread too flat?
The most common reason is butter that was too warm when mixed, or skipping the dough chill. Both allow the fat to melt too quickly in the oven. A second reason is too little flour from scooping the measuring cup directly from the bag rather than spooning and leveling. Check both before your next batch.
How do I know when chocolate chip cookies are done?
Pull the cookies from the oven when the edges are set and golden brown and the centers still look slightly underdone — they will not look fully baked. The residual heat from the pan continues cooking them for 5 minutes after you take them out. If they look completely set in the oven, they will be over-baked after cooling.
Can I make the dough ahead of time?
Yes — the dough keeps well in the refrigerator for up to 72 hours. Longer chilling improves the depth of flavor and gives you thicker cookies because the flour has more time to fully hydrate. Cover the bowl tightly with plastic wrap or transfer to an airtight container.
How long do chocolate chip cookies last?
Stored in an airtight container at room temperature, they stay at their best quality for up to four days. Keeping a slice of bread in the container extends that softness. Refrigerated, they last up to five days but the crumb dries out faster without the bread trick.
Can I freeze chocolate chip cookies?
Yes — both baked cookies and raw dough balls freeze well. Baked cookies last up to two months in an airtight freezer container. Raw dough balls last up to three months. Bake from frozen at 190°C / 375°F with two extra minutes added. If you enjoyed these, our brown butter blondies are the next recipe worth making.
What can I substitute for butter?
Vegan butter works well at the same weight using the same browning method. Coconut oil can be used at a 1:1 ratio by weight, but the flavor shifts noticeably and the cookies spread more. Do not use oil-based spreads — they contain too much water and will affect both the spread and the final texture.
Can I double this recipe?
Yes — double every ingredient exactly. Mix in two separate bowls if your bowl is not large enough to hold double the volume comfortably. Bake in separate batches on separate pans — do not stack pans in the oven, as the heat distribution changes and the bottom sheet will always underbake.
Why did my cookies come out cakey or puffy?
Too much flour (from scooping rather than spooning), excess baking soda, or using two whole eggs instead of one egg plus one yolk can all create a cakey texture. The egg yolk adds fat and richness; the white adds air and lift. Reducing to one whole egg plus one extra yolk and chilling the dough overnight will noticeably flatten and chew the result.
What size scoop should I use?
A 2-tablespoon cookie scoop gives you standard-sized cookies that bake evenly in 10 to 12 minutes. A 1-tablespoon scoop gives smaller cookies — reduce bake time to 8 to 9 minutes. A 4-tablespoon scoop gives bakery-sized cookies — increase bake time to 14 to 16 minutes and space at least 10cm apart on the sheet.
Why use both brown and white sugar?
Brown sugar contains molasses, which holds moisture and creates a chewy center. White sugar promotes spread and contributes to the crispy edge. Using only brown sugar gives you a chewy but pale cookie; using only white sugar gives you a thinner, crispier one with no chew. The 2:1 ratio here gives you both outcomes in one cookie.
Can I use chopped chocolate instead of chips?
Yes — and the result is better. Chopped dark chocolate (70% cacao) melts into pools and puddles throughout the cookie rather than staying in neat chip shape. This gives you more dramatic chocolate coverage in every bite. Use the same weight (340g) of a good-quality bar, roughly chopped into uneven pieces so you get both small flecks and larger pools.

Chocolate Chip Cookies
Ingredients
Method
- Brown butter in a medium saucepan over medium heat, swirling, until deep amber and nutty — 5 to 7 minutes. Pour into a large bowl and cool 20 minutes.
- Whisk both sugars into the cooled butter for 1 minute until smooth and glossy.
- Whisk in both eggs and vanilla until slightly pale and thick, about 60 seconds.
- Sift in flour, baking soda, and salt. Fold with a spatula until no flour streaks remain — stop immediately.
- Fold in chocolate chips. Cover and refrigerate for 30 minutes minimum (overnight for best flavor).
- Preheat oven to 190°C / 375°F. Line baking sheets with parchment.
- Scoop dough into 2-tablespoon balls, spaced 5cm apart. Bake 10 to 12 minutes until edges are golden and centers look slightly underdone.
- Cool on the pan for 5 minutes before transferring to a wire rack.
Notes
More Dessert Recipes You Will Love
- Brown Butter Blondies — if the depth of flavor from browned butter in this recipe stood out, these use the same technique in a bar format that cuts cleanly and keeps well for five days.
- Oat Cookies with Dark Chocolate — a heartier cookie with crispy edges and a chewy oat center. Ready in under 25 minutes with no chilling required.
- Shortbread — three ingredients, no eggs, and a melt-in-the-mouth texture that relies entirely on the right ratio of butter to flour.
- Snickerdoodles — a cinnamon-sugar classic with a crinkled top and a soft, pillowy center. One bowl, 8 minutes in the oven.
- Peanut Butter Cookies — dense, rich, and naturally gluten-free. The fork cross-hatch pattern is not just decorative — it controls how the cookie spreads during baking.
Did you make these chocolate chip cookies? Leave a ⭐⭐⭐⭐⭐ rating below and let me know in the comments how they turned out. I read every comment and would love to know what worked for you.