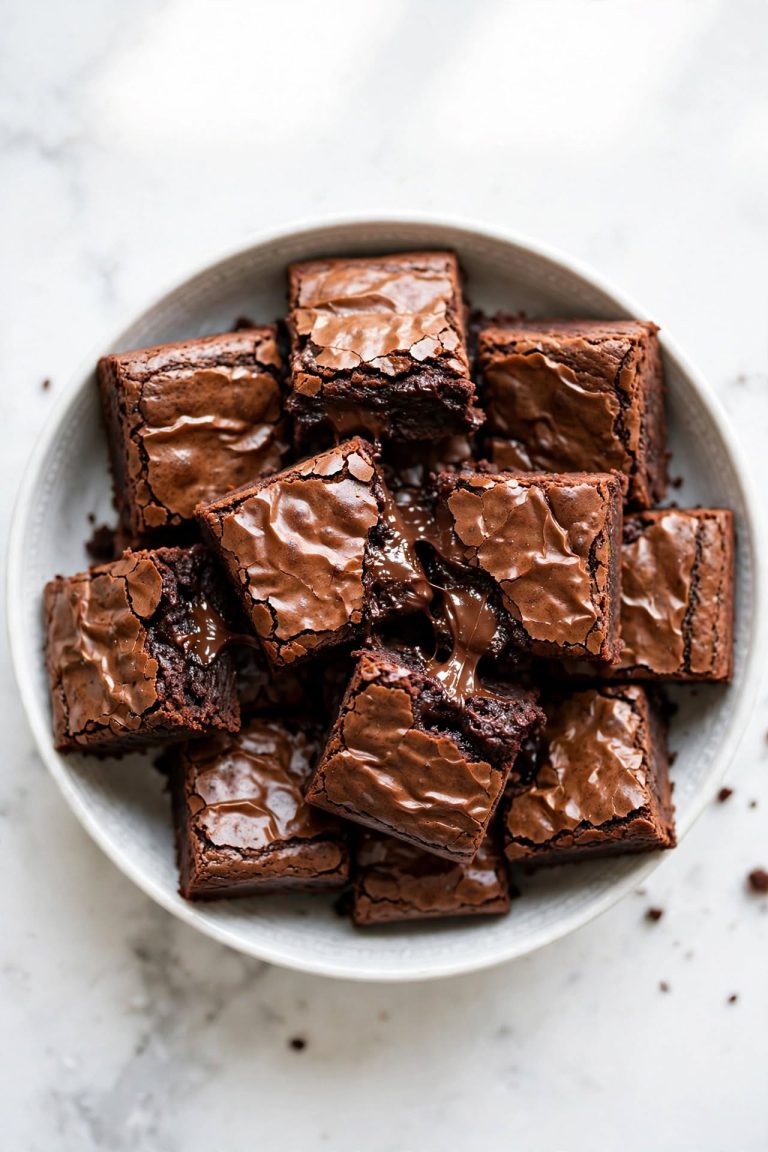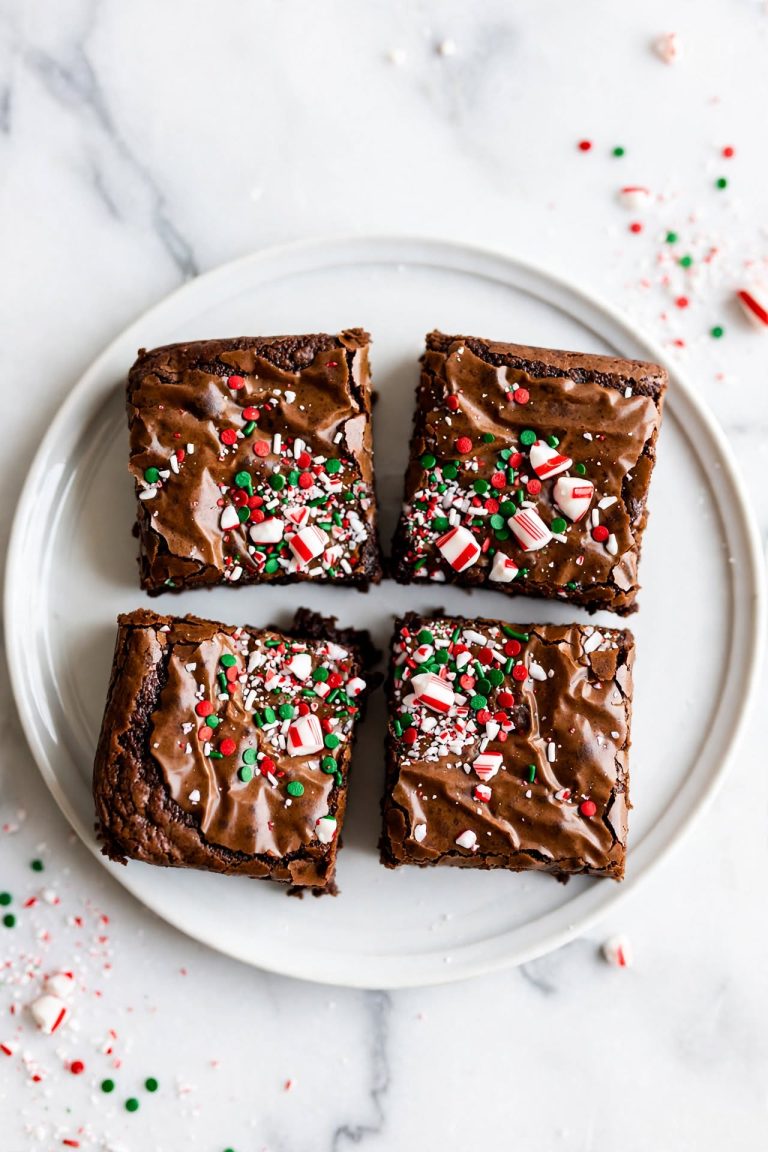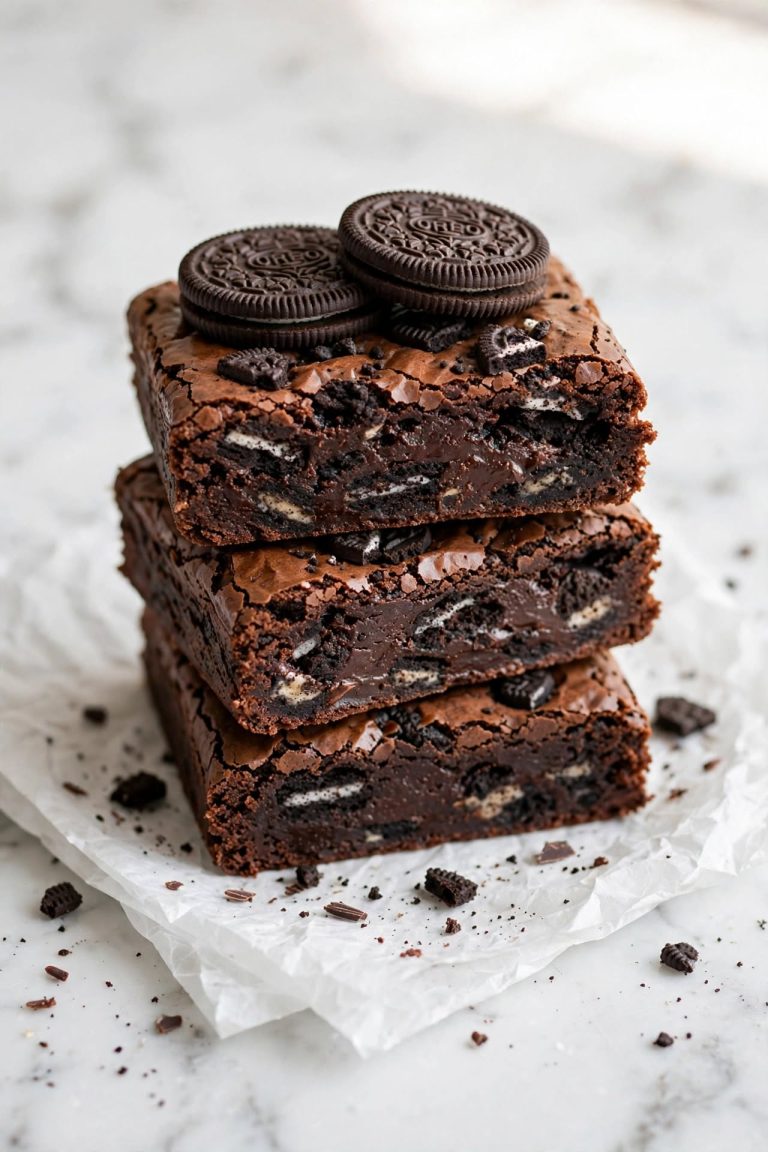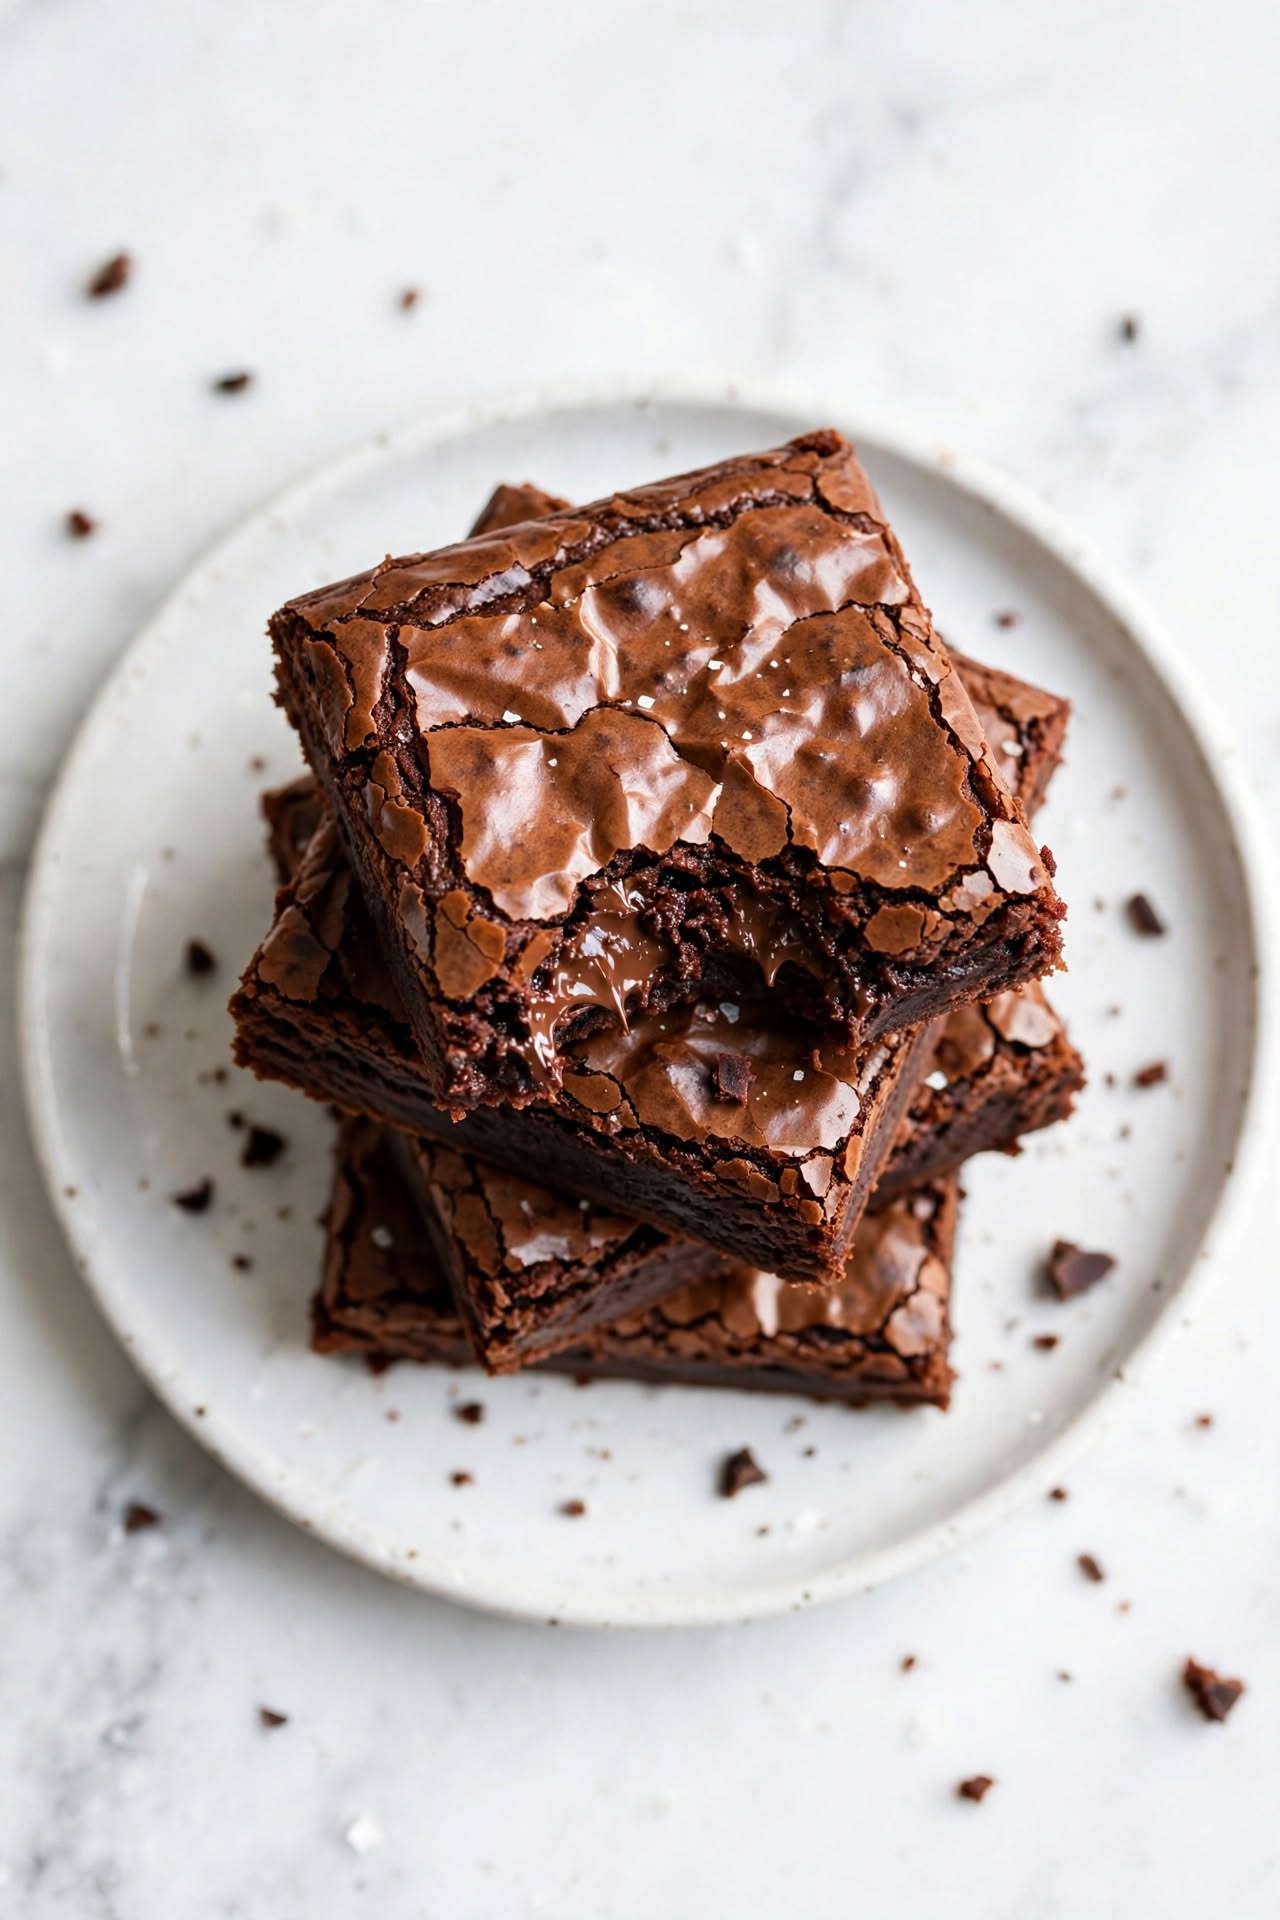
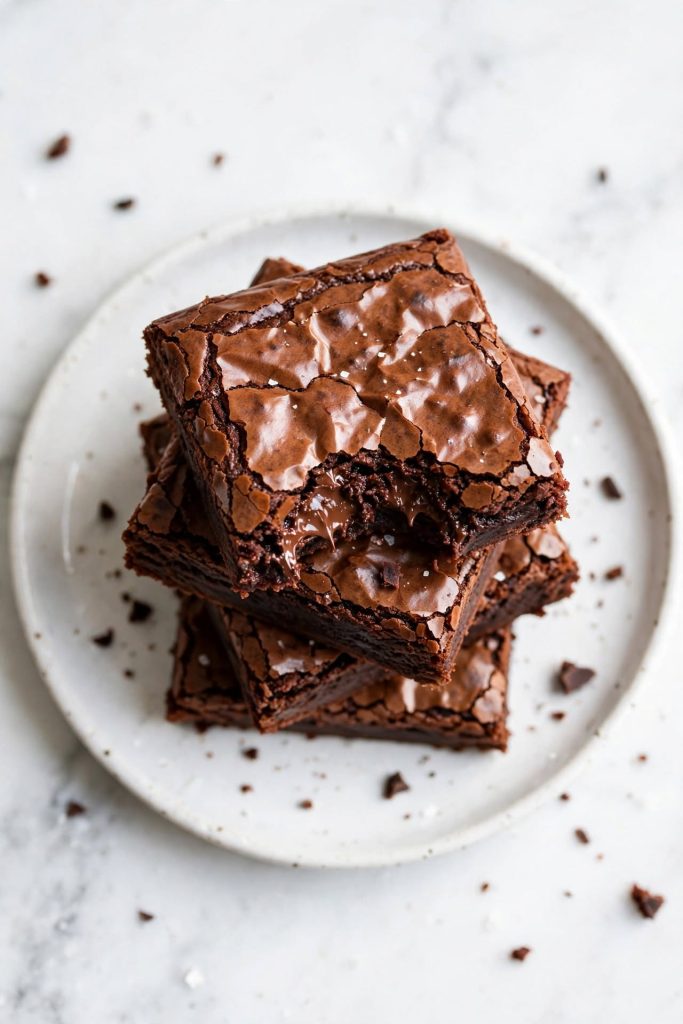
Fudgy brownies are a dense, chocolate-forward bar made with a higher ratio of fat to flour than cakey brownies. They use both melted dark chocolate and Dutch-process cocoa powder for maximum depth, an extra egg yolk for richness, and minimal leavening to stay dense rather than rise into a cake-like crumb. Bake time is 25 to 28 minutes in an 8×8 pan. Total hands-on time is about 15 minutes. Best for home bakers who want a genuine, from-scratch fudgy brownie that delivers bakery depth every time.
This fudgy brownies recipe gives you the dense, gooey crumb and glossy crinkle top that make a brownie worth eating — not the dry, cakey result that most home recipes produce. The secret is a higher fat-to-flour ratio, both melted chocolate and cocoa powder, and an extra egg yolk that adds richness without extra structure. If your brownies have been coming out cakey or dry, these three changes fix all of it. I tested this recipe nine times before publishing, adjusting the chocolate quantity and baking time until every batch came out with a clean toothpick and a fudgy, gooey center.
Why These Fudgy Brownies Work
Most brownie recipes sit in a middle ground between fudgy and cakey that satisfies neither. This one makes a deliberate, technical choice at every step to stay on the fudgy side — and nothing in it is an accident.
- More fat than flour — this recipe uses 225g of butter plus 200g of chocolate (both fat sources) against only 120g of flour. That high fat-to-flour ratio is the single most important factor in fudgy texture. Cakey brownies always have more flour relative to fat.
- Both melted chocolate and cocoa powder — melted dark chocolate provides fat and rounded flavor depth. Dutch-process cocoa powder adds concentrated, intense chocolate flavor and contributes to the dense crumb. Using both produces a complexity neither achieves alone.
- An extra egg yolk — four whole eggs plus one extra yolk adds fat and lecithin (an emulsifier) without the extra protein and water that another whole egg would bring. The result is a richer, denser crumb that sets more firmly as it cools.
- Minimal leavening — just ½ teaspoon of baking powder. Enough for the top to puff slightly and give you the crinkle, but not enough to lift the crumb into cake territory. No baking soda — it would make the crumb too open and fluffy.
- No mixer — mixing by hand with a whisk and spatula avoids over-aerating the batter. A stand mixer would beat in too much air, which is what pushes texture from fudgy toward cakey.
- Pull-early rule — these brownies come out of the oven when the center still looks slightly underdone. The carryover heat inside the pan finishes the bake as they cool. Waiting until they look done means they are already overbaked.
If you want to understand more about the role of fat in baked goods, our complete guide to fat ratios in baking goes deeper into the chemistry.
Ingredients for Fudgy Brownies
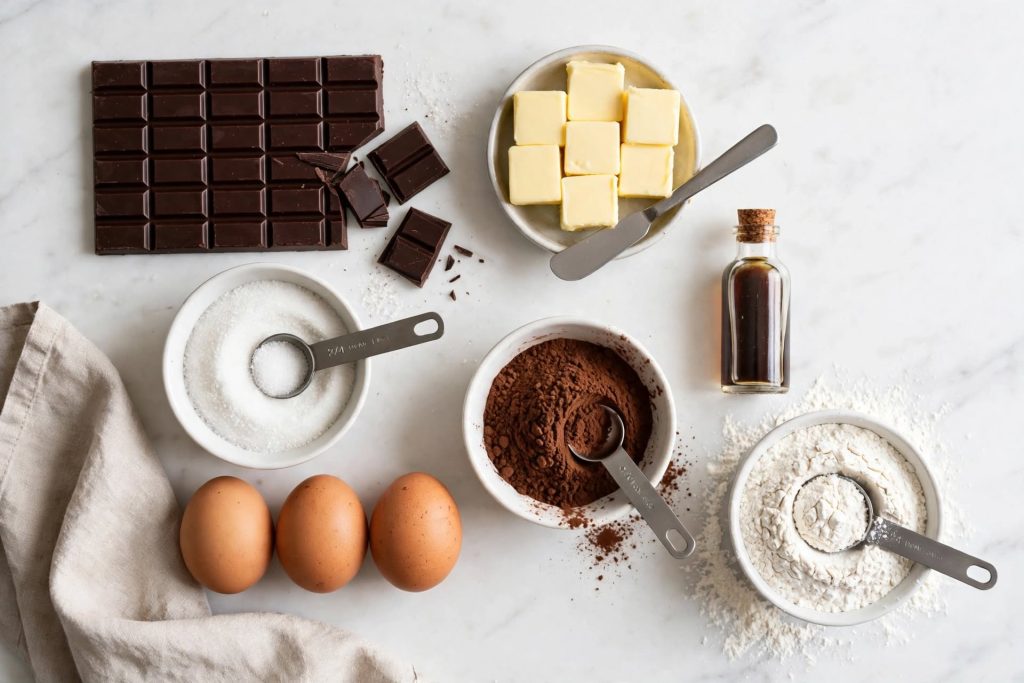
The Brownie Batter
| Ingredient | Amount | What It Does | Best Substitute + Impact |
|---|---|---|---|
| Unsalted butter | 225g (1 cup) | Primary fat source, richness, moisture | Salted butter — reduce added salt to ¼ tsp |
| Dark chocolate, 70% cacao | 200g (7 oz) | Fat, flavor depth, fudgy structure | Semi-sweet chips — less complex, still fudgy |
| Granulated sugar | 400g (2 cups) | Sweetness, crinkle top, moisture retention | Half brown sugar — chewier, less crinkle top |
| Large eggs | 4 whole + 1 yolk | Structure, richness, emulsification | 4 whole eggs — still fudgy, slightly less rich |
| Pure vanilla extract | 2 tsp | Flavor depth, rounds out chocolate | Vanilla bean paste — stronger |
| All-purpose flour | 120g (1 cup) | Structure — kept intentionally low | Bread flour — slightly chewier bite |
| Dutch-process cocoa powder | 60g (½ cup) | Intense chocolate flavor, dense crumb | Natural cocoa — less intense, more acidic |
| Fine sea salt | 1 tsp | Flavor balance, sharpens chocolate | Kosher salt — use 1½ tsp |
| Baking powder | ½ tsp | Minimal lift for crinkle top only | None — denser and flatter with no lift |
Key Ingredient Notes
Dark chocolate quality: Use a good-quality eating chocolate bar at 70% cacao — not chocolate chips, which contain stabilizers that affect how they melt and reduce the fat available in the batter. Brands like Lindt, Valrhona, or any good supermarket 70% bar work well. The chocolate flavor in this recipe comes from both the bar and the cocoa powder, so the quality of the bar matters noticeably in the final result.
Dutch-process cocoa powder: Dutch-process cocoa has been treated to reduce acidity, giving it a darker color and a smoother, more rounded chocolate flavor than natural cocoa. It also pairs better with baking powder (which is what this recipe uses) — natural cocoa is acidic and works best with baking soda. Do not swap them without adjusting leavening.
The extra egg yolk: Do not skip this. The yolk adds fat (from the extra lipids) and lecithin (a natural emulsifier) without the extra water and protein that a fifth whole egg would add. The result is a brownie that sets to a denser, more fudge-like texture as it cools rather than continuing to firm like a cake crumb.
Equipment You Need
- 8×8 inch (20×20cm) light-colored metal baking pan
- Parchment paper with overhang on two sides (for lifting out)
- Large heatproof mixing bowl
- Medium saucepan (for double boiler) or microwave
- Whisk and rubber spatula
- Fine-mesh sieve (for sifting dry ingredients)
The Fudgy vs Cakey Brownie Guide
Every variable in a brownie recipe pushes the result toward fudgy or cakey. Here is the full picture — so you understand exactly what to change if your brownies are not coming out the way you want.
| Variable | Makes Brownies Fudgier | Makes Brownies Cakier | This Recipe |
|---|---|---|---|
| Fat-to-flour ratio | More fat, less flour | Less fat, more flour | ⭐ High fat — 225g butter + 200g chocolate vs 120g flour |
| Chocolate type | Melted chocolate bar (adds fat) | Cocoa powder only (less fat) | ⭐ Both — melted 70% bar + Dutch cocoa |
| Eggs | Fewer eggs, extra yolks | More eggs, extra whites | ⭐ 4 eggs + 1 extra yolk |
| Sugar type | Granulated — dissolves to a syrup that keeps brownies moist | Less sugar overall | ⭐ Granulated — 400g |
| Leavening | None or minimal | More baking powder / baking soda | ⭐ Minimal — ½ tsp baking powder only |
| Mixing method | By hand — less air incorporated | Stand mixer — more air | ⭐ By hand — whisk and spatula only |
| Bake time | Shorter — pull when center wobbles | Longer — baked through | ⭐ 25 to 28 min — center slightly underdone |
Every row in this recipe is optimised toward fudgy. If your brownies consistently come out more cakey than you want, work through this table row by row — the most likely culprits are too much flour, too many eggs, or too long in the oven.
How to Make Fudgy Brownies — Step by Step
Follow these steps in order. Do not rush the cooling period in Step 1 or the resting period after baking — both are critical to the final fudgy texture.
Step 1 — Melt the Butter and Chocolate
Combine the butter and chopped chocolate in a large heatproof bowl. Set over a saucepan of barely simmering water (the bowl should not touch the water) and stir until completely smooth — about 4 to 5 minutes. Alternatively, microwave in 30-second bursts, stirring between each, until smooth. Remove from heat and cool for 10 minutes.
What to look for: The mixture should be completely smooth with no visible chocolate pieces, dark in color, and glossy. It should feel warm but not hot — if it feels too hot to hold your hand near, wait another 5 minutes before proceeding.
⚠️ Do not add the sugar or eggs to hot chocolate mixture. Hot fat scrambles eggs on contact and prevents the sugar from dissolving properly — both result in a greasy, gritty batter.
Step 2 — Whisk in the Sugar
Add all the sugar to the cooled chocolate mixture and whisk vigorously for 1 to 2 minutes. The batter will look grainy and dull at first. Keep whisking — this friction is what starts building the signature glossy crinkle top by beginning to dissolve the sugar crystals.
What to look for: After 1 to 2 minutes of whisking, the mixture should look slightly smoother and more uniform. It will not be fully glossy yet — that comes after the eggs go in. Do not skip this step; under-whisked sugar means no crinkle top.
Step 3 — Add the Eggs and Vanilla
Add the eggs and extra yolk one at a time, whisking for 30 seconds after each addition. Add the vanilla extract and whisk for a final 30 seconds. The batter should now look noticeably glossy, smooth, and slightly thickened.
What to look for: A smooth, dark, glossy batter that ribbons off the whisk for a moment before falling back in. This gloss is the emulsified fat and egg creating the structure of the crinkle top.
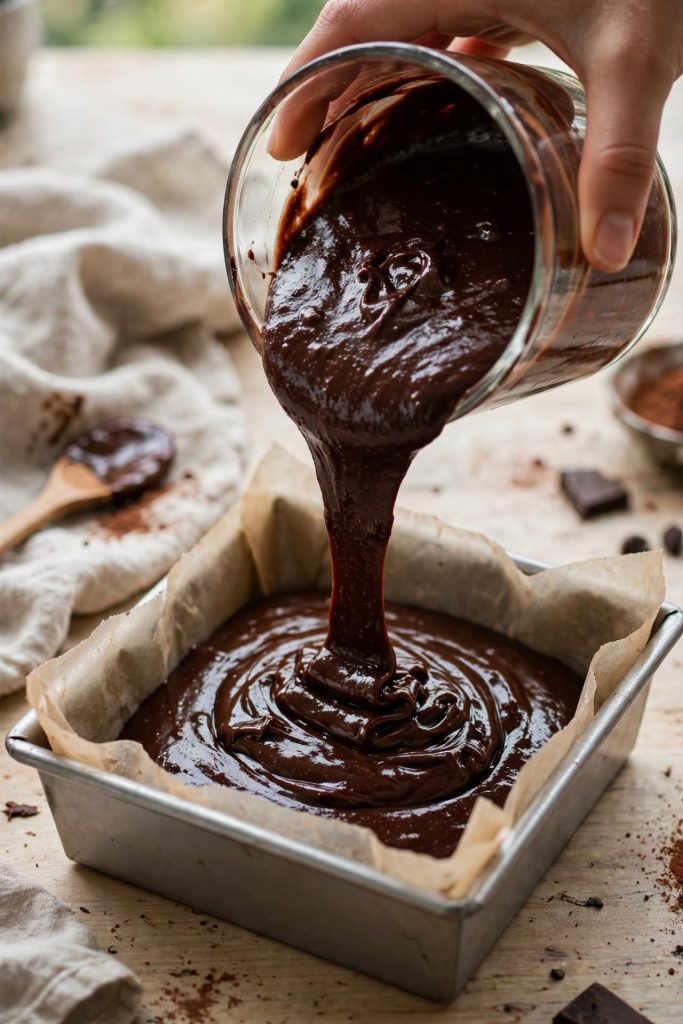
Step 4 — Fold in the Dry Ingredients
Sift the flour, cocoa powder, salt, and baking powder directly into the bowl. Fold with a rubber spatula using slow, deliberate strokes from the bottom of the bowl — stop the moment no dry streaks remain. This should take no more than 20 to 25 strokes.
What to look for: A thick, uniform batter with no visible flour or cocoa patches. It should be glossy and hold its shape slightly when you drag the spatula through it. Stop here — do not keep folding.
⚠️ Overmixing after the flour goes in builds gluten and incorporates air — both push the texture toward cakey. Count your strokes if you need to: 20 deliberate folds is enough.
Once you are confident with this folding method, our one-bowl chocolate baking guide covers the same technique across multiple recipes.
Step 5 — Bake to the Right Doneness
Preheat your oven to 175°C / 350°F. Line your 8×8 inch pan with parchment, leaving an overhang on two sides. Pour in the batter, smooth to the edges, and bake for 25 to 28 minutes. At 25 minutes, insert a toothpick into the center — it should come out with moist, fudgy crumbs attached. If it comes out with wet batter, give it 2 more minutes. If it comes out clean, they are already overbaked.
What to look for: Set, matte edges with a glossy, slightly underdone-looking center that has a gentle wobble when you shake the pan. The top should have a crinkled, papery crust. Pull them at this exact moment.
Step 6 — Cool Completely Before Cutting
Place the pan on a wire rack and cool for a minimum of 1 hour — 2 hours is better. The brownies will look underdone when they come out of the oven; they firm up completely as they cool. For bakery-clean cuts, refrigerate for 30 minutes after the initial room-temperature cool, then cut with a hot dry knife, wiping the blade between every cut.
What to look for: The center should feel firm to a light touch — not springy (underdone) and not rock solid (overdone). The edges will be pulling away from the pan slightly. Lift out using the parchment overhang before cutting.
The Science Behind Fudgy Brownies
Fudgy brownies are not just underbaked cakey brownies — they are a fundamentally different formula. Here is what makes them work at a molecular level.
Why More Fat Than Flour Creates Fudginess
Flour provides structure through gluten — a network of proteins that sets when heated. Fat, by contrast, coats those flour proteins and limits how much gluten forms. In a high-fat-to-flour ratio like this recipe’s, there is not enough gluten to build a firm, airy crumb. Instead, the structure comes primarily from the eggs setting around a fat-saturated matrix — which, as it cools, creates a dense, moist, fudge-like texture rather than a bread-like one. Every extra tablespoon of flour you add moves the result further toward cakey; every reduction moves it further toward fudge.
Why Melted Chocolate Beats Cocoa Powder Alone
A chocolate bar at 70% cacao is roughly 30 to 40% fat (cocoa butter) by weight. When you melt it into the batter, that cocoa butter becomes part of the fat matrix — adding to the richness and contributing to the dense, melt-in-the-mouth quality of a fudgy brownie. Cocoa powder, by contrast, has had most of its fat removed during processing and contributes primarily flavor and starch. Using only cocoa powder produces a drier, less rich crumb. Using both gives you the flavor concentration of cocoa powder and the fat richness of the melted bar — which is why every serious fudgy brownie recipe uses both.
Why the Extra Egg Yolk Makes the Difference
Egg whites are primarily water and protein — they add structure and, when beaten, air. Egg yolks contain fat (about 30% by weight) and lecithin, a powerful natural emulsifier. The extra yolk in this recipe adds fat to the matrix without the water and lift of another egg white. Lecithin also helps the fat and water in the batter bind together smoothly, which contributes to the glossy crinkle top and a denser, more uniform crumb. Replacing all five with four whole eggs gives a noticeably less rich result — the crumb becomes slightly lighter and less fudge-like after cooling.
Tips for the Best Result
These are the details that separate a good batch of fudgy brownies from one that people cut a second piece from before the first is finished.
- Use a kitchen scale, not cups — the flour measurement is the most critical in this recipe. One extra ounce of flour shifts the texture noticeably toward cakey. A scale removes all ambiguity.
- Chop the chocolate, do not use chips — chocolate chips contain stabilizers (typically soy lecithin and sometimes wax) designed to help them hold their shape. These stabilizers also reduce the amount of cocoa butter that releases into the batter, which directly reduces fudginess. Use a bar.
- Cool the chocolate mixture for the full 10 minutes — adding eggs to warm but not hot chocolate is ideal. Too cool and the batter stiffens before you can mix it properly; too hot and the eggs scramble. Aim for a mixture that feels warm but does not steam.
- Use the toothpick test, not the appearance test — the top of fudgy brownies can look completely done while the center is still wet. The toothpick with moist crumbs is the only reliable indicator of perfect doneness.
- Line the pan with parchment overhang — this lets you lift the entire slab out cleanly before cutting. Cutting in the pan gives you uneven edges and crushed corners.
- Refrigerate before cutting — 30 minutes in the fridge after the initial cool firms the chocolate fat enough to cut cleanly. Room-temperature fudgy brownies are delicious but crumble slightly at the cut edge.
- Flaky salt on top — add a pinch of flaky sea salt to the batter surface just before it goes into the oven. It deepens every chocolate note and creates pockets of contrast in the finished brownie.
Common Mistakes to Avoid
❌ Overbaking Even by Three Minutes
Result: The center loses its gooey, fudgy texture — the crumb dries out and sets into a firmer, cakey bite. Fudgy brownies overbaked by even three minutes are still good, but they are no longer the recipe.
Fix: Set your timer for 25 minutes and use the toothpick test. Moist fudgy crumbs = pull now. Wet batter = 2 more minutes. Clean toothpick = already done. Use a separate oven thermometer — ovens that run hot are the most common cause of overbaked brownies.
❌ Using Too Much Flour
Result: Dense in texture but dry in bite — the extra gluten firms the crumb and absorbs the fat that would otherwise create fudginess. The brownie holds together better but tastes powdery and flat.
Fix: Weigh the flour on a scale (120g exactly). If you must use cups, spoon the flour into the cup and level with a knife — never scoop from the bag, which can add 20 to 30% more flour than the recipe needs.
❌ Cutting Before They Are Fully Cool
Result: The center collapses and smears, the edges crumble, and you cannot get a clean square — they look messy regardless of how they taste.
Fix: Wait the full cool time. If you are in a hurry, a 30-minute blast in the refrigerator after 30 minutes of room-temperature cooling gives you cuttable brownies in an hour instead of two.
❌ Using Low-Quality Chocolate
Result: The brownie tastes flat, overly sweet, and one-dimensional — the complex, bitter-edged depth of good dark chocolate is entirely absent.
Fix: Use a 70% cacao bar from any reputable brand. The chocolate flavor in this recipe is the point — it is worth spending a little more on the bar, since everything else in the recipe is pantry staple.
❌ Baking in a Glass or Dark Pan
Result: Glass heats unevenly and conducts heat more slowly — the center underbakes while the edges overbake, giving you a brownie that is simultaneously too gooey in the middle and too firm on the sides. Dark metal pans absorb more radiant heat and over-brown the bottom crust before the center is done.
Fix: Use a light-colored metal pan (aluminium or stainless-steel). If you only have a glass pan, reduce the oven temperature by 10°C / 25°F and add 3 to 5 minutes to the bake time.
❌ Skipping the Salt
Result: A flat, one-dimensional chocolate flavor. Salt does not make brownies taste salty — at the right level, it suppresses bitterness, heightens sweetness, and makes the chocolate flavor more recognisably chocolate.
Fix: Use the full 1 teaspoon of fine sea salt as written. For an extra hit on the surface, add a pinch of flaky sea salt to the top of the batter before baking.
For more guides at this level of detail, our chocolate baking troubleshooting guide covers every common brownie, cake, and cookie problem from the same angle.
Variations Worth Trying
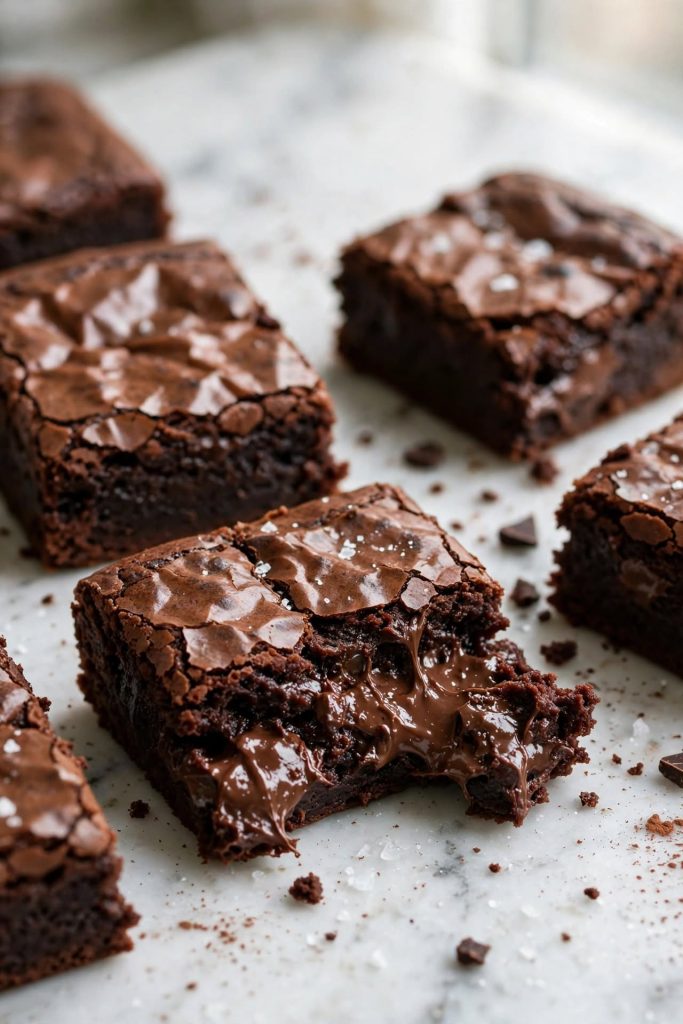
Salted Caramel Swirl Brownies
What changes: After pouring the batter into the pan, drizzle 4 tablespoons of thick store-bought or homemade salted caramel over the surface. Run a knife or skewer through it 6 to 8 times in opposing directions to create a swirl pattern.
Result: A buttery caramel layer that sets into the brownie as it bakes, creating pockets of sticky sweetness against the bitter chocolate. The salt in the caramel amplifies both the chocolate and caramel flavor. These are the most visually striking variation and photograph well.
Espresso Dark Chocolate Brownies
What changes: Add 2 teaspoons of espresso powder to the dry ingredients at Step 4.
When: Sift with the flour and cocoa at Step 4.
Result: Espresso does not make the brownies taste like coffee — at this quantity, it deepens and amplifies the dark chocolate flavor significantly. Most people cannot identify the espresso but notice that the brownies taste more intensely chocolatey. This is the single highest-impact flavor addition for fudgy brownies.
Peanut Butter Swirl Brownies
What changes: Warm 80g (⅓ cup) of smooth peanut butter slightly, then drop in spoonfuls over the batter and swirl with a knife before baking.
Result: A nutty, salty contrast that cuts through the rich chocolate and creates a visual stripe pattern in the finished brownie. Use natural peanut butter (no added sugar) for the cleanest flavor — sweetened peanut butter makes the result too sweet overall.
Cream Cheese Swirl Brownies
What changes: Beat 115g (4 oz) room-temperature cream cheese with 2 tablespoons sugar and 1 egg yolk until smooth. Drop in spoonfuls over the brownie batter and swirl to create a marble pattern.
Result: A tangy, cheesecake-flavored layer baked into the brownie — the acidity of the cream cheese cuts the richness of the chocolate and makes each bite more interesting. Refrigerate these brownies after cooling — the cream cheese filling makes them perishable. Eat within 4 days.
Gluten-Free Version
What changes: Replace the all-purpose flour with a 1:1 gluten-free flour blend containing xanthan gum (same weight: 120g).
Result: Very similar to the original — the high fat content and low flour quantity mean the texture change is minimal compared to a higher-flour recipe. The crumb may be very slightly more dense and a touch more fragile at the edges. Cool completely before cutting — gluten-free baked goods are more fragile when warm.
How to Store
Room Temperature
Store fudgy brownies in an airtight container at room temperature for up to 4 days. They actually improve between day one and day two — the chocolate flavor deepens as the crumb settles and the fudgy texture becomes more pronounced. Place a sheet of parchment paper between layers if stacking to prevent the glossy tops from sticking together. Keep away from direct sunlight or heat sources, which soften the chocolate fat and make the texture greasy.
Refrigerator
Refrigerate fudgy brownies in an airtight container for up to 7 days. Cold temperatures firm the chocolate fat significantly — refrigerated brownies have a denser, more fudge-like bite that many people prefer. Let them come to room temperature for 15 to 20 minutes before eating to restore the gooey center, or microwave one brownie for 15 seconds for a warm, freshly-baked result. If your variation includes a cream cheese swirl, refrigeration is mandatory — eat within 4 days.
Freezer — Complete Guide
Fudgy brownies are one of the best baked goods to freeze — the high fat content means they thaw back to almost exactly their original texture. To freeze: cool completely, cut into individual squares, wrap each square tightly in plastic wrap, and place in a zip-lock freezer bag or airtight container. Freeze for up to 3 months at best quality. To thaw: unwrap and leave at room temperature for 30 minutes, or microwave for 20 to 25 seconds for a warm, gooey result. Do not freeze the whole uncut slab — it is difficult to thaw evenly and the outside over-softens before the center thaws. Cut before freezing, always.
If batch baking for events or gifting is part of your routine, our guide to freezing baked goods covers the full workflow for fudgy brownies and other bars.
How to Serve
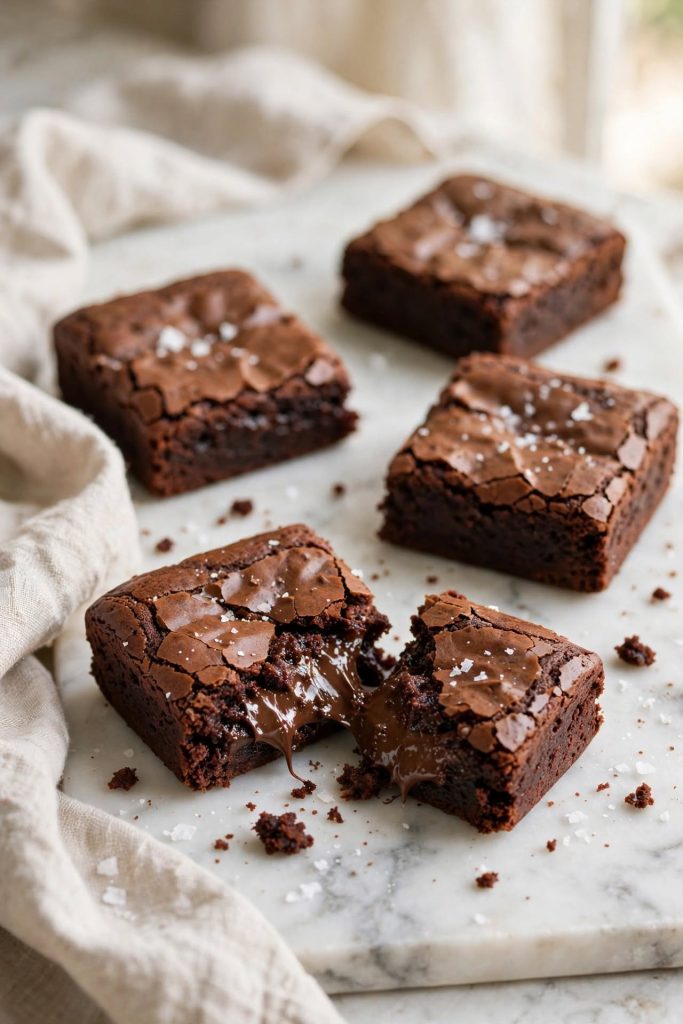
Classic Ways to Serve
- At room temperature from the container — the flavor is at its best on day two when the chocolate has had time to settle and deepen
- Slightly warm — 15 seconds in the microwave restores the gooey center and makes the edges slightly crisp, which is a genuinely excellent contrast
- Dusted with a thin veil of powdered sugar just before serving — the white against the dark crinkle top is a simple visual upgrade that takes five seconds
Upgraded and Occasion-Worthy
- Warm with a scoop of vanilla ice cream and a drizzle of extra salted caramel sauce — the combination of warm fudgy brownie, cold cream, and salt is genuinely one of the best desserts a home kitchen produces
- Cut into small 2-bite pieces and arranged on a dessert board alongside truffles, chocolate bark, and fruit for a chocolate dessert table
- Packaged in kraft boxes lined with parchment — fudgy brownies travel and gift well because the high fat content keeps them moist for up to four days without refrigeration
- Layered in a glass trifle with whipped cream and crushed raspberries for a dinner party dessert that requires no plating skill and always impresses
Fudgy brownies pair well with coffee, cold milk, vanilla ice cream, or a glass of red wine at a dinner party. They are the right bake for bake sales, gifting, potlucks, and any situation where you need something that holds up for several days and improves with time.
Frequently Asked Questions
How do I know when fudgy brownies are done?
Insert a toothpick into the center — it should come out with moist, fudgy crumbs attached. Not wet batter, not clean. A clean toothpick means overbaked. The edges should look set, the center should have a gentle wobble when you shake the pan, and the top should have a papery crinkle crust. Pull at this moment — they finish cooking on the pan as they cool.
Why did my brownies turn out cakey?
Cakey fudgy brownies usually come from too much flour, too much leavening, too many eggs, or overmixing after the flour goes in. Mixing builds gluten and incorporates air — both push the texture toward cake. Check your flour measurement first: scooping from the bag can add up to 20% more than you need. Use a scale if possible.
Can I use milk chocolate instead of dark?
Yes, but the result will be noticeably sweeter and less complex. Reduce the granulated sugar by 50g (¼ cup) to compensate. Semi-sweet chocolate at around 55% cacao is the best middle-ground substitute — it keeps some depth without the bitterness of 70% cacao. Chocolate chips are not recommended; they contain stabilizers that reduce the cocoa butter released into the batter.
Do I need both cocoa powder and melted chocolate?
Both serve different purposes and together give a deeper flavor than either alone. Melted dark chocolate provides fat and a complex, rounded flavor. Dutch-process cocoa powder adds concentrated chocolate intensity and contributes to the dense fudgy texture. Using only melted chocolate gives richness without punch; using only cocoa powder gives flavor without richness. The combination is what defines these fudgy brownies.
How long do fudgy brownies last?
Stored in an airtight container at room temperature, they stay at their best quality for up to 4 days — and improve on day two. Refrigerated, they keep for up to 7 days. The cold firms the texture into a denser, more fudge-like bite. Let refrigerated brownies come to room temperature for 20 minutes before eating, or microwave for 15 seconds to restore the gooey center.
Can I freeze fudgy brownies?
Yes — fudgy brownies freeze exceptionally well. Cut into individual squares, wrap each in plastic wrap, and freeze in an airtight container for up to 3 months. Thaw at room temperature for 30 minutes, or microwave for 20 seconds for a warm result. Do not freeze an uncut slab — it thaws unevenly. If you enjoyed these, our chocolate lava cakes are the next chocolate recipe worth making.
Can I double this recipe?
Yes — double every ingredient and bake in a 9×13 inch pan. Baking time increases to approximately 30 to 35 minutes. Check at 30 minutes with the toothpick test. For the same thickness as the 8×8 version, use two 8×8 pans baked simultaneously on the same rack — same time and temperature as written.
Why do my brownies crack on top?
The crinkle top on fudgy brownies is a feature, not a fault. It forms when dissolved sugar migrates to the surface during baking and sets into a thin, glossy, crackled crust. Whisking the sugar vigorously into the warm chocolate for 1 to 2 full minutes is what triggers it. For a more pronounced crinkle, whisk the sugar and eggs together longer before adding the dry ingredients.
Do fudgy brownies need to be refrigerated?
No — fudgy brownies are shelf-stable at room temperature for up to 4 days in an airtight container. Refrigeration is optional and firms the texture. The only exception is variations with perishable fillings — cream cheese swirl brownies must be refrigerated and eaten within 4 days. If your kitchen is very warm, refrigerate to prevent the chocolate fat from becoming greasy.
Can I make fudgy brownies without a mixer?
Yes — this recipe is designed to be made entirely by hand with a whisk and a rubber spatula. No stand mixer or hand mixer is needed or recommended. A mixer would over-aerate the batter and push the texture toward cakey. The entire recipe comes together in one bowl in about 15 minutes of active time.
What pan size should I use?
An 8×8 inch (20×20cm) light-colored metal pan gives you 16 thick, fudgy brownies with the best texture. A 9×9 inch pan gives slightly thinner brownies — reduce baking time by 3 to 4 minutes. A 9×13 inch pan requires a doubled recipe and increases baking time to 30 to 35 minutes. Always use light-colored metal rather than glass or dark pans.
How do I get clean cuts on fudgy brownies?
Three steps: cool completely for at least 2 hours; refrigerate for 30 minutes after cooling to firm the chocolate fat; then use a sharp knife dipped in hot water and wiped dry between every cut. Pull the knife straight down — do not drag it through. For the absolute cleanest bakery-style cuts, refrigerate the fully cooled slab overnight before cutting.

Fudgy Brownies
Ingredients
Method
- Preheat oven to 175°C / 350°F. Line an 8×8 inch (20×20cm) metal pan with parchment paper, leaving overhang on two sides.
- Melt butter and chopped chocolate together over a double boiler or in the microwave in 30-second bursts, stirring between each. Stir until completely smooth. Cool for 10 minutes.
- Add sugar to the cooled chocolate mixture and whisk vigorously for 1 to 2 minutes.
- Add eggs and extra yolk one at a time, whisking 30 seconds after each. Add vanilla and whisk until the batter is glossy and slightly thickened.
- Sift flour, cocoa powder, salt, and baking powder directly into the bowl. Fold with a rubber spatula until no dry streaks remain — about 20 strokes. Stop immediately.
- Pour into the prepared pan and smooth to the edges. Bake 25 to 28 minutes — toothpick inserted in the center should come out with moist fudgy crumbs, not wet batter and not clean.
- Cool in the pan on a wire rack for at least 1 hour. For cleanest cuts, refrigerate 30 minutes, then cut with a hot dry knife wiped between cuts.
Notes
More Dessert Recipes You Will Love
- Chocolate Lava Cakes — individual molten chocolate cakes with a liquid dark chocolate center. The same high fat-to-flour ratio as these fudgy brownies, in a single-serve format that takes 12 minutes to bake.
- Salted Chocolate Chip Cookies — browned butter, two sugars, and a dough chill that gives you bakery-thick cookies with crispy edges and a soft center.
- Chocolate Lava Bars — the caramel swirl variation above turned into a full recipe: a dense fudgy brownie base with a thick salted caramel layer baked in and a sprinkle of flaky salt on top.
- Double Chocolate Cookies — a cocoa-powder base dough with extra dark chocolate chunks folded in. Chewy, dark, and nearly as intense as a brownie in cookie form.
- Chocolate Peanut Butter Bars — a no-bake peanut butter layer pressed over a fudgy brownie base, topped with a thin dark chocolate ganache. Chills in 30 minutes and cuts into 24 clean bars.
Did you make these fudgy brownies? Leave a ⭐⭐⭐⭐⭐ rating below and let me know in the comments how they turned out — and whether you used the toothpick test. I read every comment and would love to know what worked for you.