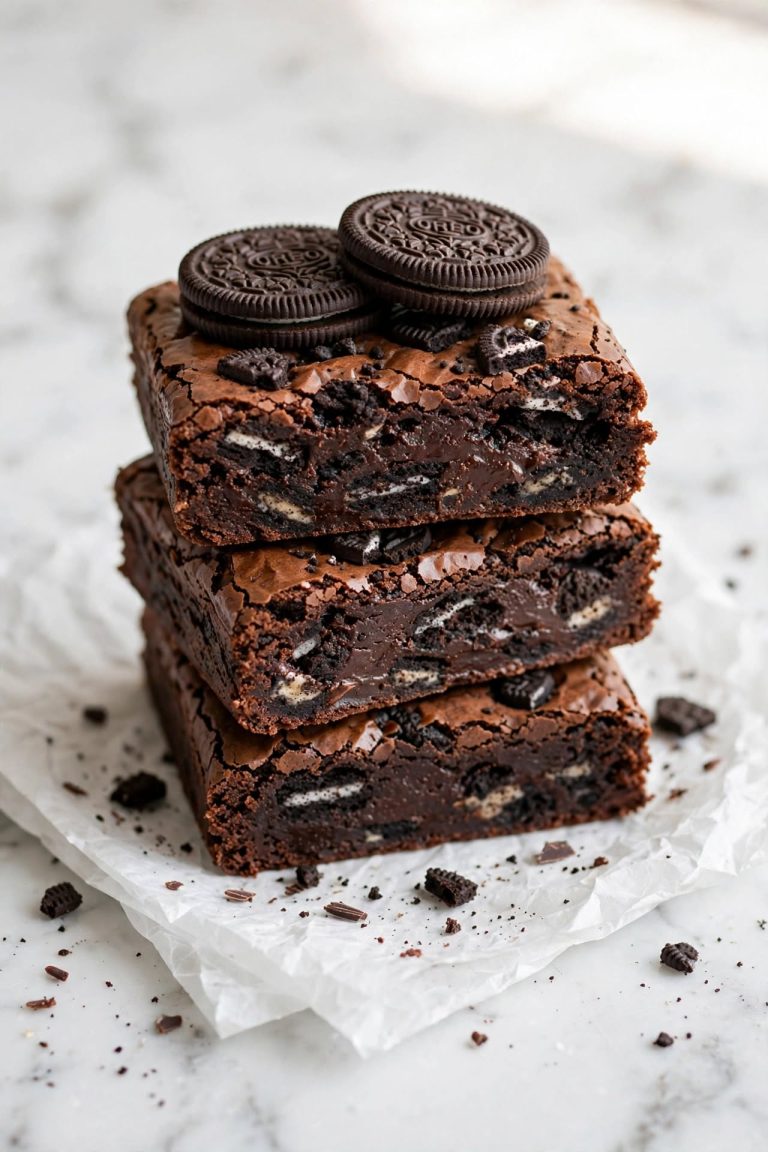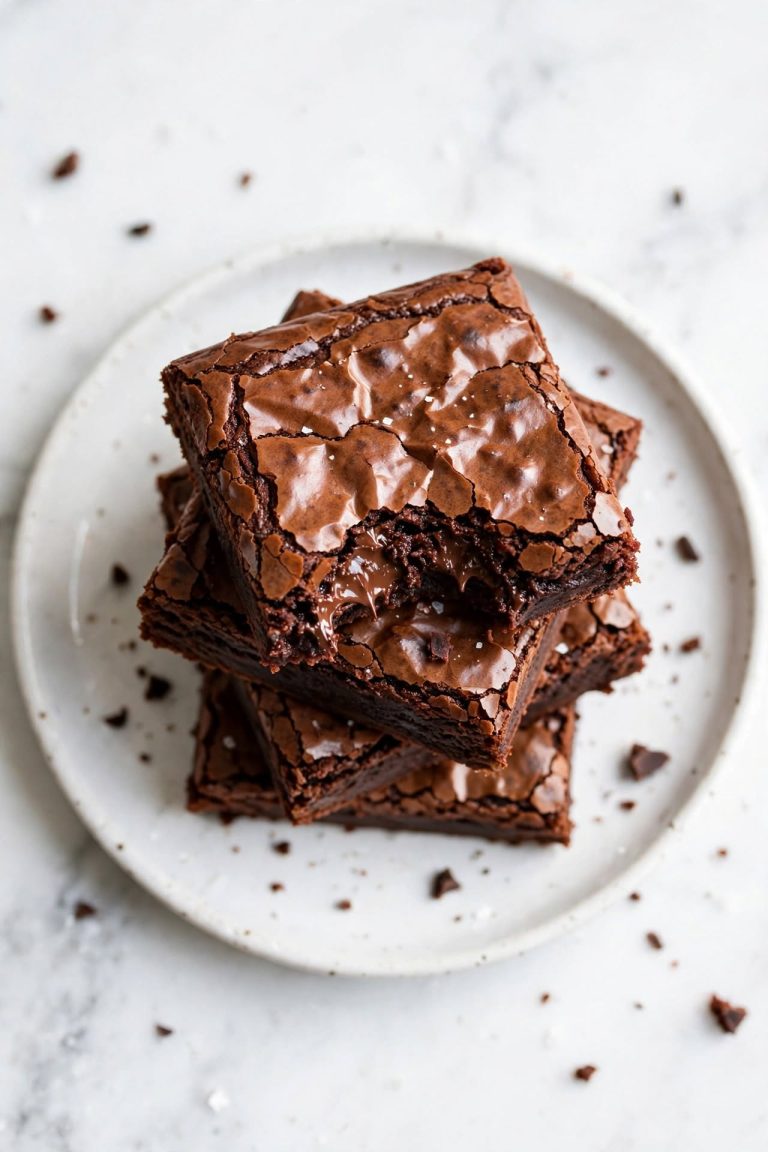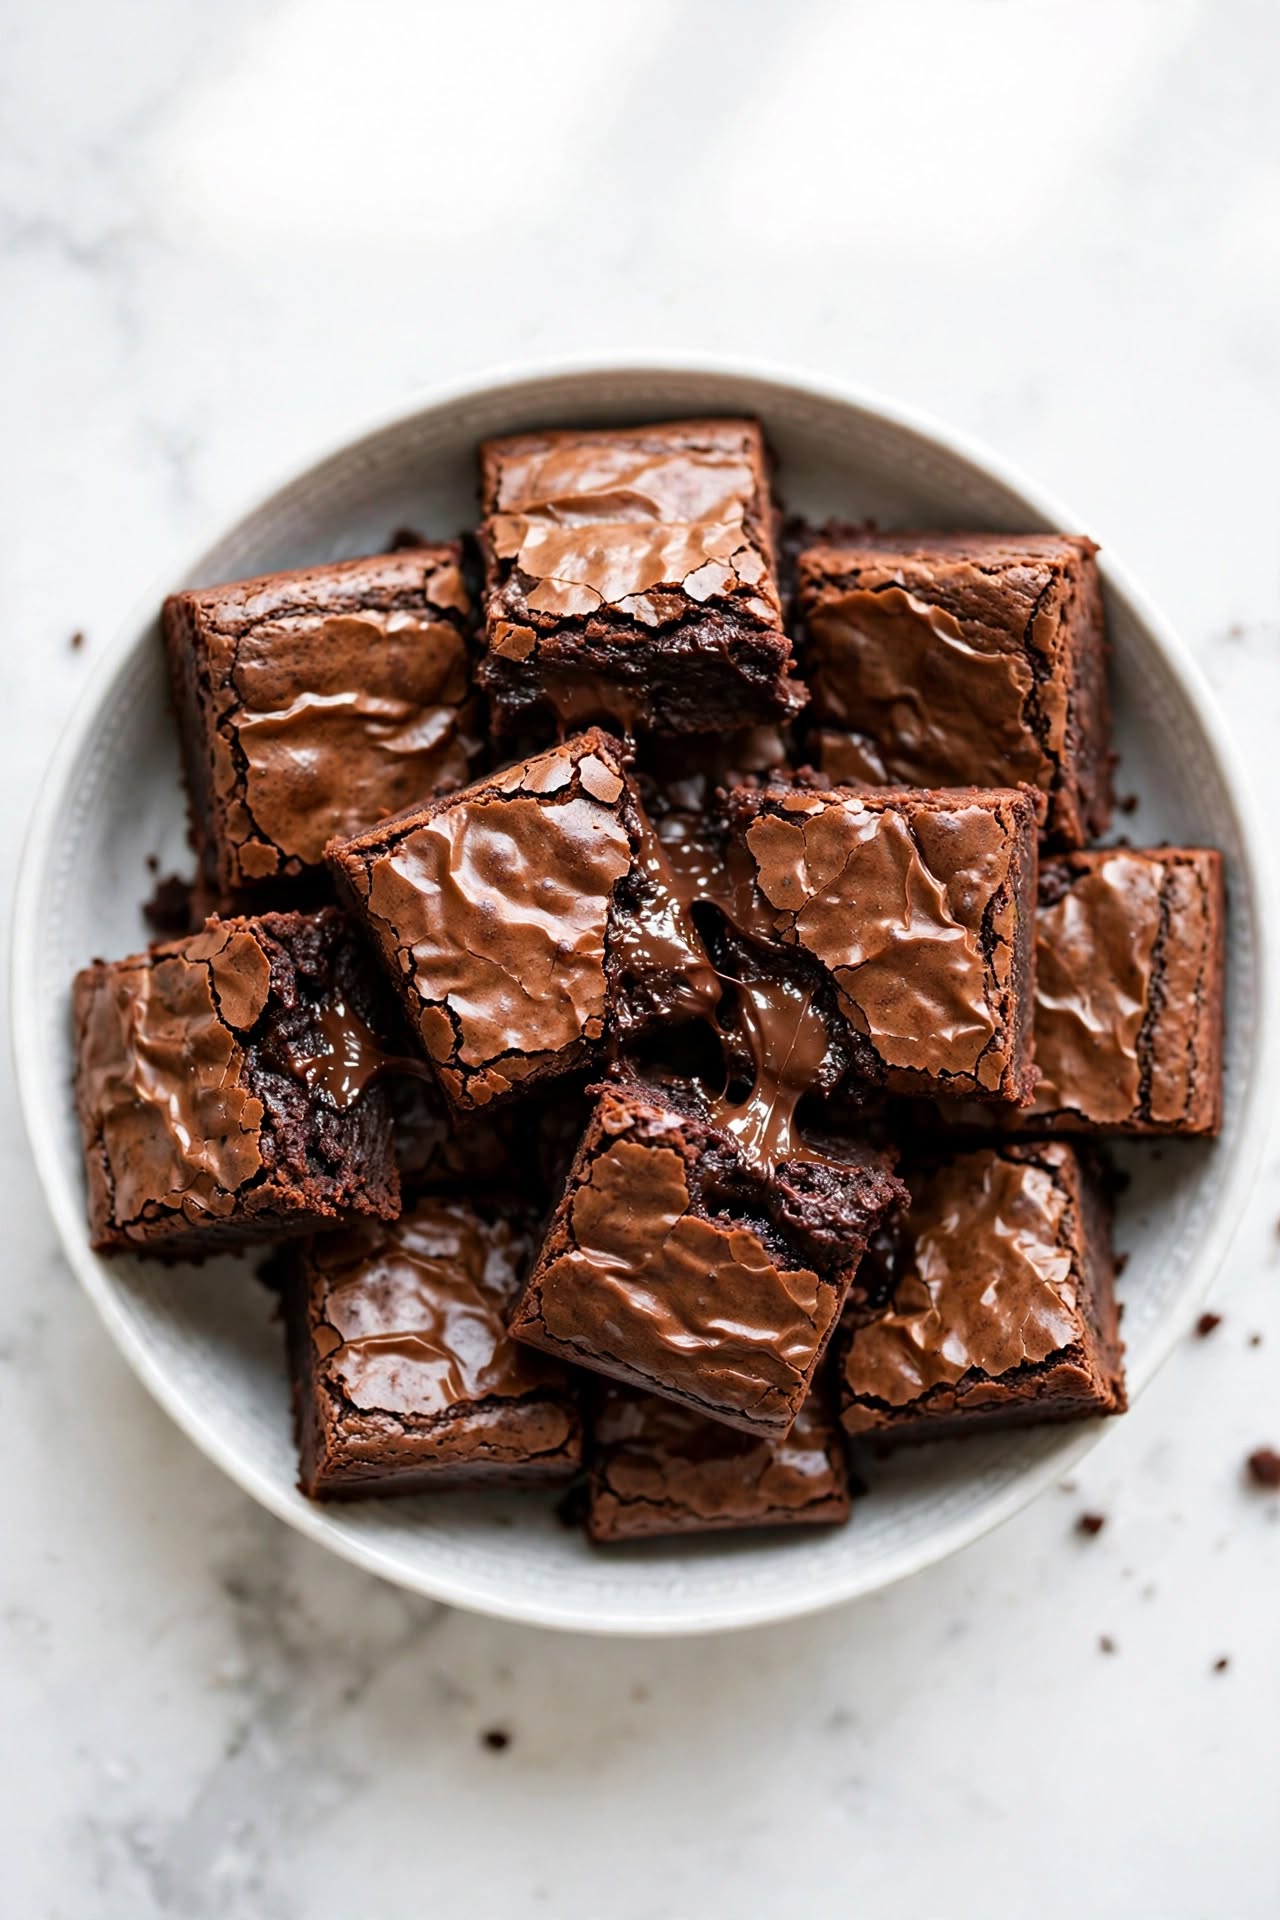
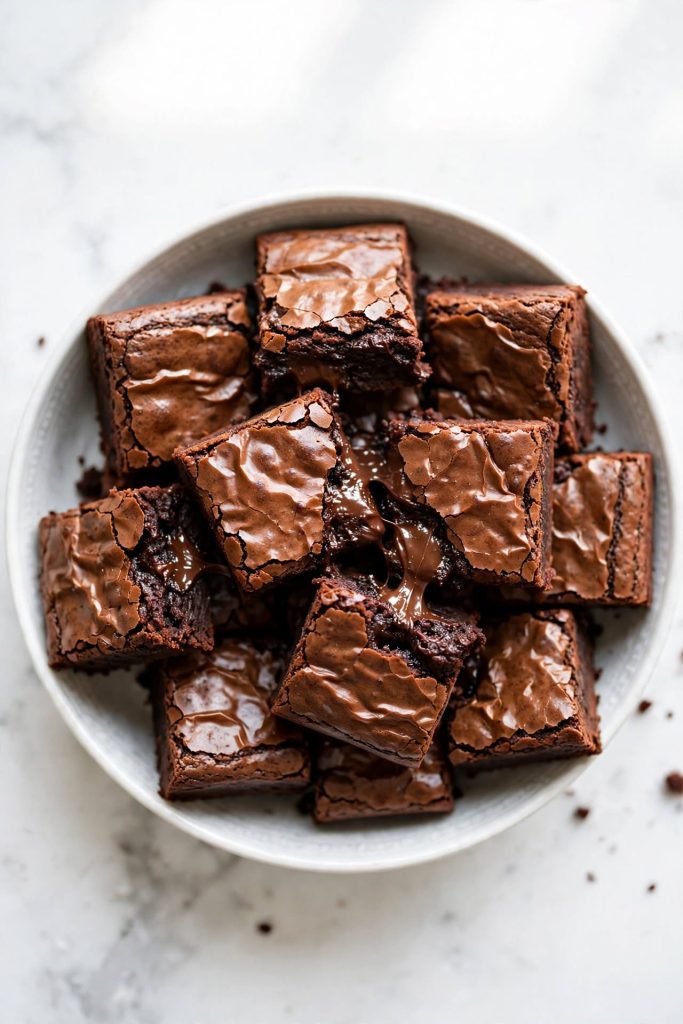
One bowl brownies are made entirely in a single mixing bowl — butter melted directly in the bowl, cocoa powder and sugar whisked in, eggs folded through, flour added last. No separate pots, no sifting into a second container, no stand mixer. Active prep time is 10 minutes. Bake time is 25 to 28 minutes in an 8×8 inch pan. Total time from bowl to table is 45 minutes, plus cooling. Best for home bakers who want a genuine, fudgy, from-scratch brownie with the same effort as opening a box mix.
This one bowl brownies recipe gives you a genuinely fudgy, deeply chocolatey result with almost no cleanup — and it is faster than most box mixes once you count the time spent reading the box. The method is dead simple: melt butter in a large bowl, add everything else in order, fold, and bake. There are no extra bowls, no sifting stations, no mixer to assemble. I tested this recipe eight times to make sure the one-bowl method did not compromise the texture — adjusting the order of additions and cocoa quantity until the result was consistently fudgy, not cakey, every single time.
Why These One Bowl Brownies Work
One bowl does not have to mean one-dimensional. Every decision in this recipe is made to keep the dish count at one and the texture firmly fudgy — and those two goals do not conflict as long as you follow the right order of additions.
- Butter melted directly in the mixing bowl — no separate saucepan, no transfer, no extra dish. The microwave does the work in under 2 minutes. This is the foundational step that makes the one-bowl method genuinely one bowl.
- Cocoa powder instead of a separate chocolate melt — Dutch-process cocoa powder adds rich, concentrated chocolate flavor without requiring you to melt a chocolate bar in a separate vessel. Added straight to the warm butter, it blooms in the fat and releases its full flavor before anything else goes in.
- High fat-to-flour ratio — 225g of butter against only 120g of flour keeps the crumb dense and fudgy. This is the same ratio that makes bakery brownies worth eating — the one-bowl method does not compromise it.
- Eggs added after the mixture cools — the 5-minute cooling period after melting the butter is the only time constraint in this recipe, and it is not negotiable. Eggs added to hot butter scramble on contact. Cool the butter first, and the eggs emulsify into the batter smoothly.
- Flour goes in last and gets folded, not stirred — adding the flour last and stopping the moment no dry streaks remain prevents gluten development. Gluten is what makes brownies chewy and cakey. Folding rather than stirring keeps the crumb soft and fudgy.
- No mixer required or recommended — a whisk for the wet ingredients, a spatula for the flour. That is the complete equipment list. A mixer would beat in air and tip the texture toward cake. Hand mixing is both easier and better for this recipe.
If you want to understand more about how fat-to-flour ratios control brownie texture, our complete guide to brownie texture science covers every variable in detail.
Ingredients for One Bowl Brownies
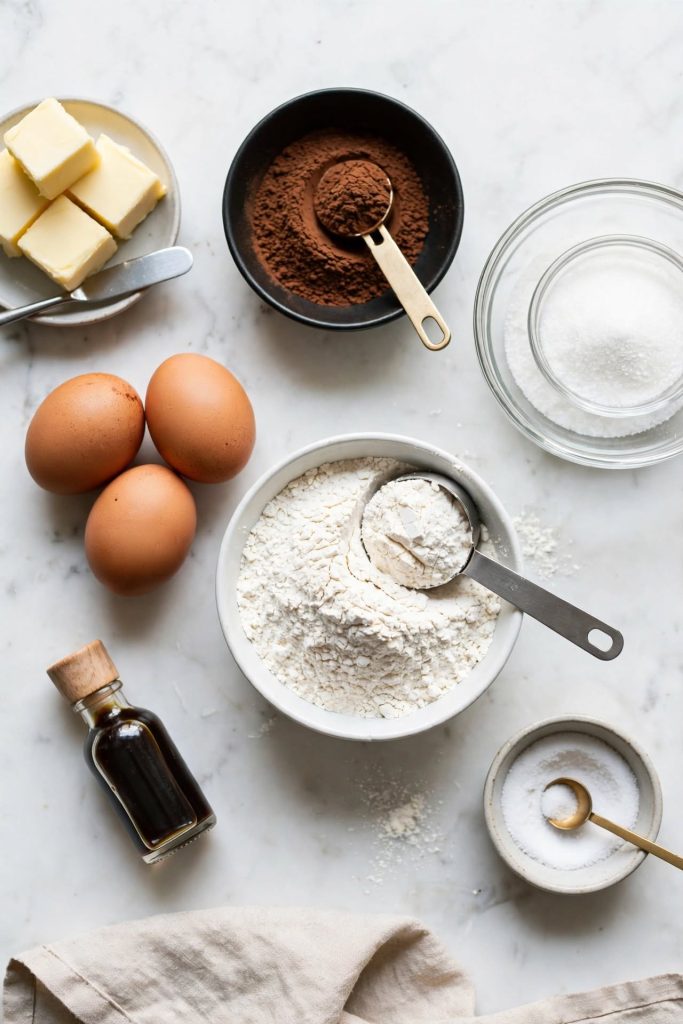
Eight ingredients, all pantry staples. Here is what each one does — and what to use if you need a substitution.
The Brownie Batter
| Ingredient | Amount | What It Does | Best Substitute + Impact |
|---|---|---|---|
| Unsalted butter | 225g (1 cup) | Primary fat, richness, fudgy texture | Salted butter — reduce added salt to ¼ tsp; or 180ml neutral oil |
| Dutch-process cocoa powder | 60g (¾ cup) | Chocolate flavor, dark color, dense crumb | Natural cocoa — adjust leavening (see Key Notes) |
| Granulated sugar | 400g (2 cups) | Sweetness, moisture, crinkle top | Half brown sugar — chewier, less crinkle top |
| Large eggs | 4 | Structure, binding, glossy top | 4 flax eggs — denser, no crinkle top |
| Pure vanilla extract | 2 tsp | Flavor depth, rounds chocolate | Vanilla bean paste — stronger result |
| All-purpose flour | 120g (1 cup) | Structure — kept low for fudginess | 1:1 GF flour blend — same weight |
| Fine sea salt | 1 tsp | Flavor balance, sharpens chocolate | Kosher salt — use 1½ tsp |
| Baking powder | ½ tsp | Minimal lift for crinkle top only | Omit for flatter, denser result |
Key Ingredient Notes
Dutch-process cocoa powder: This is the most important ingredient choice in the recipe. Dutch-process cocoa has been treated to reduce acidity, giving it a darker color, smoother flavor, and better compatibility with baking powder. Natural cocoa (the standard supermarket kind) works, but requires swapping the baking powder for ¼ teaspoon of baking soda — natural cocoa is acidic and reacts with baking soda, not baking powder. The finished brownie will be slightly lighter in color and sharper in flavor.
Butter quality and temperature: Use unsalted butter so you control the salt level. The butter should be melted from cold — do not soften it first. Melting from cold in the microwave is faster and keeps the bowl temperature manageable. After melting, let it cool for 5 minutes before adding anything else. This single step is what separates scrambled eggs from a glossy brownie batter.
Flour measurement: The difference between 120g and 150g of flour is the difference between fudgy and cakey. If you are using cups, spoon flour into the cup and level with a knife — never scoop from the bag. Scooping can add 20 to 30% more flour than the recipe needs. Use a kitchen scale if you have one: 120g exactly.
Equipment You Need
- Large microwave-safe mixing bowl (this is your only bowl — make it big)
- 8×8 inch (20×20cm) light-colored metal baking pan
- Parchment paper with overhang on two sides
- Whisk
- Rubber spatula
- Kitchen scale (strongly recommended for the flour)
The One Bowl Method — Order of Operations
The one-bowl method works because the order of additions is not random — each ingredient goes in at the moment when the bowl conditions are right to incorporate it properly. Get the order wrong and you get scrambled eggs, flat brownies, or a lumpy batter. Get it right and the whole thing takes 10 minutes.
| Step | What Goes In | Why This Order | What Goes Wrong If You Skip or Swap |
|---|---|---|---|
| 1 | Butter (melted, then cooled 5 min) | Warm fat is the base that everything else dissolves into | Too hot = scrambled eggs in Step 3; too cold = stiff batter |
| 2a | Cocoa powder | Cocoa blooms in warm fat — fat-soluble flavor compounds release fully into the butter before any water dilutes them | Added after eggs/sugar: cocoa does not bloom as effectively, flavor is flatter |
| 2b | Sugar | Whisked with cocoa into the fat before eggs go in — this starts dissolving the sugar crystals which is what creates the crinkle top | Added after eggs: sugar does not dissolve as evenly, crinkle top is less defined |
| 3 | Eggs + vanilla | Added to warm (not hot) mixture — they emulsify with the fat-cocoa-sugar base and create the glossy batter that signals a good brownie | Added to hot butter: scrambled; added before sugar dissolves: uneven batter |
| 4 | Flour + salt + baking powder | Added last so gluten development is minimal — only 20 folds are needed to incorporate it | Added before eggs: too dry to mix without lumps; mixed too long: cakey texture |
Follow this order every time and the one-bowl method is reliable. Deviate from it — particularly by skipping the cooling step or adding the flour before the eggs — and the result will be inconsistent.
How to Make One Bowl Brownies — Step by Step
Ten minutes of active work, one bowl, one pan. Here is exactly how it goes.
Step 1 — Melt the Butter in the Bowl
Place the butter in a large microwave-safe mixing bowl. Microwave in 30-second bursts, stirring between each, until fully melted — about 60 to 90 seconds total depending on your microwave. Let the butter cool in the bowl for 5 minutes before adding anything else. This is the only bowl you will use for the entire recipe.
What to look for: Clear, golden liquid butter with no solid pieces remaining. After 5 minutes of cooling it should feel warm but not hot when you hold the bowl. If it feels uncomfortably warm to the touch, give it another 2 minutes.
⚠️ Do not skip the 5-minute cooling period. Eggs added to hot butter scramble immediately — there is no recovering from this. Warm butter emulsifies smoothly; hot butter does not.
Step 2 — Whisk in the Cocoa Powder and Sugar
Add the cocoa powder and sugar directly to the cooled melted butter. Whisk vigorously for 1 full minute until the mixture is smooth, uniform, and looks like thick chocolate paste. It will seem very grainy and stiff at first — keep whisking. The friction from the whisk is what begins dissolving the sugar and what eventually creates the crinkle top.
What to look for: A thick, smooth, dark chocolate paste with no visible dry cocoa pockets. It should look uniform throughout. If you see streaks of dry cocoa, keep whisking for another 30 seconds.
Step 3 — Add the Eggs and Vanilla
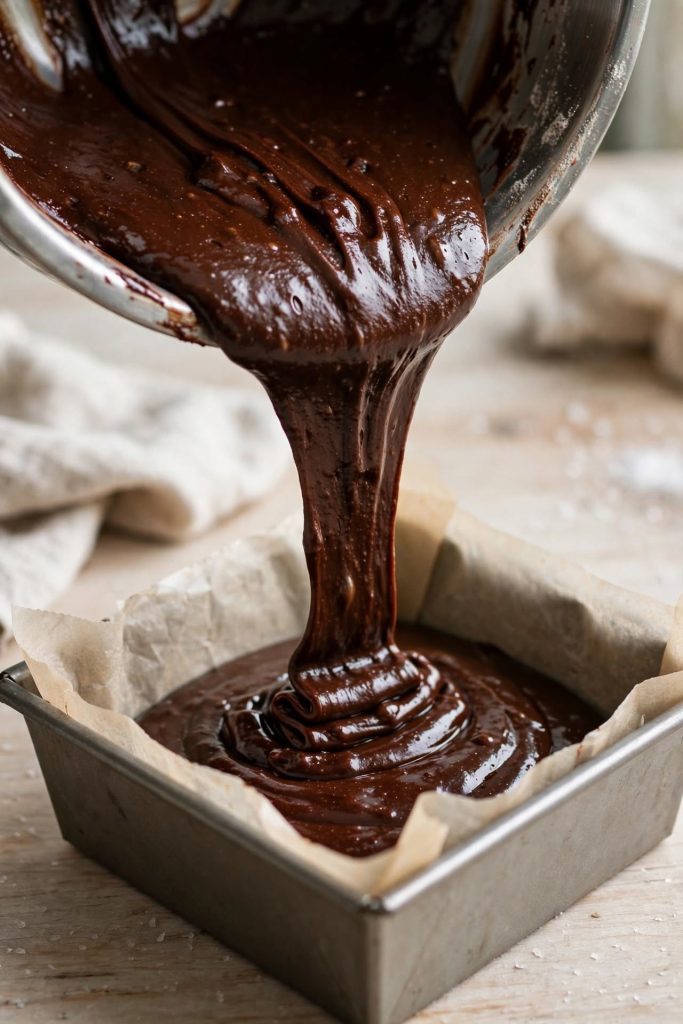
Crack all four eggs directly into the bowl and add the vanilla extract. Whisk vigorously for 60 full seconds — not 30, not 45. The batter will transform from a thick paste into a smooth, glossy, pourable batter as the eggs emulsify with the fat.
What to look for: A smooth, dark, glossy batter that ribbons off the whisk for a moment before falling back in. This gloss is the sign that your fat and eggs have emulsified — it is also what creates the paper-thin crinkle crust on the finished brownie.
Step 4 — Fold in the Flour and Salt
Add the flour, salt, and baking powder directly to the bowl — no sifting, no separate bowl. Fold with a rubber spatula using slow strokes from the bottom of the bowl upward. Stop the moment no dry streaks of flour remain. Count if you need to: 20 deliberate folds is about right.
What to look for: A thick, glossy batter with no white flour streaks anywhere. It should be slightly thicker than before the flour went in and hold its shape very briefly when you drag the spatula through. Stop here — do not keep folding.
⚠️ More than 25 folds and you are building gluten — which makes cakey brownies. The recipe does not require precise measurement here, but it does require restraint. If you see no dry flour, stop immediately.
Once this folding technique feels natural, our guide to one-bowl baking methods covers the same approach across cakes, muffins, and bars.
Step 5 — Bake to the Right Doneness
Preheat your oven to 175°C / 350°F. Line an 8×8 inch metal pan with parchment, leaving an overhang on two sides. Pour the batter in and smooth it to the corners. Bake for 25 to 28 minutes. At 25 minutes, insert a toothpick into the center — moist fudgy crumbs attached = done. Wet batter = 2 more minutes. Clean toothpick = already overbaked.
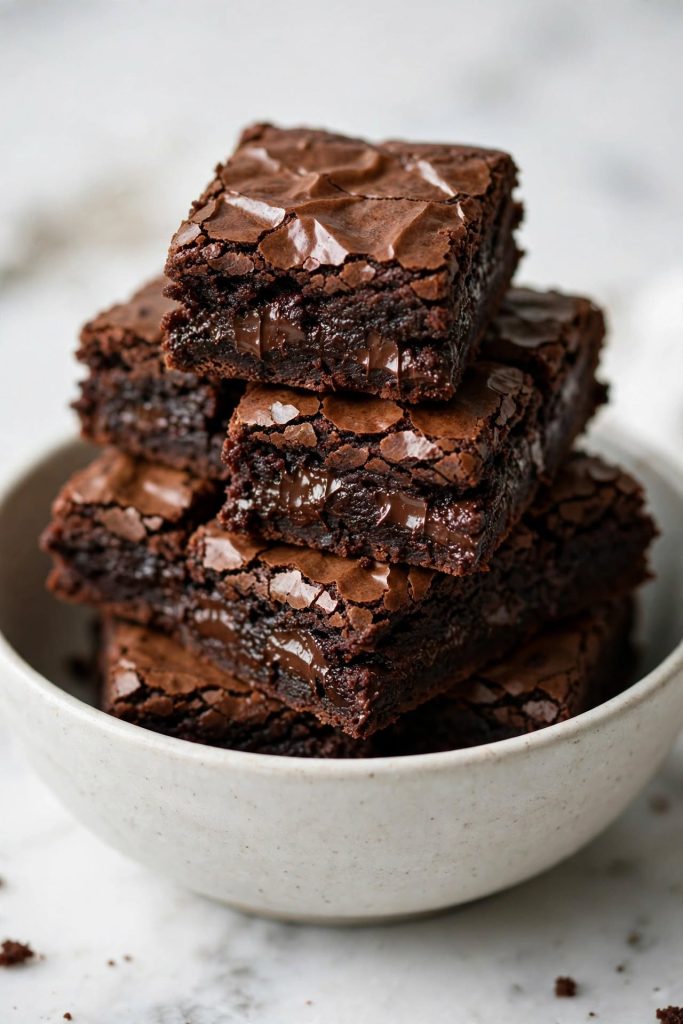
What to look for: The edges should look set and matte while the center still looks glossy and slightly underdone. The top should have a thin, papery crinkle crust. A gentle wobble in the center when you shake the pan is correct. Pull them at this moment.
Step 6 — Cool Completely Before Cutting
Place the pan on a wire rack and cool for a minimum of 1 hour at room temperature. The brownies will look underdone when they come out — this is correct. They firm up as they cool. For the cleanest cuts, refrigerate for 30 minutes after the initial cool, then cut with a hot dry knife wiped between every cut. Lift out using the parchment overhang before slicing.
What to look for: The center should feel firm to a gentle press — not springy, not rock-hard. The edges will have pulled away from the pan slightly. The crinkle top should look dry and set across the whole surface.
The Science Behind One Bowl Brownies
The one-bowl method is not a shortcut — it is a deliberate sequence. Here is the science that makes it work without compromising the result.
Why Butter and Cocoa Powder Beat Melting Chocolate Separately
When you melt a chocolate bar, you are combining its cocoa solids, cocoa butter, and sugar in a controlled way — but you still need a separate vessel. Cocoa powder achieves a similar flavour profile in a single step because it blooms directly in hot fat. When cocoa powder hits warm melted butter, the fat-soluble flavor compounds in the cocoa dissolve into the butter immediately and release their full aromatic character. This process — called blooming — intensifies the chocolate flavor more than simply adding cocoa powder to a batter where water is already present. The result in these one bowl brownies: maximum chocolate intensity with no extra equipment.
Why the Order of Additions Matters
In one-bowl baking, you cannot rely on separate bowls to control when ingredients meet. The order of additions becomes your process control instead. Sugar goes in before the eggs because it needs time in contact with warm fat to start dissolving — this dissolved sugar is what migrates to the surface during baking and creates the glossy crinkle top. Eggs go in after the fat-cocoa-sugar base is established so they have a stable, warm (not hot) medium to emulsify into. Flour goes in last so it is exposed to the minimum possible amount of mixing — which means the minimum gluten development, which means the maximum fudginess.
Why One Bowl Does Not Mean Lower Quality
The assumption that one-bowl recipes produce inferior results comes from recipes that cut corners on ingredients rather than streamlining the method. This recipe uses the same fat-to-flour ratio, the same quality of ingredients, and the same baking principles as a more labor-intensive recipe — it just sequences the additions so they all happen in the same vessel. The quality of a brownie is determined by its ingredient ratios and bake time, not by how many bowls it dirtied. Every ingredient in these one bowl brownies is doing the same job it would in a multi-bowl recipe — the process is just more efficient.
Tips for the Best Result
These are the details that take one bowl brownies from good to the ones people ask about every time.
- Use a large bowl — the bowl needs to hold all eight ingredients comfortably with room to whisk vigorously. A bowl that is too small means batter on your counter and flour that does not fold in evenly. Aim for at least a 3-litre (3-quart) bowl.
- Weigh the flour — this is the single most important tip in the recipe. 120g on a scale is exact. One cup measured by scooping from the bag can be anywhere from 120g to 160g. That 40g difference is the entire gap between fudgy and cakey.
- Whisk the eggs for a full 60 seconds — not 30, not 45. The full minute of whisking after the eggs go in is what creates the glossy batter and the crinkle top. Under-whisked eggs = flat-looking brownies with no crust.
- Line the pan before you start mixing — by the time you finish making the batter, your pan should already be lined and ready. You do not want the batter sitting while you fumble with parchment paper.
- Add flaky salt to the top — a pinch of flaky sea salt pressed lightly onto the surface of the batter just before it goes in the oven deepens the chocolate flavor noticeably. It costs nothing and takes three seconds.
- Use the toothpick test, not the timer — every oven runs slightly differently. The timer gets you to the right window; the toothpick tells you the exact moment. Moist fudgy crumbs = pull now. This is the test that actually matters.
- Cool in the pan, cut outside it — cool the brownies in the pan on a wire rack (for air circulation underneath), then lift out using the parchment overhang before cutting. Cutting inside the pan damages the edges and you never get clean squares.
Common Mistakes to Avoid
❌ Adding Eggs to Hot Butter
Result: The eggs cook on contact with the hot fat — you end up with scrambled chocolate eggs rather than an emulsified batter. The texture of the finished brownie will be grainy and the top will not crinkle properly.
Fix: Always cool the melted butter for 5 minutes before adding cocoa or sugar, and for another few minutes before adding the eggs. The bowl should feel comfortably warm — not hot — when you hold it.
❌ Using Natural Cocoa Without Adjusting Leavening
Result: Natural cocoa is acidic and reacts with baking soda, not baking powder. Using natural cocoa with baking powder as written gives you brownies that do not rise at all, with a flat, heavy texture and no crinkle top.
Fix: If you only have natural cocoa, replace the ½ teaspoon of baking powder with ¼ teaspoon of baking soda. The brownies will be slightly lighter in color and tangier, but the texture will be correct.
❌ Measuring Flour by Scooping
Result: You get 20 to 30% more flour than the recipe needs — the crumb becomes dry, dense in a bad way, and cakey rather than fudgy. The extra gluten from the extra flour also makes the texture tough.
Fix: Spoon flour into the measuring cup and level with a knife, or better yet, weigh it: 120g exactly. This one change is responsible for more failed brownie batches than any other mistake.
❌ Overbaking Even by Three Minutes
Result: The gooey, fudgy center dries out and sets into a firmer, cakey crumb. One bowl brownies baked three minutes too long are still edible but noticeably less fudgy — and by day two they are dry.
Fix: Set your timer for 25 minutes and test with a toothpick. Moist fudgy crumbs = done. A clean toothpick = already overbaked. Use a separate oven thermometer if your oven runs hot.
❌ Cutting Before They Are Fully Cool
Result: The center of the brownie smears, the edges crumble, and you cannot get a clean square — they look messy no matter how good they taste.
Fix: Wait the full hour at room temperature. If you are short on time, 30 minutes in the refrigerator after 20 minutes on the counter gives you cuttable brownies in under an hour. Never cut a warm brownie.
❌ Using a Glass or Dark Pan
Result: Glass pans conduct heat unevenly — edges overbake while the center is still underdone. Dark metal pans absorb excess radiant heat and over-brown the bottom crust before the center is ready.
Fix: Use a light-colored metal pan (aluminium is ideal). If glass is your only option, reduce the oven temperature by 10°C / 25°F and check the brownies at 22 minutes instead of 25.
For more guides at this level of detail, our easy baking troubleshooting archive covers the same approach for every beginner-friendly bake.
Variations Worth Trying
Add-In Version — Nuts, Chips, or Candy
What changes: Fold in 150g (1 cup) of your chosen add-in at the very end of Step 4, after the flour is just incorporated — 3 to 4 slow folds only.
Best add-ins: chopped walnuts or pecans (classic), semi-sweet chocolate chips, Oreo pieces, M&Ms, or crushed pretzels for a salty crunch.
Result: The base stays exactly the same — the add-ins just create pockets of texture and flavor in the finished brownie. Press a few extra pieces onto the surface of the batter just before baking for a visual finish.
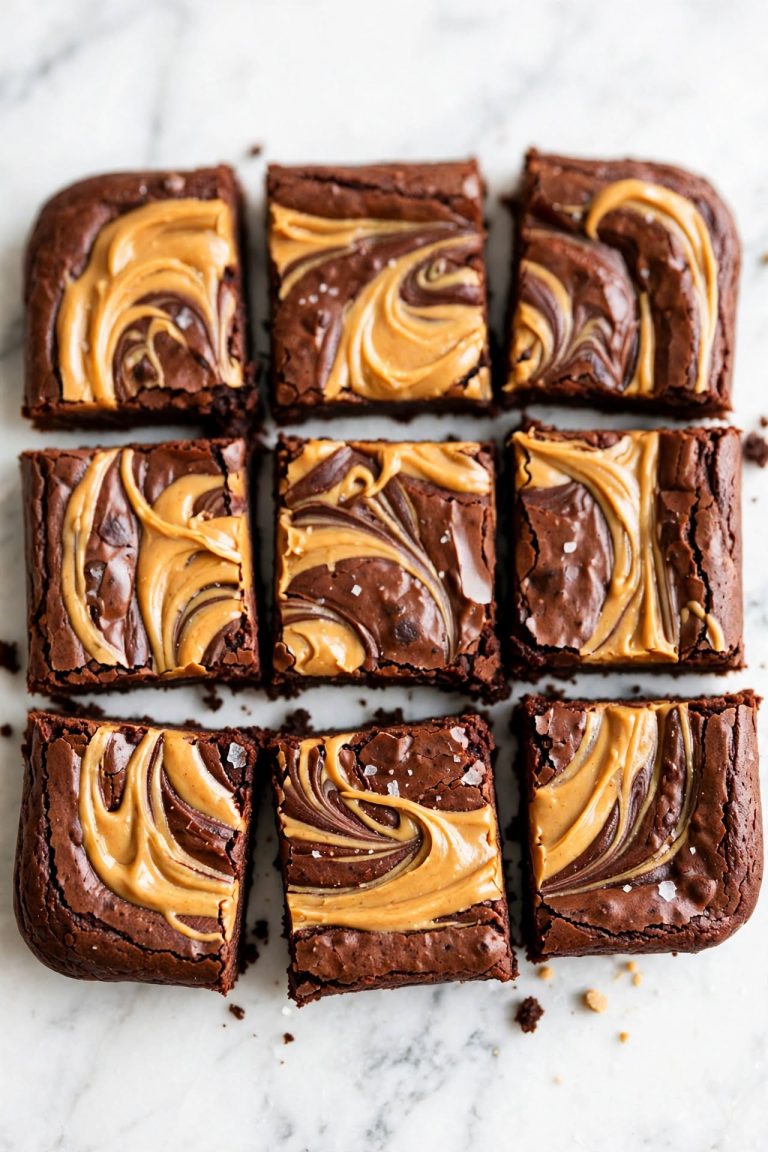
Peanut Butter Swirl One Bowl Brownies
What changes: After pouring the batter into the pan, drop 6 to 8 spoonfuls of smooth peanut butter (about 80g / ⅓ cup total) over the surface. Run a knife or skewer through the surface in a figure-eight pattern to create a swirl — 5 to 6 passes is enough.
Result: A salty, nutty contrast that cuts through the richness of the chocolate. Use natural peanut butter with no added sugar for the cleanest flavor pairing. Still only one bowl of batter — the peanut butter goes straight from the jar to the pan.
Espresso Fudge Version
What changes: Add 2 teaspoons of instant espresso powder to the bowl along with the cocoa powder at Step 2.
Result: The espresso does not make the brownies taste like coffee — at this quantity, it amplifies and deepens the chocolate flavor without adding a distinct coffee note. This is the easiest way to make these one bowl brownies taste more intense and complex. No extra equipment, no extra steps, no extra dishes.
Gluten-Free Version
What changes: Replace the all-purpose flour with a 1:1 gluten-free flour blend containing xanthan gum (same weight: 120g).
Result: Very similar to the original — the high fat-to-flour ratio and low flour quantity mean the texture change from going gluten-free is minimal compared to a higher-flour recipe. Cool completely before cutting — gluten-free baked goods are more fragile when warm and crumble at the cut edge.
Dairy-Free Version
What changes: Replace the butter with the same weight (225g) of solid coconut oil or a good-quality dairy-free butter (such as Miyoko’s or Earth Balance sticks).
When: Melt it the same way in Step 1 — coconut oil melts faster than dairy butter, so start with 20-second microwave bursts.
Result: Coconut oil gives a very slight coconut background note that pairs well with dark chocolate. Dairy-free butter gives a result nearly identical to the original. Both stay fudgy. The one-bowl method remains completely unchanged.
How to Store
Room Temperature
Store one bowl brownies in an airtight container at room temperature for up to 4 days. They genuinely improve on day two — the crumb settles, the chocolate flavor deepens, and the fudgy texture becomes more pronounced as the residual moisture redistributes through the batch. Stack with parchment paper between layers if needed to prevent the tops from sticking. Keep away from direct sunlight or heat sources, which soften the fat and make the surface tacky.
Refrigerator
Refrigerate one bowl brownies in an airtight container for up to 7 days. Cold temperatures firm the fat and give the brownies a denser, more fudge-candy-like bite that many people prefer. Let refrigerated brownies rest at room temperature for 15 minutes before serving, or microwave one brownie for 15 seconds to restore the gooey center and warm the chocolate. If your batch includes a perishable swirl — peanut butter is shelf-stable, but a cream cheese swirl is not — refrigerate and eat within 4 days.
Freezer — Complete Guide
One bowl brownies freeze exceptionally well — the high butter content means they thaw back to almost exactly their original fudgy texture. To freeze: cool the slab completely (at least 2 hours), cut into individual squares, wrap each in plastic wrap, and place in a zip-lock freezer bag. Freeze for up to 3 months. To thaw: unwrap and leave at room temperature for 30 minutes, or microwave (still wrapped in plastic) for 20 to 25 seconds. Critical: cut before freezing — freezing the whole uncut slab means uneven thawing and a soggy center surrounded by over-dried edges. Individual squares thaw perfectly every time.
If you bake in advance for events or like keeping a freezer stash, our guide to batch-baking and freezing bars covers the full workflow for one bowl brownies and other easy bakes.
How to Serve
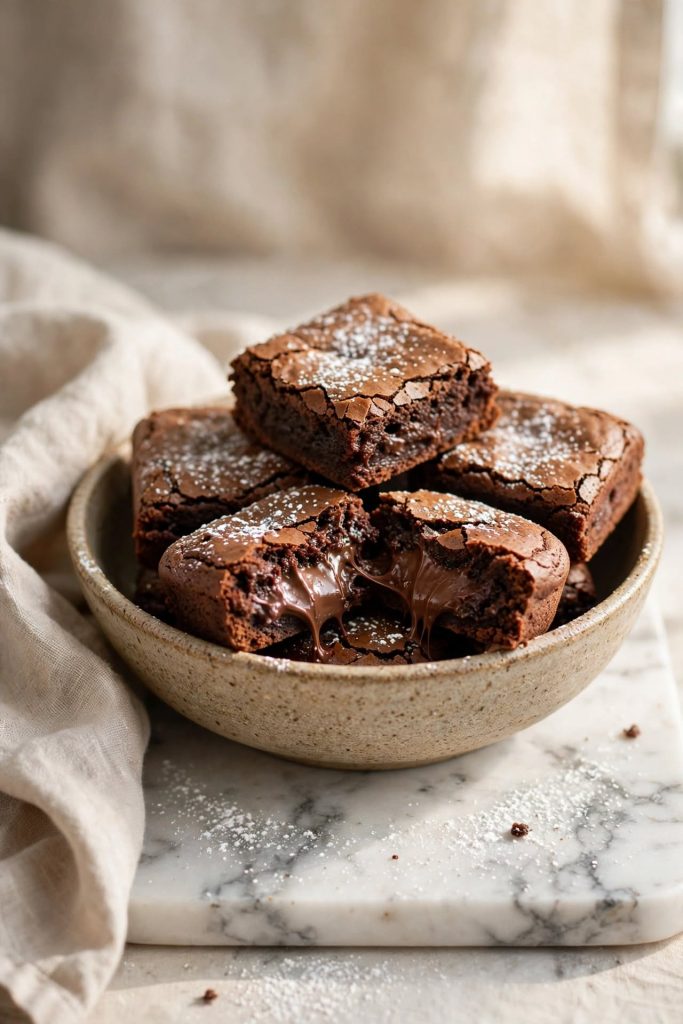
Classic Ways to Serve
- Straight from the container at room temperature on day two — the flavor and texture peak at 24 to 48 hours after baking
- Slightly warm with a 15-second microwave blast — the center turns gooey again and the edges get a slight caramelized crisp that is genuinely excellent
- Dusted with powdered sugar through a small sieve — a five-second upgrade that makes a casual batch look intentional for sharing or photographing
Upgraded and Occasion-Worthy
- Warm with a scoop of vanilla ice cream and a pinch of flaky salt — one of the best simple desserts you can put in front of someone with ingredients already in your kitchen
- Cut into small 2-bite pieces and piled on a board for a party — one bowl brownies hold their shape and do not crumble the way more delicate bars do, which makes them ideal for self-serve setups
- Individually wrapped in parchment and twine for gifting — at room temperature they stay fresh for four days, which makes them one of the most practical homemade gifts available
- Used as the base of an ice cream brownie sandwich — cut a square in half horizontally, add a scoop of ice cream, press the top back on, wrap in plastic, and freeze for 30 minutes for a very simple homemade ice cream sandwich
One bowl brownies pair well with cold milk, hot coffee, vanilla ice cream, or a glass of red wine. They are the right bake for weeknights, bake sales, potlucks, gifting, and any occasion where you need something reliably good made with minimal time and effort.
Frequently Asked Questions
Can I use a box mix instead?
A box mix works, but this from-scratch one bowl brownies recipe uses the same number of bowls, almost the same prep time, and almost the same number of steps — with noticeably better flavor because you control the ingredient quality. Once you have made this recipe once, you will likely find it just as fast as a box mix and significantly better tasting. The main advantage of the box is having pre-measured ingredients; the main advantage of this recipe is real butter, real cocoa, and no artificial flavor.
Why did my one bowl brownies turn out cakey?
The most common causes are too much flour, overmixing after the flour goes in, or overbaking. The low flour quantity in this recipe is deliberate — it is what keeps the crumb fudgy. Check your flour measurement first: scooping from the bag packs in up to 20% more than you need. Weigh it if possible: 120g exactly. Also check your fold count — more than 25 folds builds gluten, which is cakey territory.
Can I use oil instead of butter?
Yes — replace the butter with 180ml (¾ cup) of neutral oil such as vegetable or canola. The texture will be slightly denser and more uniform, and the flavor will be less rich since butter contributes flavor as well as fat. The one-bowl method stays identical: pour (or melt) the oil into the bowl first, then proceed as written. Do not use olive oil — its flavor is too strong and will come through in the finished brownie.
Do I need a microwave for this recipe?
No — you can melt the butter on the stovetop in a small saucepan and pour it into your large mixing bowl. That adds one small saucepan to the wash, making it technically a two-vessel recipe rather than strictly one bowl — but the method is otherwise identical. The microwave is just the most convenient approach because you melt the butter directly in the bowl you bake from, keeping the dish count at one.
How long do one bowl brownies last?
Stored in an airtight container at room temperature, they stay at their best quality for up to 4 days and improve on day two. Refrigerated, they keep for up to 7 days. Cold firms the texture into a denser bite — let them rest at room temperature for 15 minutes before eating, or microwave for 15 seconds to restore the gooey center.
Can I freeze one bowl brownies?
Yes — they freeze exceptionally well. Cool completely, cut into individual squares, wrap each in plastic wrap, and freeze in an airtight bag for up to 3 months. Thaw at room temperature for 30 minutes or microwave for 20 seconds. Always cut before freezing — a whole slab thaws unevenly. If you enjoyed these, our one-bowl chocolate cake uses the same method and the same level of cleanup.
Can I double this recipe?
Yes — double every ingredient exactly and use a 9×13 inch pan. Baking time increases to approximately 30 to 35 minutes. Check at 30 minutes with the toothpick test. The doubled batter still fits comfortably in one large mixing bowl, so the one-bowl method is completely unchanged — just a larger bowl and a larger pan.
Do I need to sift the cocoa powder?
Sifting is not required but helpful if your cocoa has visible lumps. Lumpy cocoa does not dissolve evenly into the butter and can leave bitter pockets in the finished brownie. If your cocoa is smooth and lump-free, add it directly. Whisking vigorously for a full minute after adding the cocoa and sugar dissolves any small clumps without needing a sieve or an extra bowl.
Can I add chocolate chips to the batter?
Yes — fold in 150g (1 cup) of chocolate chips or chunks at the very end of Step 4, after the flour is just incorporated. Use semi-sweet or dark chocolate chips for the best result. Adding milk chocolate chips makes the brownie sweeter and less complex. You can also press a small handful of chips onto the surface of the batter just before baking for a visual finish that shows up well in photos.
What if I only have natural cocoa powder?
Natural cocoa works — but replace the ½ teaspoon of baking powder with ¼ teaspoon of baking soda. Natural cocoa is acidic and reacts with baking soda, not baking powder. The finished brownies will be slightly lighter in color and sharper in flavor. If you use natural cocoa with baking powder as written, the brownies will be flat with no lift and a heavy, dense texture.
Can I make one bowl brownies without eggs?
Yes — replace each egg with a flax egg (1 tablespoon ground flaxseed + 3 tablespoons water, rested 5 minutes before using). The texture will be denser and slightly less glossy on top, and the crinkle crust will be less pronounced. Alternatively, 60g (¼ cup) of unsweetened apple sauce per egg gives a slightly moister, fudgier result. The one-bowl method is unchanged for either substitute.
How do I get the cleanest cuts?
Three steps: cool completely at room temperature for at least 1 hour; refrigerate for 30 minutes after the initial cool to firm the fat; then use a sharp knife dipped in hot water and wiped completely dry between every single cut. Pull the knife straight down — do not drag it. For the absolute cleanest bakery-style edges, refrigerate the fully cooled uncut slab overnight before cutting.

One Bowl Brownies
Method
- 225g (1 cup) unsalted butter
- 60g (¾ cup) Dutch-process cocoa powder
- 400g (2 cups) granulated sugar
- 4 large eggs
- 2 tsp pure vanilla extract
- 120g (1 cup) all-purpose flour
- 1 tsp fine sea salt
- ½ tsp baking powder
- Preheat oven to 175°C / 350°F. Line an 8×8 inch (20×20cm) metal pan with parchment, leaving overhang on two sides.
- Melt butter in a large microwave-safe bowl in 30-second bursts, stirring between each, until fully melted. Cool in the bowl for 5 minutes.
- Add cocoa powder and sugar to the cooled butter. Whisk vigorously for 1 full minute until smooth.
- Add all four eggs and vanilla extract. Whisk vigorously for 60 seconds until the batter turns glossy and slightly thickened.
- Add flour, salt, and baking powder directly to the bowl. Fold with a rubber spatula until no dry streaks remain — about 20 strokes. Stop immediately.
- Pour into the prepared pan, smooth to the corners. Bake 25 to 28 minutes — toothpick in the center should come out with moist fudgy crumbs.
- Cool in the pan on a wire rack for at least 1 hour. For cleanest cuts, refrigerate 30 minutes, then cut with a hot dry knife wiped between every cut.
Notes
More Dessert Recipes You Will Love
- One Bowl Chocolate Cake — the same method as these one bowl brownies scaled up to a full 9-inch layer cake. One bowl, no mixer, 35 minutes in the oven, and a genuinely moist crumb that holds for four days.
- Fudgy Brownies — the elevated version of this recipe using both melted dark chocolate and cocoa powder for extra depth and a richer fat base. Same pan, two extra minutes of prep, noticeably more complex flavor.
- One Bowl Banana Bread — melted butter, mashed banana, flour, and two eggs mixed in a single bowl. Ready in 60 minutes from one bowl and one loaf pan with no mixer required.
- Chocolate Chip Blondies — the same one-bowl method with brown sugar in place of granulated, no cocoa, and a generous fold of chocolate chips. A chewy, butterscotch-forward alternative for days when you want something lighter.
- Easy Chocolate Lava Mug Cake — the ultimate one-bowl, one-mug dessert that uses almost the same ingredient list as these one bowl brownies and takes four minutes in the microwave. Good for when you need one serving right now.
Did you make these one bowl brownies? Leave a ⭐⭐⭐⭐⭐ rating below and let me know in the comments how they turned out — and what add-ins you tried. I read every comment and would love to know what worked for you.