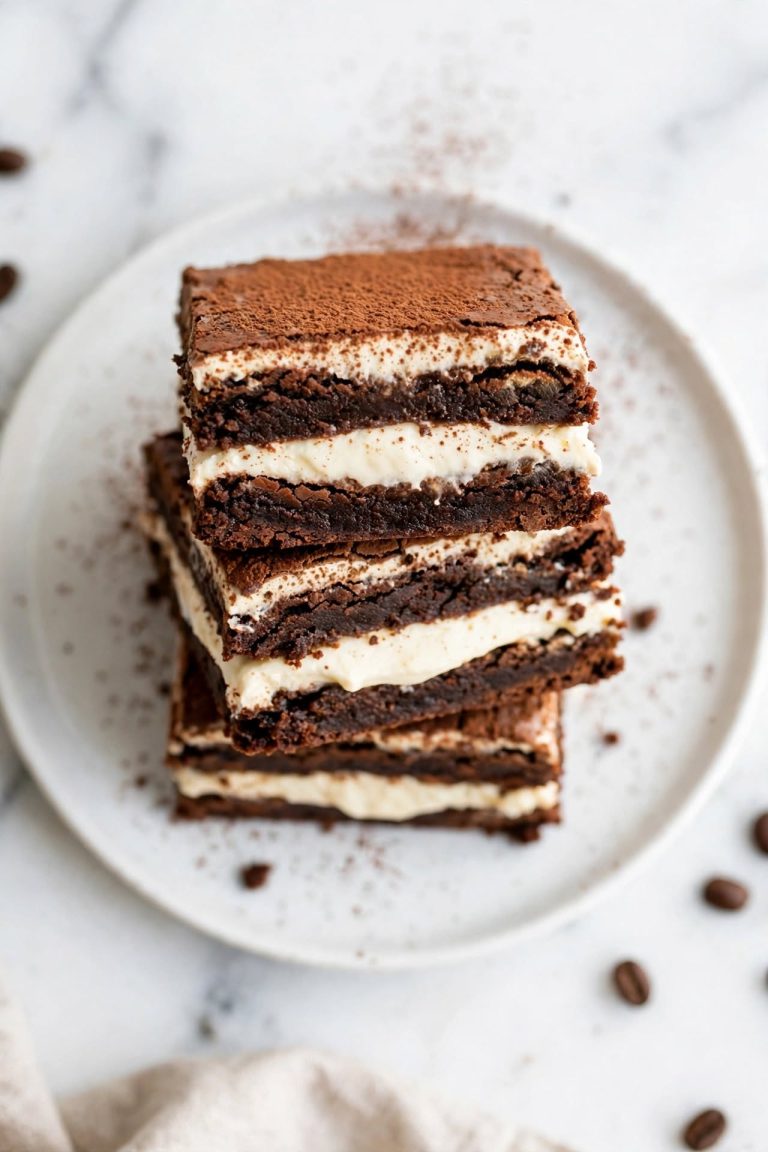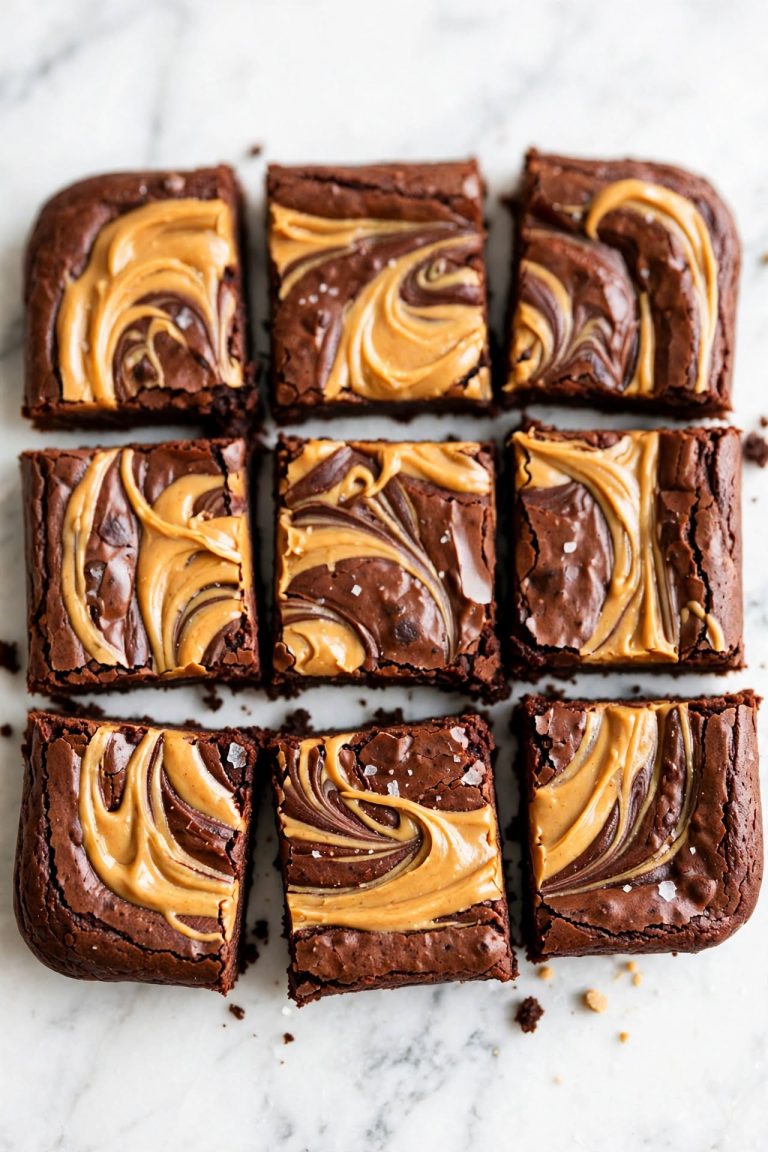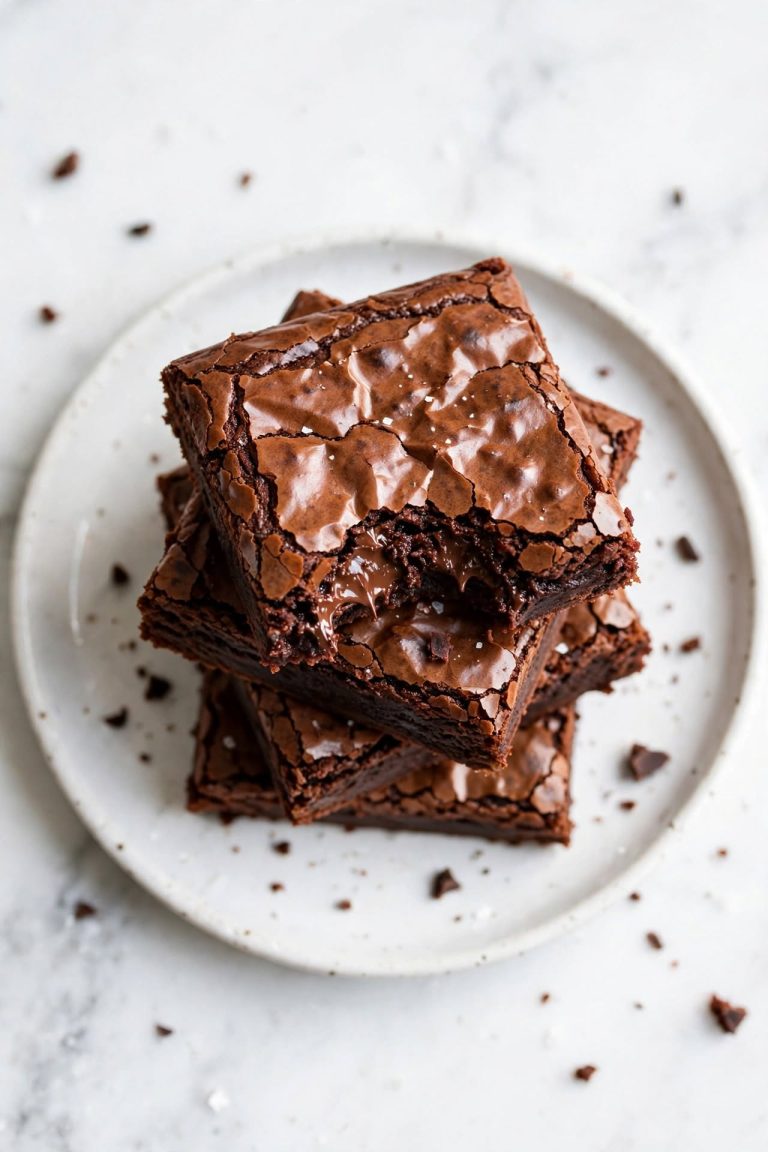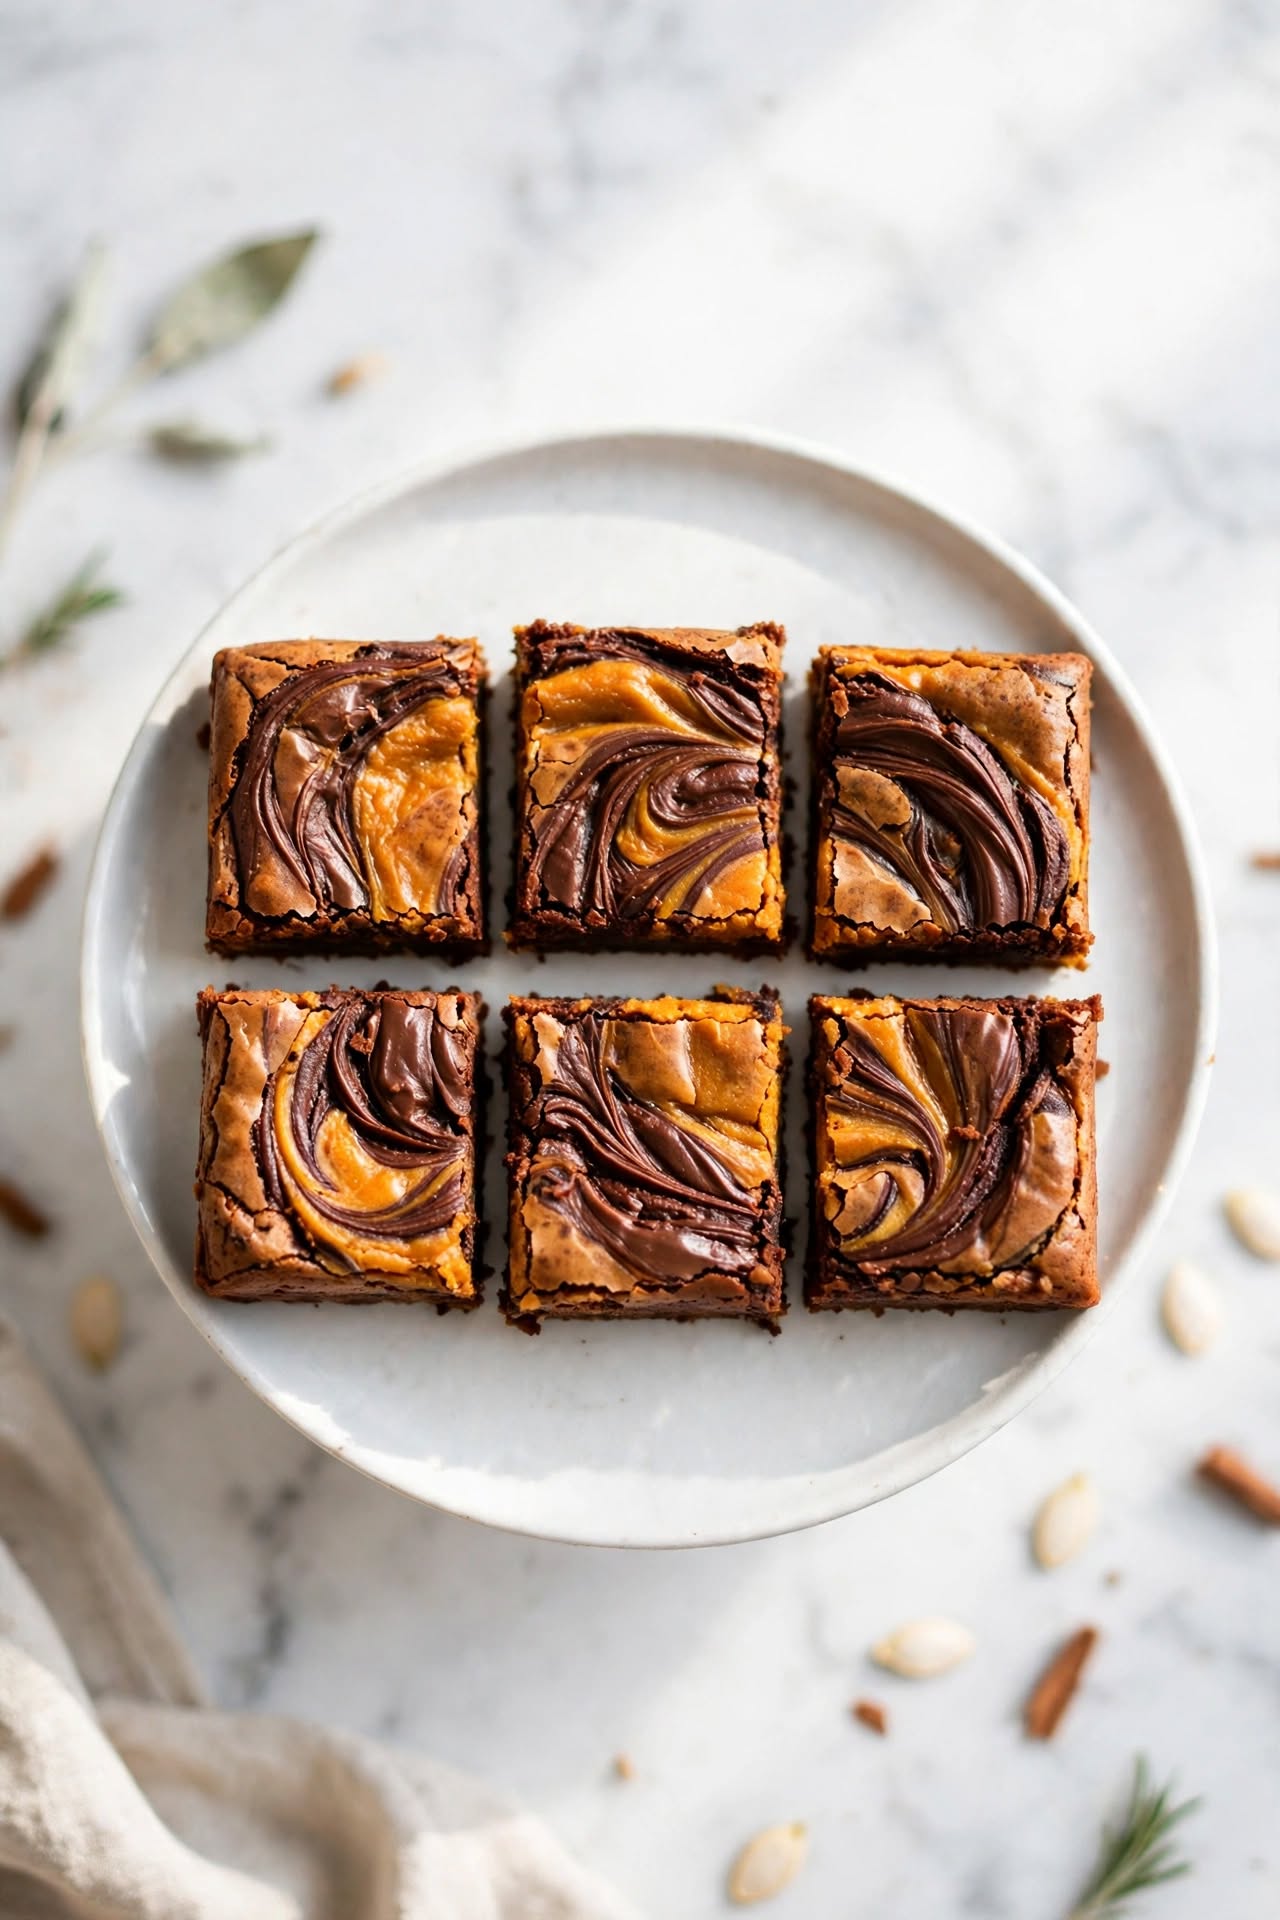
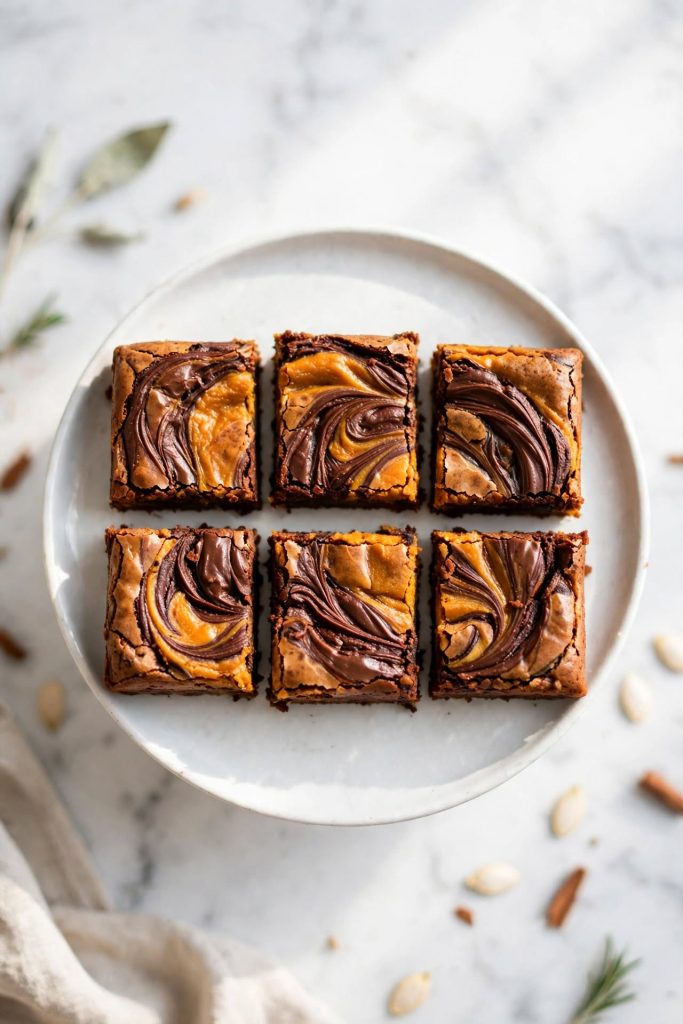
Pumpkin brownies are a chocolate-based brownie layered and swirled with a spiced pumpkin purée mixture. The chocolate base uses melted butter for a dense, fudgy crumb, while the pumpkin layer adds warm spice and moisture to every bite. They take about 45 minutes from start to finish. Best for home bakers who want a seasonal fall dessert that delivers on both chocolate and pumpkin flavor — with no mixer and no special equipment.
This recipe gives you pumpkin brownies with a genuine fudgy pull — not cakey, not dry, and not a recipe where the pumpkin flavor disappears after the first bite. You need one bowl, two layers, and about 15 minutes of prep. If your last batch turned out cakey or the pumpkin tasted faint, the issue is almost always too much flour or the wrong purée — this recipe solves both. I tested this recipe several times before publishing to confirm the swirl ratio and bake time hold up consistently.
Why This Recipe Works
This is not the version where the pumpkin flavor disappears behind the chocolate. The two layers are kept separate until the swirl step — which means you taste both in every square: sharp cocoa, warm cinnamon, and a dense fudgy pull.
- Melted butter, not softened — melted butter gives brownies a dense, fudgy structure that stays moist for up to 3 days after baking. Creamed butter traps air and makes them cakey.
- Two distinct layers, one swirl — spreading the brownie batter and pumpkin mixture separately before swirling keeps both flavors visible and distinct from the first bite to the last.
- Pumpkin purée doubles as moisture insurance — the purée adds both flavor and natural pectin, which holds moisture within the baked crumb and prevents the brownies from drying out the next day.
- No mixer required — both layers are made in bowls with a whisk and a spatula. Fewer tools means less gluten development and a more tender crumb.
- One 8×8-inch pan, 16 clean squares — the pan size and batter depth are calibrated so the swirl stays visible when you cut, not muddled into a uniform brown.
- Make-ahead friendly — the texture and spice flavor actually improve on day two as the layers settle and the pumpkin spice deepens overnight.
If you are looking for more fall chocolate baking recipes, your fall baking archive is a good place to start.
Ingredients for Pumpkin Brownies
Every ingredient here has a specific job. Here is what each one does — and what to use if you need to make a substitution.
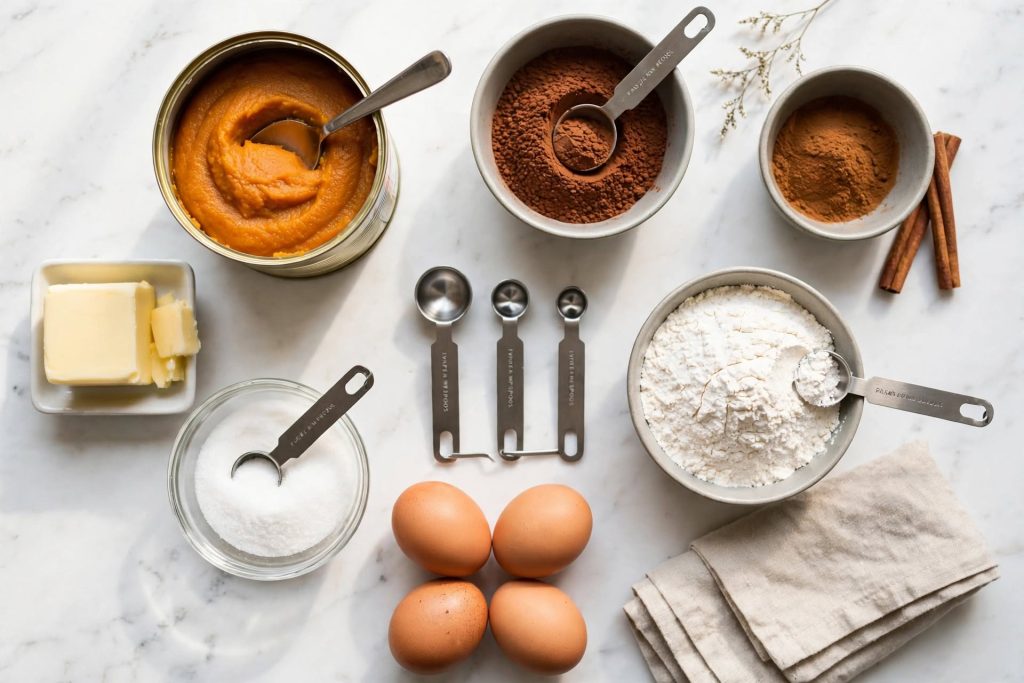
The Brownie Base
| Ingredient | Amount | What It Does | Best Substitute + Impact |
|---|---|---|---|
| Unsalted butter, melted | ½ cup (115g) | Fat + fudgy, dense crumb | Coconut oil works; slightly less rich |
| Granulated sugar | 1 cup (200g) | Sweetens and creates the shiny crust | Brown sugar adds chew and molasses depth |
| Large eggs | 2 | Bind the batter and add structure | 3 tbsp applesauce per egg; denser result |
| Vanilla extract | 1 tsp | Rounds out cocoa bitterness | Omit; minor difference in a spiced recipe |
| Unsweetened cocoa powder | ½ cup (45g) | Chocolate flavor and dark color | Dutch-process gives milder, less sharp result |
| All-purpose flour | ¾ cup (90g) | Structure without making it cakey | 1:1 GF flour blend works well here |
| Salt | ¼ tsp | Sharpens cocoa and spice notes | Do not omit — it defines both layers |
| Baking powder | ½ tsp | Very slight lift without fluffiness | Omit for a flatter, denser square |
The Pumpkin Layer
| Ingredient | Amount | What It Does | Best Substitute + Impact |
|---|---|---|---|
| Pumpkin purée | ½ cup (120g) | Moisture, color, and base flavor | Butternut squash purée; slightly sweeter |
| Large egg | 1 | Binds the layer so it sets cleanly | Flax egg; slightly wetter set |
| Granulated sugar | ¼ cup (50g) | Balances pumpkin’s natural earthiness | Brown sugar; use slightly less |
| Ground cinnamon | ¼ tsp | Core warm spice note | Part of pumpkin pie spice — see FAQ |
| Ground nutmeg | ¼ tsp | Adds subtle warmth and depth | Ground allspice; use half the amount |
| Ground cloves | ⅛ tsp | Sharp aromatic heat that defines the fall flavor | Omit if unavailable; cinnamon carries the layer |
| Vanilla extract | ¼ tsp | Softens pumpkin’s natural earthiness | Omit with minimal impact |
Key Ingredient Notes
Pumpkin purée: Use 100% pure canned pumpkin — the label should say “pumpkin” and nothing else. Pumpkin pie filling contains added sugar, salt, and pre-mixed spices that will throw the layer out of balance. The consistency should be thick enough to hold its shape when spooned — if your can looks watery, drain it through a fine-mesh strainer for 10 minutes before using.
Cocoa powder: Spoon cocoa into the measuring cup and level off. Cocoa packs tightly in the container — scooping directly can give you 30% more than the recipe intends, which dries out the chocolate layer and can make it taste bitter rather than rich.
Eggs: Room-temperature eggs blend more smoothly into melted butter. Cold eggs from the refrigerator can cause the butter to seize into small lumps. Set them on the counter for 15 minutes before you start, or submerge them in warm water for 5 minutes.
Equipment You Need
- 8×8-inch metal baking pan
- Parchment paper with overhang on two sides for easy lifting
- Two medium mixing bowls
- Whisk and rubber spatula
- Butter knife or skewer for swirling
- Wire cooling rack
The Pumpkin Purée Guide
Pumpkin purée is the single biggest variable in how your autumn chocolate brownies turn out. The wrong form makes the layer watery and underdone; the right one keeps it thick, flavorful, and visibly distinct from the chocolate base.
| Purée Type | Description | Use for This Recipe? |
|---|---|---|
| 100% canned pumpkin | Thick, smooth, deep orange — no additives | ✅ Best choice |
| Canned pumpkin pie filling | Sweetened and spiced — not plain pumpkin | ❌ Do not use |
| Fresh roasted pumpkin | Roasted and blended; may need draining | ✅ Works well if drained thoroughly |
| Butternut squash purée | Slightly sweeter and lighter in color | ✅ Good substitute |
| Pumpkin baby food | Very smooth; may be thinner than canned | ⚠️ Drain first, reduce by one tablespoon |
Visual cue for ideal consistency: The purée should hold its shape when you drop a spoonful onto a plate — like a thick yogurt that does not spread immediately. If it runs flat, spoon it into a fine-mesh strainer lined with cheesecloth and drain for 10 to 15 minutes. Excess moisture is what makes the pumpkin layer watery and pale after baking.
No canned pumpkin? Roast a small sugar pumpkin at 400°F (200°C) for 45 minutes, scoop the flesh, and blend until smooth. Drain well. One 2-lb sugar pumpkin typically yields about 1½ cups of purée — more than you need for this recipe. Freeze the rest in tablespoon portions and drop them directly into smoothies, oatmeal, or the next batch of this recipe.
How to Make Pumpkin Brownies — Step by Step
Step 1: Preheat the Oven and Prepare Your Pan
Preheat your oven to 350°F (175°C). Line an 8×8-inch metal pan with parchment paper, leaving a 2-inch overhang on two opposite sides — this gives you a clean way to lift the whole slab out after cooling. Lightly grease the parchment with butter or nonstick cooking spray.
What to look for: The paper should lie flat along the base and sides with no large gaps. A small binder clip on each overhang holds it in place while you pour the batter.
Step 2: Make the Chocolate Brownie Batter
Pour the melted butter into a medium bowl. Whisk in the granulated sugar until the mixture looks smooth and slightly glossy — about 30 seconds. Add both eggs and the vanilla extract and whisk again until the batter is uniform in color, about 20 strokes. Sift in the cocoa powder, flour, salt, and baking powder. Switch to a rubber spatula and fold until you no longer see dry streaks. Stop the moment the batter looks uniform.
⚠️ Critical step: Stop mixing the moment you no longer see flour streaks. Ten extra folds is all it takes to change the texture from fudgy to cakey — gluten develops fast once the flour hits liquid.
What to look for: The batter should be thick, glossy, and pull away from the bowl sides cleanly. It will look almost like a ganache at this stage.
Once you are comfortable with this folding technique, our guide to fudgy brownie texture is worth trying next.
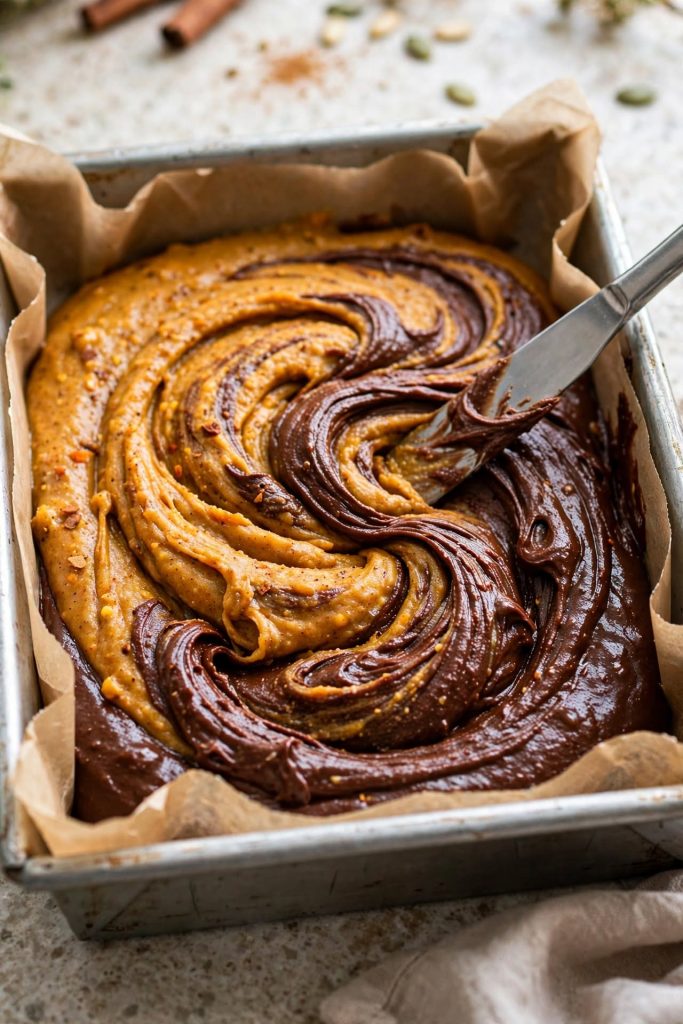
Step 3: Mix the Pumpkin Layer
In a separate bowl, whisk the pumpkin purée, egg, sugar, cinnamon, nutmeg, cloves, and vanilla until the mixture is smooth and evenly spiced. It should be thick enough to drop from a spoon in a slow ribbon. If it looks thin or watery, your purée had excess moisture — transfer it to a strainer and drain for 10 minutes before continuing.
What to look for: The color should be a deep, uniform orange with no streaks of egg visible. The smell at this stage should be distinctly warm and spiced — if it is faint, your canned pumpkin may have been open for a while and lost potency.
Step 4: Layer and Swirl the Batters
Pour roughly three-quarters of the chocolate batter into the prepared pan and spread it into an even layer using your spatula. Drop the pumpkin mixture over the chocolate in 6 to 8 spoonfuls, spacing them evenly across the surface. Dollop the remaining chocolate batter between the pumpkin mounds. Use a butter knife or skewer to draw wide, lazy S-curves through the two layers — 4 to 6 strokes across the pan. Less is more.
⚠️ Critical step: Do not over-swirl. Six strokes maximum. Over-swirling blends the layers into a uniform color with no visible marbling after baking — the swirl pattern is both decorative and functional, showing readers which layer they are about to taste.
What to look for: You should see distinct ribbons of deep chocolate and orange pumpkin across the surface — not a blended brown. If the swirl looks fully combined, the two layers will bake into one muddy color.
Step 5: Bake, Cool, and Slice
Bake on the center rack for 30 to 35 minutes. Start checking at the 28-minute mark — insert a toothpick about 1 inch from the center. A toothpick with a few moist crumbs is your signal to pull them. Wet batter means more time; a fully clean toothpick means they may be slightly overbaked. Remove the pan and cool on a wire rack for at least 1 hour before lifting the parchment and slicing.
What to look for: The edges will look set and slightly pulled from the pan sides. The center will have a very faint wobble when you gently shake the pan — this is correct. That wobble sets to the fudgy texture you want as the brownies cool completely.
The Science Behind a Fudgy Pumpkin Brownie
Understanding the mechanics here lets you troubleshoot on the fly — and make small adjustments the second time you bake this that produce an even better result.
Why Melted Butter Creates a Denser, Fudgier Crumb
When you melt butter instead of creaming it with sugar, you skip the step that incorporates air into the fat. Creamed butter traps tiny air pockets that expand in the oven, giving you a light, cakey texture similar to a muffin. Melted butter goes into the batter as a liquid fat — no air pockets, no lift — and the result is a denser, glossier crumb that pulls cleanly when you bite. Swap back to creamed butter in this recipe and your pumpkin brownies will have the structure of a chocolate cake rather than a chewy, fudgy bar.
Why Pumpkin Purée Keeps Every Bite Moist
Pumpkin purée is roughly 90% water by weight, but it also contains natural pectin — a water-binding carbohydrate that holds moisture within the baked structure rather than letting it evaporate. This is why fudgy pumpkin brownies stay soft longer than a plain chocolate brownie: the pumpkin layer acts as a moisture reserve. The pectin also keeps the pumpkin layer slightly softer than the chocolate base, which creates the contrast in texture you notice when you eat a well-made swirled square — firm and chewy on the chocolate side, tender and spiced on the pumpkin side.
Why the Chocolate-to-Pumpkin Ratio Matters
This recipe uses a roughly 3:1 ratio of chocolate batter to pumpkin layer by volume. Drop below this and the chocolate base loses the structural density that makes brownies chewable — you get something that crumbles rather than pulls. Increase the pumpkin beyond half a cup and the moisture balance tips: the layer becomes wet and may never fully set in the center, even after a full hour of cooling. At ½ cup of purée, the pumpkin layer bakes to a firm, sliceable consistency that holds its shape cleanly and marbles against the chocolate base without bleeding.
Tips for the Best Results
These are the six variables that separate a square with a clean fudgy pull from one that crumbles, dries out, or loses the swirl pattern entirely.
Use Pumpkin Purée, Not Pumpkin Pie Filling
Pumpkin pie filling is pre-seasoned and sweetened — using it throws off the sweetness, the spice balance, and the moisture level in the pumpkin layer simultaneously. The sugar content in pie filling is roughly double what the layer needs, which can make the pumpkin layer wet, overly sweet, and difficult to set. The can label should say “100% pumpkin” and nothing else. Libby’s and Farmer’s Market Organic are reliable options available in most grocery stores. Store any unused purée in an airtight container in the refrigerator for up to 5 days, or freeze in tablespoon portions.
Measure Your Flour Correctly
Spoon flour into your measuring cup with a separate spoon and level it off with a straight edge. Never dip the cup directly into the flour bag — that packs in up to 20% extra flour, which is the most common single reason brownies turn out cakey and dry. If you have a kitchen scale, 90g is the exact amount you need and removes the variable entirely.
Do Not Overbake
Pumpkin brownies continue cooking from residual heat in the pan after you remove them from the oven — this is carryover cooking, and it is especially pronounced in a dense batter like this one. If a toothpick comes out fully clean when you check, they are already slightly past the fudgy window. Pull them when a few moist crumbs cling to the toothpick. Set a timer for 28 minutes on your first bake and use the remaining time as a guide, not a guarantee — every oven runs slightly differently.
Let Them Cool Completely Before Cutting
Cutting warm brownies gives you smeared, gummy cut edges — the layers have not had time to set and the structure cannot hold a clean line. Wait a full hour on the wire rack. If you want the sharpest possible edges for photos or a gifting tray, refrigerate for 20 minutes after the initial cool before slicing. Use a sharp chef’s knife, and wipe it clean with a damp cloth between each cut.
Use a Metal Pan, Not Glass
Glass pans heat more slowly than metal and retain heat significantly longer. In a glass pan, the bottom and edges of your brownies can overcook while the center is still underdone — and you have no way to tell until after cooling. Metal pans heat quickly, conduct evenly, and give you more predictable bake times across different ovens. If you only have a dark nonstick metal pan, reduce the oven temperature by 25°F — dark pans absorb more heat and can over-brown the bottom.
The Toothpick Test — Here Is What to Look For
Insert the toothpick at an angle, about 1 inch from the center of the pan — not dead center, which is often the last part to bake. Pull it out slowly. A few moist crumbs clinging to the toothpick means done. A coating of wet, shiny batter means not done. A completely clean, dry toothpick means likely overbaked by 2 to 3 minutes. On your first bake, check at both 28 and 32 minutes so you can calibrate your oven for the next time.
Common Mistakes to Avoid
❌ Using Pumpkin Pie Filling Instead of Purée
Pumpkin pie filling is pre-seasoned and sweetened — it contains roughly double the sugar of the pumpkin layer in this recipe, plus added salt and mixed spices. Using it makes the pumpkin layer too sweet, too wet, and difficult to balance against the chocolate base. The layer may not set cleanly, and the spice notes will clash with the cinnamon and nutmeg you add separately. Check the can label before you open it.
❌ Overbaking Until the Edges Dry Out
Brownies are done before they look done. The fudgy texture forms during the cooling period, not while still in the oven. If the toothpick test seems too early — pull them anyway and give the cooling time its full hour. An overbaked brownie cannot be rescued with storage: the moisture is gone and the texture does not recover, even if you wrap them tightly overnight.
❌ Cutting Before They Are Fully Cool
The two layers — chocolate and pumpkin — need their separate cooling time to firm up and hold their boundaries. Cut too early and you drag the pumpkin layer across the chocolate base, smear the swirl pattern, and get crumbling edges. A full hour at room temperature is the minimum. If your schedule requires cutting sooner, refrigerate the pan for 30 minutes after 30 minutes of room-temperature cooling.
❌ Overmixing the Batter After Adding Flour
Gluten develops when flour is agitated with liquid — and it develops fast. The more you stir after the flour goes in, the tighter the gluten network becomes, and the closer your brownies move toward a dense, bread-like chew rather than the short, tender crumb you are going for. Fold with a spatula, not a whisk. Stop the moment you see no more dry flour streaks — even if there are a few small lumps, they will bake out.
❌ Using the Wrong Pan Size
A 9×13-inch pan spreads this batter too thin — the swirl has no depth, the layers bake together, and the edges can be overdone before the center is set. A loaf pan concentrates the batter too deeply and results in a raw center even at an extended bake time. Stick with the 8×8-inch metal pan this recipe is calibrated for. If you want more squares, double the recipe and use a 9×13-inch pan.
❌ Not Measuring Cocoa Powder Correctly
Cocoa powder packs tightly in the container and is deceptively easy to over-measure. Spoon it into the measuring cup and level off, exactly as you would with flour. Too much cocoa dries the chocolate layer and can push the flavor toward bitter rather than rich — a specific, balanced bitterness that cocoa is supposed to bring, not an aggressive one that overpowers the pumpkin layer.
For more technique guides like this one, our baking troubleshooting guide covers these details in the same depth.
Variations Worth Trying
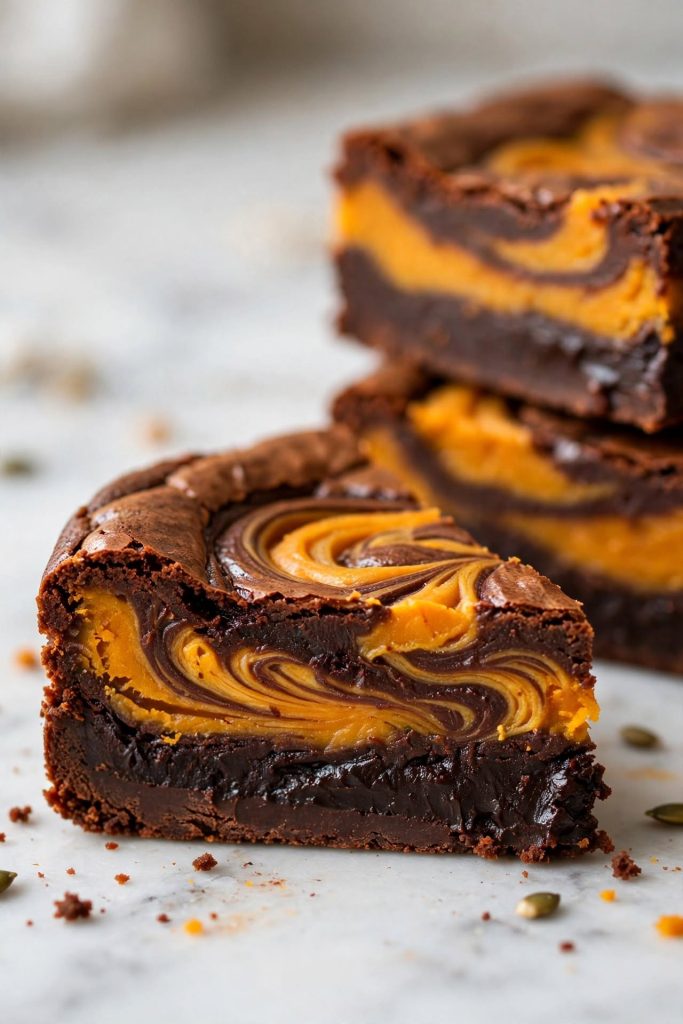
Cream Cheese Swirl Version
What changes: Replace the pumpkin layer with a mixture of 4 oz softened cream cheese, 1 egg, 2 tbsp granulated sugar, and ¼ tsp vanilla. When: Mix and layer at Step 4 exactly as described. Result: Tangy, rich cream cheese ribbons against the dark chocolate base — closer to a New York–style cheesecake brownie with a fall color palette. Add a pinch of cinnamon to the cream cheese layer if you want to keep a warm spice note in the swirl.
White Chocolate Chip Version
What changes: Fold ½ cup of white chocolate chips into the pumpkin layer before swirling. When: Stir them in at the end of Step 3. Result: The chips melt into small sweet pools within the spiced pumpkin, creating a contrast that is sharp and pleasant against the cocoa base. They are most visually pronounced on day one — by day two the chips firm back up and become part of the texture rather than distinct pockets.
Gluten-Free Version
What changes: Replace the all-purpose flour with a 1:1 gluten-free baking flour blend — Bob’s Red Mill and King Arthur both work reliably here. When: Swap at Step 2. Result: Slightly denser and a little more fragile at the cut edges, but the fudgy center holds well. Allow an extra 5 to 10 minutes of cooling before cutting — gluten-free baked goods need more time to set their structure than wheat-based ones. The pumpkin and chocolate flavors are unchanged.
Sheet Pan Version
What changes: Double all ingredients and spread into a parchment-lined 9×13-inch pan. When: Same layering and swirling process at Step 4, with more batter. Result: Thinner brownies, more crisp edge pieces per batch, and a faster bake time of roughly 22 to 25 minutes. Check at the 20-minute mark and use the toothpick test as your guide. The swirl is less dramatic in a thinner bar, but the flavor profile is identical and the yield is 24 squares instead of 16.
Salted Caramel Drizzle Version
What changes: Drizzle 2 to 3 tablespoons of store-bought or homemade salted caramel over the top of the brownies 5 minutes before the end of the bake. When: At the 25-minute mark, pull the pan, drizzle the caramel, and return to the oven. Result: The caramel bakes into a thin, slightly crackled glaze on the surface with a subtle chew. Sprinkle flaky sea salt immediately after the pan comes out of the oven while the caramel is still warm — the salt amplifies both the chocolate and the pumpkin spice with every bite.
How to Store
Room Temperature
Pumpkin brownies are at best quality for up to 3 days stored at room temperature. Keep them in an airtight container — a single layer is ideal. If you need to stack, place a sheet of parchment between layers to prevent the pumpkin layer from sticking to the chocolate base of the square above it. Avoid pressing plastic wrap directly onto the cut surface, which can pull and tear the swirl pattern. What degrades first: the chocolate layer begins to firm and lose its fudgy pull around day three, though the flavor stays consistent.
Refrigerator
Refrigerate in an airtight container for up to 6 days at best quality. The cold firms up both layers significantly — if eating straight from the refrigerator feels too dense, set a square on the counter for 15 minutes before eating, or microwave for 8 to 10 seconds. Do not go past 10 seconds: the chocolate layer reheats faster than the pumpkin layer and can create hot spots that dry the edges. What changes in the fridge: the pumpkin layer becomes firmer and the spice notes actually sharpen slightly, making day-two refrigerator brownies a genuinely different and often preferred texture for people who like a denser, more concentrated bite.
Freezer — Complete Guide
Yes, these freeze well. Wrap individual squares tightly in plastic wrap, pressing out any air pockets. Transfer the wrapped squares to a freezer-safe zip-lock bag or an airtight container. Label with the date. Best quality for up to 3 months in the freezer — safe beyond that window, but flavor and texture begin to decline after 3 months. To thaw a single square: place on the counter for 1 to 2 hours. To thaw the full batch: move to the refrigerator overnight. What holds up: the fudgy chocolate base retains its texture and pull very well from frozen. What may change: the pumpkin layer can release a small amount of surface moisture on thawing — pat dry gently with a paper towel before serving if needed. Use your judgment on all stored brownies — if they smell off or show any mold, discard them.
If batch baking is something you enjoy, our guide to freezer-friendly fall baking fits perfectly into that routine.
How to Serve
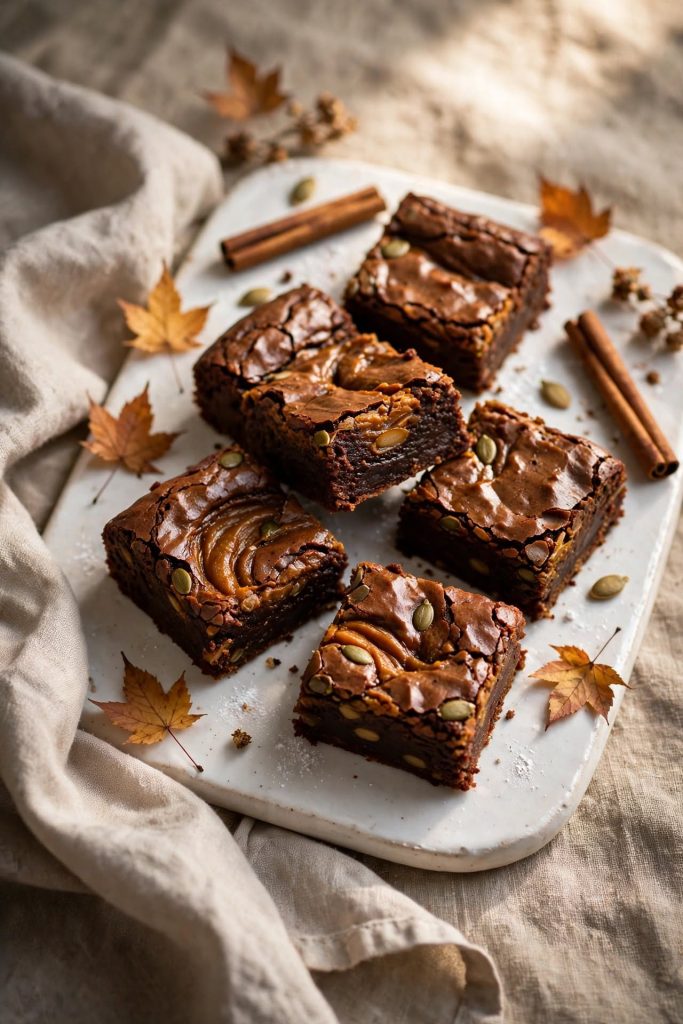
Classic Ways to Serve
- On their own at room temperature — the swirl pattern is most visible and the texture is at its peak
- Slightly warm from the microwave (8 seconds) with a thin square of cold salted butter on top — the butter melts into the surface and sharpens both the cocoa and the spice
- Dusted with powdered sugar just before serving — simple, quick, and photographs clearly against the dark chocolate top
Upgraded and Occasion-Worthy
- Served alongside a scoop of vanilla or cinnamon ice cream — the temperature contrast highlights both layers and the pumpkin spice echoes the cinnamon in the ice cream
- On a fall dessert board alongside salted caramel dip, apple slices, and candied pecans — the brownies are dense enough to hold their shape while other items are picked at
- Wrapped individually in parchment and tied with baker’s twine — one of the most practical and visually clean fall gifts you can put together in an afternoon; they travel well in a sealed container for up to 3 days
Pairs well with: Black coffee, chai tea, hot apple cider, or spiced hot chocolate. The warm spice in the pumpkin layer echoes all four drinks without competing. Avoid very sweet drinks — these brownies are sweet enough on their own.
Best occasions: Weeknight dessert, Thanksgiving potluck, Halloween party tray, fall bake sale, holiday teacher gift. Dense, portable, and not prone to crumbling under normal handling.
Frequently Asked Questions
Can I make pumpkin brownies without eggs?
Yes. Substitute each egg with 3 tablespoons of unsweetened applesauce or a flax egg (1 tablespoon ground flaxseed mixed with 3 tablespoons water, rested for 5 minutes before using). The texture will be slightly denser and less fudgy, but the brownies will hold their shape and slice cleanly. Applesauce is the better choice here because its mild flavor complements the pumpkin rather than competing with it.
Why did my pumpkin brownies turn out cakey?
Cakey brownies are almost always caused by too much flour or overbaking — and usually both at once. Measure your flour by spooning it into the cup and leveling off, never by scooping directly from the bag (which can add up to 20% more flour). Pulling the brownies from the oven while a few moist crumbs still cling to the toothpick — not a clean toothpick — gives you the fudgy result. If you have a kitchen scale, 90g of flour removes the variable entirely.
How do I know when pumpkin brownies are done?
Insert a toothpick about 1 inch from the center of the pan. A toothpick with a few moist crumbs is your signal to pull the pan. If wet, shiny batter coats the toothpick, give them 3 more minutes and test again. The edges will look set and slightly pulled from the pan sides. The center will have a very faint wobble when you gently shake the pan — this is correct, and it firms to a fudgy texture during the 1-hour cool.
Can I make pumpkin brownies ahead of time?
Yes — and it is worth planning for. Bake them the day before, cool completely, and store in an airtight container at room temperature. The texture is often noticeably better on day two: both layers settle, the spice flavor deepens, and the chocolate base firms to a denser pull. These are one of the better make-ahead desserts in the fall baking rotation precisely because of this improvement.
How long do pumpkin brownies last?
At best quality: up to 3 days at room temperature in an airtight container, up to 6 days in the refrigerator. The texture starts to dry out and lose its fudgy character after day three at room temperature. They remain safe to eat beyond these windows — use your judgment. If they smell off or show any mold, discard them.
Can I freeze pumpkin brownies?
Yes. Wrap individual squares in plastic wrap, pressing out air, then seal in a freezer-safe bag. Best quality for up to 3 months. Thaw at room temperature for 1 to 2 hours, or overnight in the refrigerator. The chocolate layer holds up very well from frozen. The pumpkin layer may release a small amount of surface moisture on thawing — pat dry with a paper towel before serving.
What can I substitute for pumpkin purée?
Butternut squash purée is the closest substitute — roast the squash, mash it smooth, and drain any excess liquid before measuring. Sweet potato purée also works and gives a slightly sweeter, warmer result. Do not substitute canned pumpkin pie filling, which contains added sugar, spices, and salt that will push the pumpkin layer out of balance with the chocolate base.
Can I double this recipe?
Yes. Double all ingredients and bake in a parchment-lined 9×13-inch pan. Check for doneness at the same time mark (28 to 30 minutes), but expect the full bake to run 5 to 10 minutes longer because of the greater batter depth. Use the toothpick test — not the timer — as your final check. Allow the same 1-hour cooling time before slicing.
Why did my brownies sink in the middle?
A small depression in the center after cooling is normal for dense brownies — the structure is correct and the texture inside is fine. If the center is genuinely raw or wet after a full hour of cooling, the bake time was too short or your oven temperature runs low (common in home ovens). An oven thermometer costs about $10 and reveals if your oven is running 15 to 25°F under the set temperature — a very common issue.
What size pan works best for pumpkin brownies?
An 8×8-inch metal pan is the right size for this recipe. It gives you brownies thick enough to show the swirl effect clearly and bake evenly in 30 to 35 minutes. A 9×9-inch pan also works but produces a slightly thinner result that can be ready 3 to 5 minutes earlier — keep a closer eye on the toothpick test if using one.
Can I use pumpkin pie spice instead of individual spices?
Yes. Replace the cinnamon, nutmeg, and cloves in the pumpkin layer with ¾ teaspoon of pumpkin pie spice. The blend is pre-balanced and works well here — no adjustments needed. For a stronger, more pronounced spice presence, increase to 1 full teaspoon. Taste the pumpkin mixture before layering to check the spice level matches what you are going for.
Can I add nuts or chocolate chips?
Yes. Fold ½ cup of chopped walnuts, pecans, or semi-sweet chocolate chips into the chocolate batter just after the flour is fully incorporated. White chocolate chips stirred into the pumpkin layer give a sharp, sweet contrast against the spiced base that holds up well after baking. If you enjoyed this recipe, our pumpkin spice cookie bars are the next one worth making.

Pumpkin Brownies
Ingredients
Equipment
Method
- Preheat and prepare. Set oven to 350°F (175°C). Line an 8×8-inch metal pan with parchment, leaving a 2-inch overhang on two sides. Grease the parchment lightly.
- Make the brownie batter. Whisk melted butter and sugar until combined and slightly glossy. Add eggs and vanilla; whisk 20 strokes. Sift in cocoa powder, flour, salt, and baking powder. Fold with a rubber spatula just until no dry streaks remain. Do not overmix.
- Make the pumpkin layer. In a separate bowl, whisk pumpkin purée, egg, sugar, cinnamon, nutmeg, cloves, and vanilla until smooth, uniform in color, and visibly spiced.
- Layer and swirl. Pour three-quarters of the brownie batter into the prepared pan and spread evenly. Drop the pumpkin mixture in 6 to 8 spoonfuls across the surface. Add the remaining brownie batter in small dollops between the pumpkin mounds. Use a butter knife to draw 4 to 6 wide S-strokes through the layers. Stop there.
- Bake. Bake on the center rack for 30 to 35 minutes. Start checking at 28 minutes — a toothpick inserted 1 inch from center should come out with a few moist crumbs, not wet batter.
- Cool and slice. Cool in the pan on a wire rack for at least 1 hour. Lift using the parchment overhang. Slice into 16 squares with a sharp knife, wiping the blade clean between each cut.
Notes
• Pumpkin purée: if the canned purée looks watery, drain through a strainer for 10 minutes before using
• Pan: metal 8×8-inch gives the most consistent, even results
• Swirl: 4 to 6 strokes maximum — stop before the layers blend together
• Storage: airtight container — 3 days room temp / 6 days refrigerator / 3 months freezer
| Calories | Fat | Carbohydrates | Sugar | Protein |
|---|---|---|---|---|
| ~185 kcal | 8g | 27g | 20g | 3g |
More Fall Dessert Recipes You Will Love
- [Post Title 1] — [One sentence on why this reader will want to make it next]
- [Post Title 2] — [One sentence on why this reader will want to make it next]
- [Post Title 3] — [One sentence on why this reader will want to make it next]
- [Post Title 4] — [One sentence on why this reader will want to make it next]
- [Post Title 5] — [One sentence on why this reader will want to make it next]
Did you make this pumpkin brownie recipe? Leave a ⭐⭐⭐⭐⭐ rating below and let me know in the comments how it turned out. I read every comment and would love to know what worked for you.