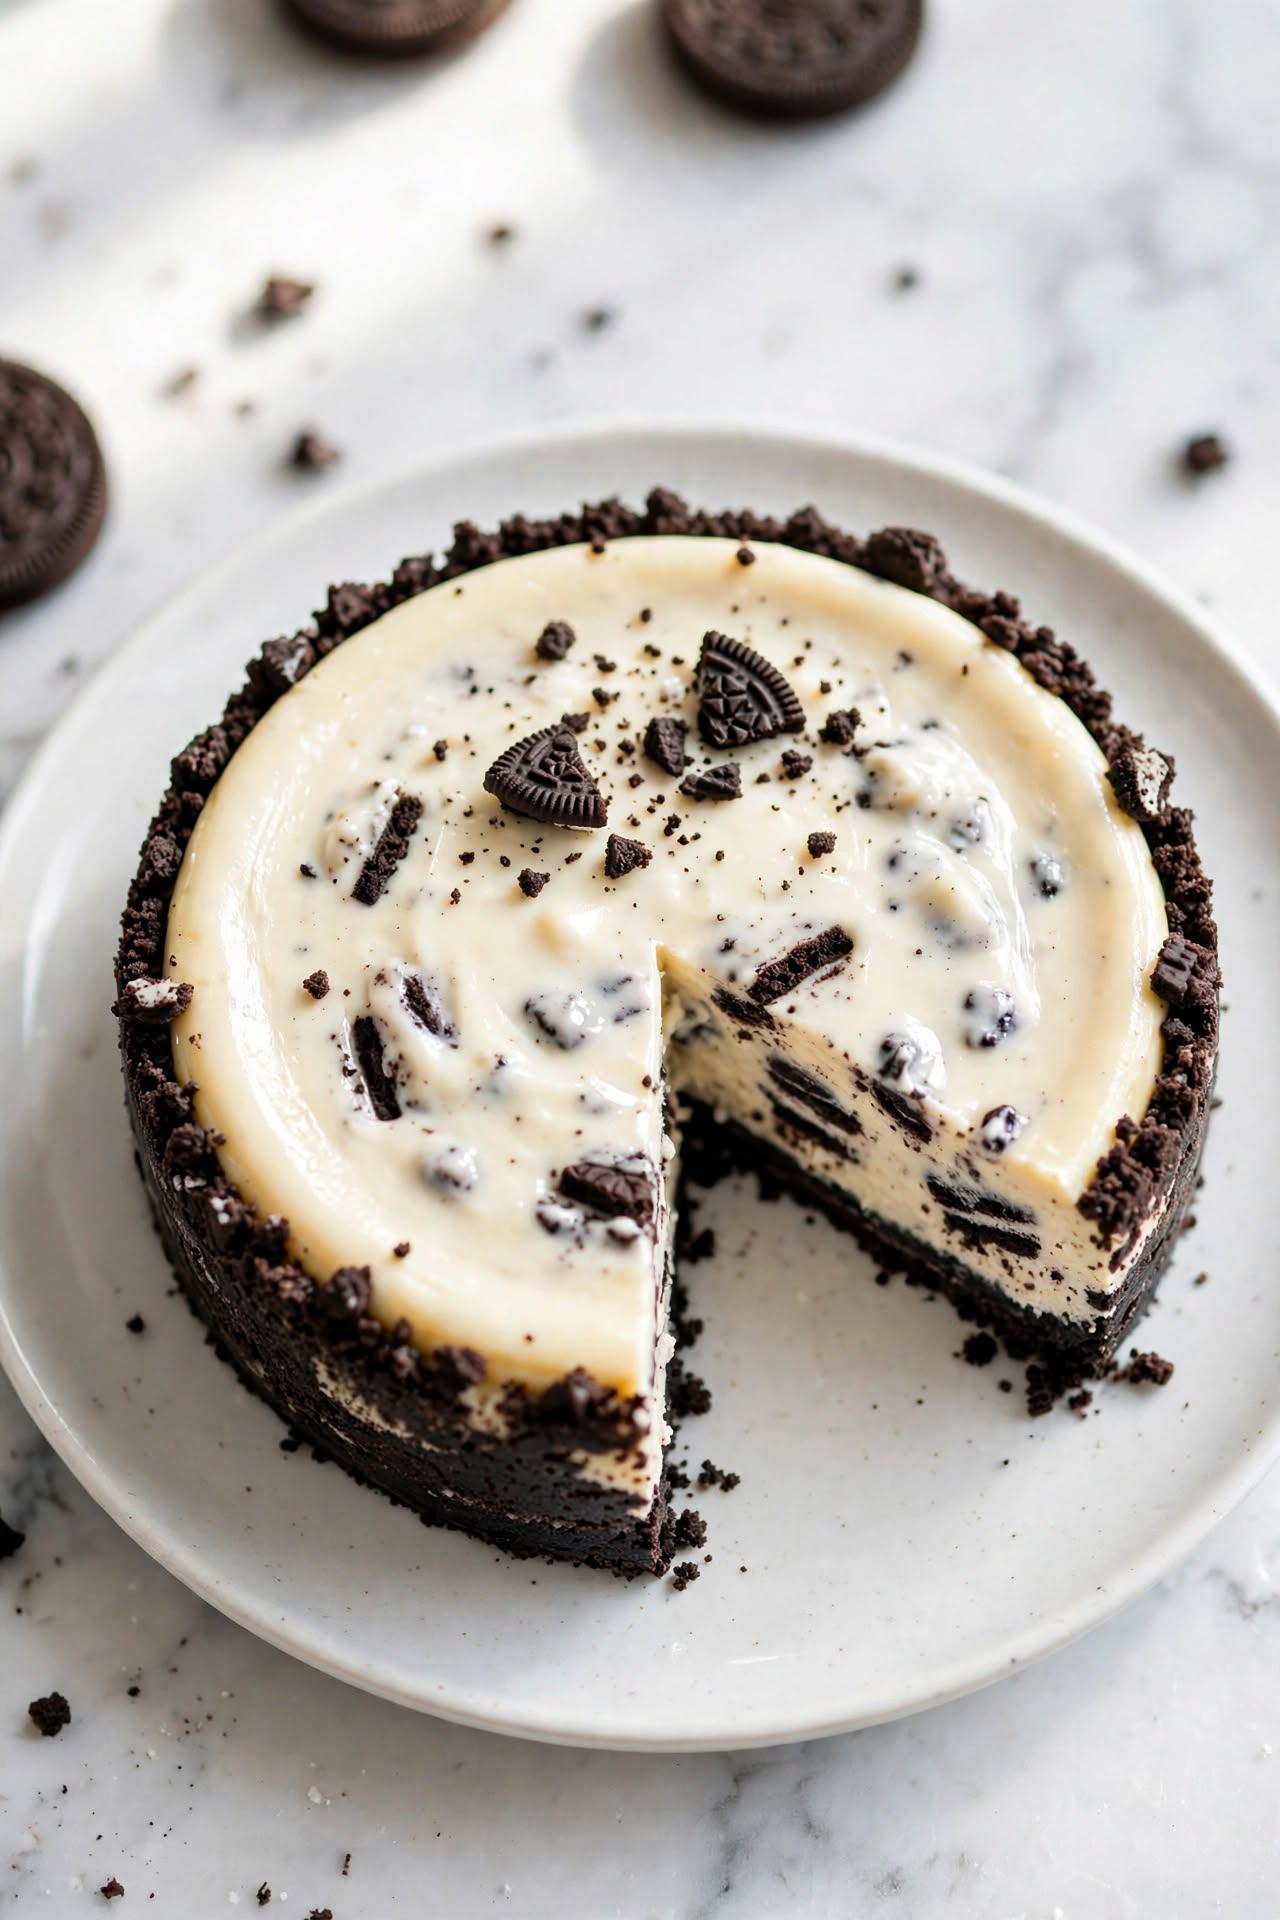
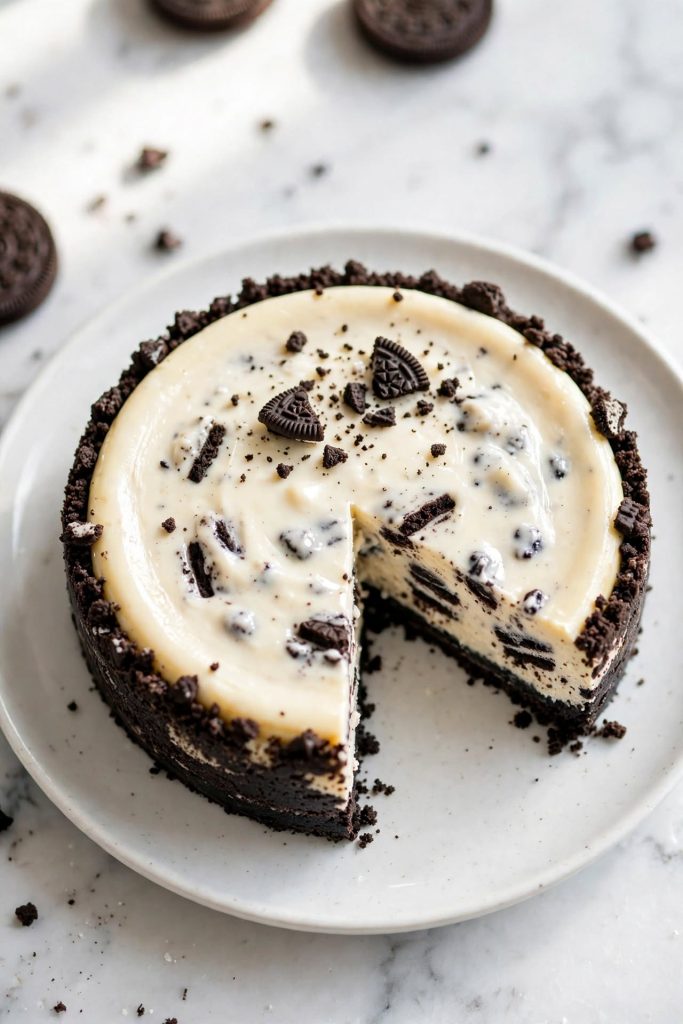
Oreo cheesecake is a no-bake cream cheese dessert built on a crushed Oreo cookie base with a whipped, creamy filling that sets firm in the refrigerator. No oven required. Prep takes under 30 minutes, and the cheesecake is ready to slice after 4 hours of chilling. Best for anyone who wants an impressive, reliable dessert with minimal equipment and no baking experience needed.
This Oreo cheesecake gives you a thick, cookie-packed crust and a filling that holds its shape when you slice it — no oven, no water bath, no guessing. It uses six core ingredients and requires only a springform pan and a hand mixer. If your last no-bake cheesecake came out soft, runny, or impossible to slice cleanly, the fix is almost always in the cream cheese temperature and whipping method — both of which are covered here. I made this recipe multiple times before publishing to make sure it sets cleanly every time.
Why This Recipe Works
This version of Oreo cheesecake is built for results that hold up — the crust does not crumble when you slice it, the filling sets firm enough to cut cleanly, and it stays smooth in the refrigerator for up to four days.
- Full-fat cream cheese only — full-fat keeps the filling dense and rich rather than soft and watery, and each slice holds its shape at the center without collapsing.
- Crust stays firm after cutting — a 2:1 ratio of crushed Oreos to butter sets with enough structure to hold each slice together without crumbling when you lift it from the pan.
- No oven required — the entire recipe works without turning on your oven; the refrigerator does all the setting work over 4 hours minimum.
- Ready for beginners — the only equipment you need is a food processor or zip bag and rolling pin, a mixing bowl, and a 9-inch springform pan.
- Make-ahead friendly — the cheesecake improves with a longer chill, so making it the night before gives you a firmer, more sliceable result by the next day.
- One filling, zero lumps — beating the cream cheese at room temperature before adding anything else is the single step that eliminates lumps from the finished filling.
If you are looking for more no-bake dessert recipes, [easy no-bake desserts] is a good place to start.
Ingredients for Oreo Cheesecake
Every ingredient here has a specific job. Here is what each one does — and what to use if you need to make a substitution.
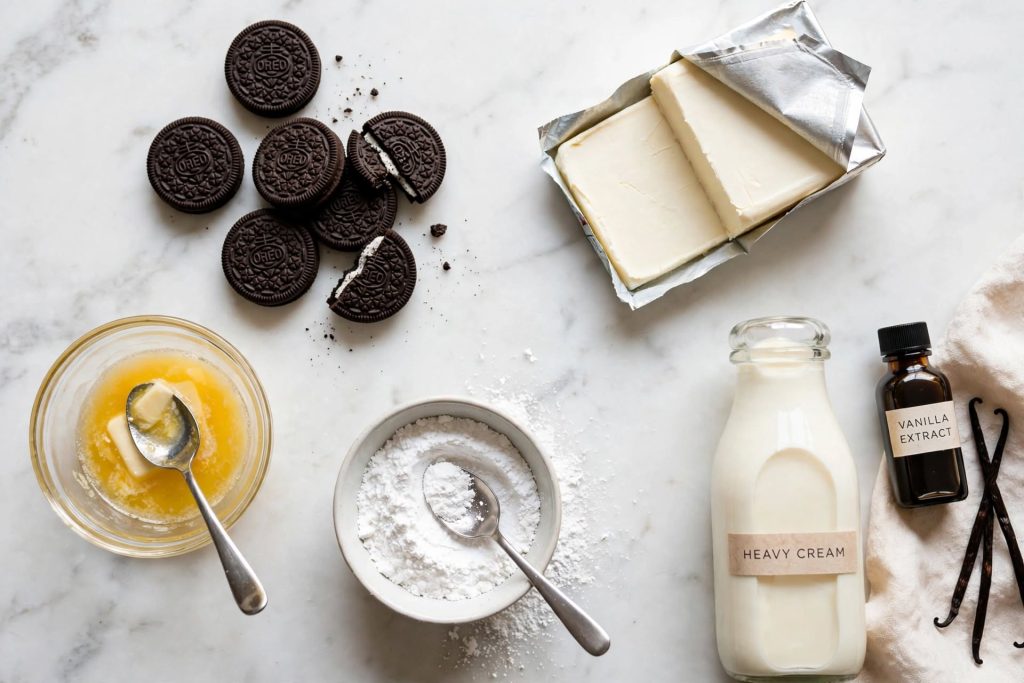
The Crust
| Ingredient | Amount | What It Does | Best Substitute + Impact |
|---|---|---|---|
| Oreo cookies (whole, with filling) | 24 cookies (~260g) | Provides structure and chocolate flavor; the filling acts as a binder | Chocolate graham crackers — slightly less rich, looser texture |
| Unsalted butter, melted | 5 tablespoons (70g) | Binds the crumbs into a firm, sliceable crust | Coconut oil — sets slightly firmer when chilled |
The Filling
| Ingredient | Amount | What It Does | Best Substitute + Impact |
|---|---|---|---|
| Full-fat cream cheese, room temperature | 680g (3 × 8oz blocks) | Base of the filling — provides structure, tang, and density | No direct substitute; reduced-fat gives a soft, runny result |
| Powdered sugar | 150g (1¼ cups) | Sweetens without adding liquid; dissolves smoothly | Caster sugar — usable but stir longer to dissolve fully |
| Pure vanilla extract | 1 teaspoon | Adds depth to cut through the tang of the cream cheese | Vanilla paste — same effect, slightly stronger flavor |
| Fresh lemon juice | 1 tablespoon | Sharpens the flavor and helps the filling set firmer | White wine vinegar — works but adds a slight savory edge |
| Heavy cream (cold) | 240ml (1 cup) | Whipped to stiff peaks — gives the filling its light, stable texture | Whipping cream (min. 35% fat) — works if whipped to full stiff peaks |
| Crushed Oreos (for filling) | 8 cookies | Adds texture and flavor pockets through the filling | Chocolate chips — visible but less cookie flavor |
Key Ingredient Notes
Cream cheese: Use blocks, not spreadable cream cheese from a tub — tub cream cheese contains extra water and stabilizers that prevent the filling from setting firm. Bring it to full room temperature before starting (roughly 45 to 60 minutes out of the refrigerator).
Heavy cream: The cream must be cold when you whip it — cold cream whips faster and holds its peaks longer. Cream at room temperature will not reach stiff peaks and will give you a soft, unstable filling.
Oreos: Keep the filling in when crushing — the filling contains oils that help bind the crust and add sweetness without extra sugar.
The Cream Cheese Guide
Cream cheese temperature is the single biggest factor in how your cookie crust cheesecake filling turns out.
| State | What It Looks Like | Use for This Recipe? |
|---|---|---|
| Straight from the fridge | Firm, cold, hard to press with a finger | ❌ No — causes lumps that beating cannot fix |
| Partially softened (20 min out) | Slightly pliable but still cool to the touch | ⚠️ Not ideal — increases beating time and lump risk |
| Fully room temperature (45–60 min out) | Soft, smooth, leaves an easy indent when pressed | ✅ Best — beats smooth in under 2 minutes |
| Over-softened (3+ hours, warm kitchen) | Very soft, slightly shiny, almost spreadable | ⚠️ Usable — filling may be slightly looser |
If your kitchen is cold and you need to soften quickly: cut each block into eight cubes and leave them on a plate for 25 to 30 minutes. Do not microwave cream cheese to soften it — even 10 seconds overheats the edges while the center stays cold, which gives you an uneven base.
How to Make Oreo Cheesecake — Step by Step
Follow these steps in order. Do not skip the chilling step at the end — the filling needs refrigerator time to set firm enough to slice cleanly.
Step 1 — Crush the Oreos and Press the Crust
Add 24 Oreos to a food processor and pulse until you have fine, uniform crumbs — no large chunks. Stir in the melted butter until every crumb is coated and the mixture holds together when you press a small amount between your fingers. Press firmly into the bottom of a 9-inch springform pan using the flat bottom of a measuring cup.
What to look for: An even layer about ½ inch thick with no dry patches. Press the edges up about 1 inch against the sides of the pan.
Step 2 — Beat the Cream Cheese Until Smooth
⚠️ This is the most critical step in the recipe. Add cold cream cheese and you will get lumps no amount of later mixing can fix.
Add all three blocks of room-temperature cream cheese to a large bowl and beat on medium-high speed for 2 full minutes — before adding anything else. The cream cheese should be smooth, glossy, and completely lump-free before you add any other ingredient.
What to look for: A smooth, glossy paste with no white chunks visible anywhere in the bowl.
Step 3 — Add the Sugar, Vanilla, and Lemon Juice
Add the powdered sugar, vanilla extract, and lemon juice to the beaten cream cheese. Mix on medium speed for 1 minute until fully incorporated and the mixture looks smooth and slightly stiffer than before. Scrape down the sides of the bowl once during mixing — cream cheese clings to the edges and can stay unmixed.
What to look for: A uniform, smooth filling with no sugar streaks and a slightly thicker consistency than before.
Step 4 — Fold in the Whipped Cream
⚠️ Do not overmix at this stage. Over-mixing deflates the cream and gives you a denser, heavier filling.
Whip the cold heavy cream in a separate cold bowl to stiff peaks — the peaks should stand upright without drooping at the tip. Add the whipped cream to the cream cheese mixture in two additions and fold gently with a spatula using wide, slow strokes. Fold until no white streaks remain, then stop. Fold in the 8 crushed Oreos last.
Once you are comfortable with this folding method, [how to whip cream to stiff peaks] is worth reading before you try other no-bake recipes.
What to look for: A pale, smooth filling with Oreo pieces distributed throughout and no remaining white streaks of cream.
Step 5 — Fill the Pan and Chill
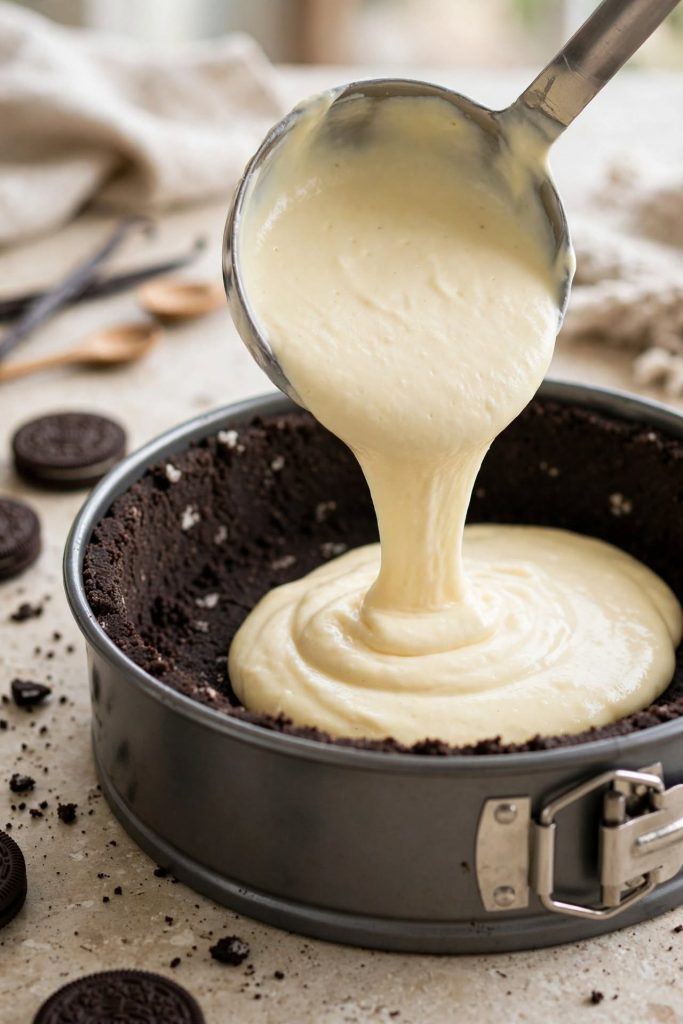
Pour the filling over the prepared crust and spread it to the edges with a spatula. Smooth the top and tap the pan gently on the counter twice to release any air pockets. Cover tightly with plastic wrap and refrigerate for a minimum of 4 hours — overnight is better.
What to look for: A flat, even surface with the filling sitting level. If the top shows bubbles, smooth them with a warm spatula before chilling.
The Science Behind a Perfect Oreo Cheesecake
A well-set no-bake cheesecake is not luck — it is the result of four ingredients doing specific, predictable jobs.
Why Room-Temperature Cream Cheese Matters
Cold cream cheese contains tightly bound fat molecules that resist blending. When you beat cold cream cheese, the fat breaks into irregular clumps instead of forming a smooth paste — and those clumps stay visible in the finished filling. Room-temperature cream cheese has loosened fat bonds that coat each other evenly when beaten, producing a completely smooth, lump-free base.
Why Whipped Cream Creates the Right Texture
Heavy cream whipped to stiff peaks contains millions of tiny air bubbles trapped inside a fat network. When folded into the cream cheese base, those bubbles give the filling its light, mousse-like texture and help it hold its shape without needing gelatin. The fat content in the cream (minimum 35%) is what allows it to hold that structure — lower-fat creams collapse within hours and cannot support a sliceable filling.
Why Chilling Time Cannot Be Rushed
The filling sets through fat crystallization and protein alignment — both of which happen slowly at refrigerator temperature (around 4°C). A cheesecake pulled after 2 hours will still be soft at the center. Give it the full 4 hours minimum. Overnight is significantly better — the extra chill time allows the fat to fully crystallize and the filling to reach a stable, cleanly sliceable consistency.
Tips for the Best Result
These are the details that separate a good no-bake cheesecake from one people ask you to make again.
- Start with room-temperature cream cheese — cold cream cheese produces a lumpy filling that no amount of additional mixing can fully smooth out.
- Use a 9-inch springform pan — smaller pans create a thicker filling that takes longer to set; larger pans give a filling too thin to slice dramatically.
- Chill your bowl and whisk before whipping the cream — a cold metal bowl helps the cream reach stiff peaks in under 3 minutes.
- Press the crust edges 1 inch up the sides of the pan — this wall holds the filling in place when you release the springform clip, giving you a neater edge on each slice.
- Use a hot, dry knife for slicing — run the blade under hot water and wipe it dry between every cut; this is the only reliable way to get clean slices with visible layers.
- Add Oreo pieces to the top just before serving — Oreos placed on top more than an hour ahead will soften from the moisture in the filling and lose their snap.
- Make it the night before — the filling firms up measurably between the 4-hour mark and overnight, giving you cleaner slices and a more stable texture at the table.
Common Mistakes to Avoid
❌ Using Cold Cream Cheese
Result: Your filling will have lumps that stay visible in the finished cheesecake, and the texture will feel grainy rather than smooth.
Fix: Remove cream cheese from the refrigerator 45 to 60 minutes before you start, or cut each block into small cubes and leave them on a plate for 25 to 30 minutes.
❌ Under-Whipping the Heavy Cream
Result: The filling will be soft and loose — it may look set after 4 hours but will slide and collapse when you cut into it.
Fix: Whip to full stiff peaks — the cream should hold a peak that stands straight up without drooping at the tip. Soft peaks will not provide enough structure.
❌ Not Pressing the Crust Firmly Enough
Result: The crust will crumble when you slice the cheesecake, and individual slices will fall apart when lifted from the pan.
Fix: Press the crumb mixture with the flat base of a measuring cup or glass, pressing down firmly and evenly. The crust should feel compact and solid, not loose.
❌ Skipping the Full Chill Time
Result: The center of the cheesecake will be soft and creamy — not set — and will spread or sag when sliced.
Fix: Chill for a minimum of 4 hours. Overnight is significantly better — the extra time allows the fat to fully crystallize and the filling to reach a stable, sliceable consistency.
❌ Using Low-Fat Cream Cheese
Result: Low-fat cream cheese contains more water and fewer fat molecules — the filling will be soft, wet, and will not hold its shape when sliced.
Fix: Use full-fat block cream cheese only. This is not a recipe where the lower-fat version performs comparably.
❌ Over-Mixing After the Cream Is Added
Result: Over-mixing deflates the whipped cream, collapsing the air structure that gives the filling its lightness. The result is a denser, heavier texture.
Fix: Fold with a spatula using wide, slow strokes — stop the moment you can no longer see white streaks.
For more guides like this one, [no-bake dessert troubleshooting] covers common problems in the same detail.
Variations Worth Trying
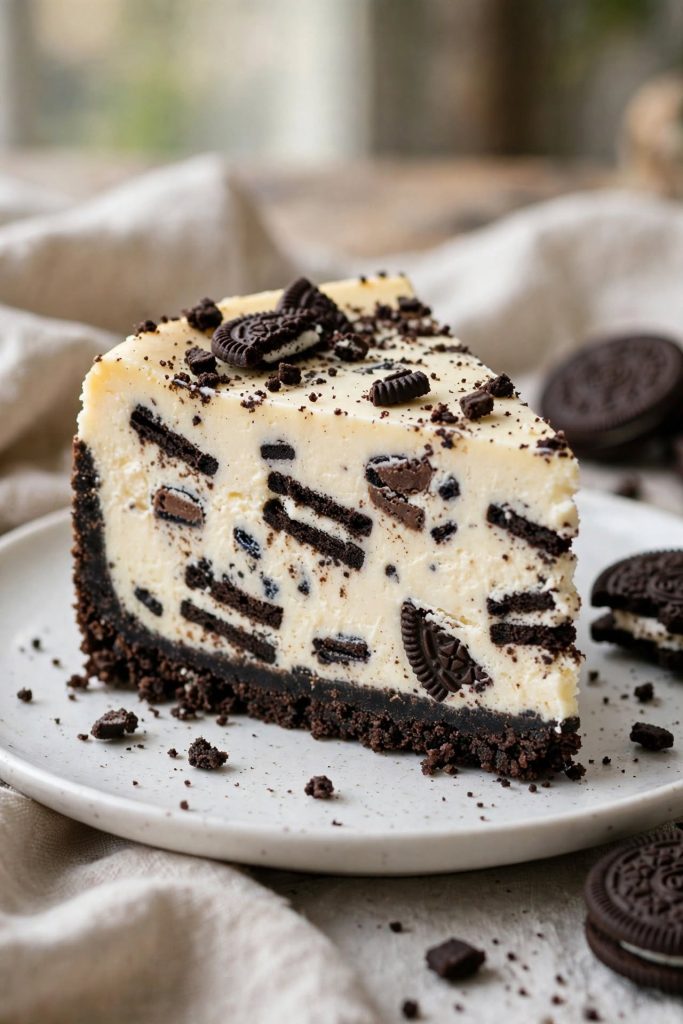
Chocolate Ganache Oreo Cheesecake
Pour a thin layer of chocolate ganache over the set cheesecake before slicing. Heat 100ml of heavy cream until it just starts to simmer, pour it over 100g of chopped dark chocolate, and stir until smooth. Let it cool for 10 minutes before pouring over the chilled cheesecake, then return it to the refrigerator for 30 minutes. The ganache adds a firm, glossy top layer that makes each slice look significantly more polished.
Mint Oreo Cheesecake
Replace the vanilla extract with ½ teaspoon of peppermint extract and use Mint Oreos for the crust. Add a drop of green food coloring to the filling if you want a visual cue to the flavor. The result is a filling with a cool, clean flavor that contrasts well with the dark chocolate cookie base.
Strawberry Oreo Cheesecake
Fold 3 tablespoons of strawberry jam into the filling before adding the crushed Oreos — the jam adds color, flavor, and a slight extra sweetness without changing the texture noticeably. Top with fresh sliced strawberries just before serving for a color contrast against the dark crust.
Peanut Butter Oreo Cheesecake
Reduce the cream cheese to 500g and add 180g (¾ cup) of smooth peanut butter to the filling at the same stage as the sugar. The peanut butter thickens the filling slightly, giving it a denser, richer texture. Use the original Oreo crust — the contrast between the chocolate cookie base and peanut butter filling is what makes this version work.
Oreo Cheesecake Bars
Press the crust into a 9×13 inch baking pan lined with parchment paper instead of a springform pan. Spread the filling evenly, chill overnight, then lift the parchment out and cut into uniform bars. Easier to serve at parties where individual portions are more practical than slices — no springform release required.
How to Store Oreo Cheesecake
Refrigerator Storage
Keep the cheesecake in the springform pan with a piece of plastic wrap pressed directly against the cut surface, or transfer individual slices to an airtight container. Best quality for up to 4 days. The crust may soften slightly after day 2 as it absorbs moisture from the filling — this is normal and does not affect the flavor.
Freezer — Complete Guide
This easy cheesecake recipe freezes well. To freeze the whole cheesecake: place it (still in the pan) in the freezer uncovered for 2 hours until firm, then wrap tightly in two layers of plastic wrap followed by one layer of aluminum foil. Freeze for up to 1 month. To freeze individual slices: place cut slices on a parchment-lined tray, freeze until solid (about 2 hours), then transfer to a zip-seal freezer bag with parchment between each slice.
To thaw: transfer to the refrigerator the night before serving and leave for 6 to 8 hours. Do not thaw at room temperature — condensation forms and the crust softens unevenly.
If batch baking is something you enjoy, [how to freeze cheesecake] fits perfectly into that routine.
How to Serve Oreo Cheesecake
Classic Ways to Serve
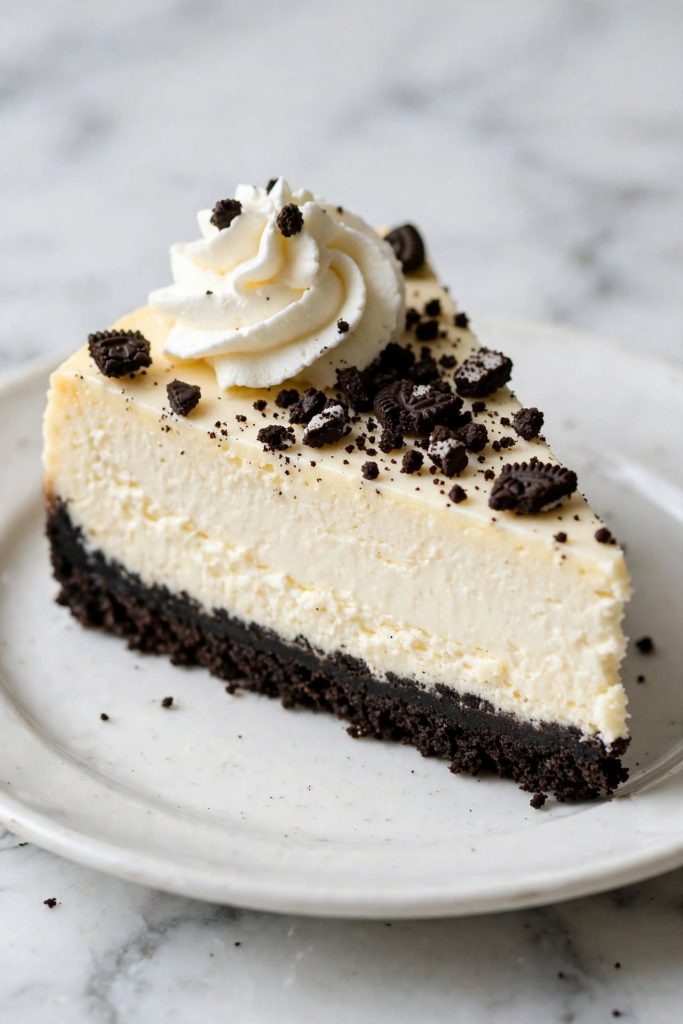
Serve the Oreo cheesecake straight from the refrigerator — it slices best when cold. Use a sharp knife rinsed under hot water and dried before each cut. Place each slice on a chilled plate to slow any softening at the edges. Dust crushed Oreos over the top of each slice for a visual finish that also tells guests what is inside.
Upgraded and Occasion-Worthy
- Whipped cream rosettes — pipe small rosettes of whipped cream around the edge of the whole cheesecake and press a mini Oreo into each one; takes 5 minutes and makes the presentation look catered.
- Caramel drizzle — a thin drizzle of salted caramel adds a contrasting flavor note and a visual element that photographs well.
- Hot fudge stripe — run a spoon of warm hot fudge sauce over each slice just before serving for a melted-ice-cream-sundae effect.
- Serve with coffee — the bitterness of black coffee or espresso cuts through the richness of the cream cheese filling and makes each bite cleaner on the palate.
Frequently Asked Questions
Can I make Oreo cheesecake without heavy cream?
You can, but the texture will be noticeably different. Without whipped heavy cream, the filling will be denser and less airy — closer to a traditional baked cheesecake in texture than a light no-bake filling. Whipped coconut cream (the solid fat from a chilled can of full-fat coconut milk) can work as a substitute — whip it the same way and fold it in at the same stage as the heavy cream.
How long does Oreo cheesecake last?
Best quality for up to 4 days in the refrigerator, stored covered. The flavor stays consistent through day 4; the main change is the crust, which softens slightly as it absorbs moisture from the filling. Beyond day 4, the texture of the filling can become slightly watery. If you enjoyed this recipe, [mini Oreo cheesecakes] is the next one worth making.
Why didn’t my cheesecake set properly?
The most common reasons are cold cream cheese (which causes lumps and prevents the filling from emulsifying properly), under-whipped cream (which cannot support the filling structure), or insufficient chill time. Check all three before troubleshooting further. In most cases, returning the cheesecake to the refrigerator for several more hours will resolve a soft center.
Can I make it ahead of time?
Yes — and it is actually better when made ahead. The filling becomes firmer and more sliceable with additional time in the refrigerator. Make it up to 24 hours ahead and keep it covered in the pan until you are ready to serve. For a party, making it the night before is the most reliable approach.
Can I use double-stuffed Oreos for the crust?
Yes. The extra filling in double-stuffed Oreos adds more fat and sweetness to the crust, which means you may need slightly less butter — start with 4 tablespoons and check whether the mixture holds together before adding a fifth. The resulting crust will be slightly sweeter and a little softer than a standard-Oreo crust.
How do I get clean, even slices?
Three things: run the knife blade under hot water, wipe it completely dry, and make each cut in one single downward motion rather than a sawing motion. Repeat the hot-water and dry step between every slice. A sharp knife is essential — a dull blade drags the filling and creates ragged edges.
Can I freeze Oreo cheesecake?
Yes. Freeze individual slices on a parchment-lined tray until solid (about 2 hours), then transfer to a zip-seal bag with parchment between each piece. Freeze for up to 1 month. Thaw overnight in the refrigerator. The texture after thawing is very close to fresh — the crust softens slightly but the filling recovers well.
What size pan should I use?
A 9-inch springform pan is the standard for this recipe. A 10-inch pan gives a thinner filling that sets faster but slices less dramatically. An 8-inch pan gives a taller, thicker filling that may need an extra hour of chill time to set completely through the center. Avoid a regular round cake pan — you need the springform clip to release the sides cleanly without damaging the edge of the cheesecake.
Can I use store-brand chocolate sandwich cookies?
Yes — any chocolate sandwich cookie with a cream filling will work. The key is the fat content in the filling: it binds the crumbs when mixed with butter. Store-brand cookies generally perform the same as Oreos in both the crust and the filling of this cream cheese dessert.
Why is my filling lumpy?
Almost always caused by cream cheese that was not at full room temperature before beating. If your filling has minor lumps, try passing it through a fine-mesh sieve — for small lumps this can smooth things out. For significant lumps, re-beat the filling after gently warming the cream cheese in a warm water bath for a few minutes until it is fully soft and smooth.
Can I add gelatin to help it set firmer?
You can, but it is generally not necessary with this recipe if the cream is whipped to full stiff peaks and the chill time is respected. If you are in a warm climate or need the cheesecake to hold up at room temperature for more than 30 minutes, dissolve 1 teaspoon of powdered gelatin in 2 tablespoons of warm water, let it bloom for 5 minutes, then fold it into the filling at the same stage as the cream.
Can I make individual portions?
Yes. Use a standard 12-cup muffin tin lined with cupcake cases. Press 1 to 2 tablespoons of crust mixture into each cup, then fill with the cheesecake filling to just below the rim. Chill for 3 hours minimum. Individual portions take less time to set than a full cheesecake and are significantly easier to serve at events.

Ingredients
Method
- Pulse 24 Oreos to fine crumbs. Mix with melted butter. Press firmly into the base of a 9-inch springform pan and up the sides 1 inch. Refrigerate while you make the filling.
- Beat room-temperature cream cheese on medium-high for 2 full minutes until completely smooth and lump-free — before adding anything else.
- Add powdered sugar, vanilla extract, and lemon juice. Mix on medium for 1 minute. Scrape down the sides of the bowl.
- In a separate cold bowl, whip the cold heavy cream to stiff peaks. Fold into the cream cheese mixture in two additions using a spatula — wide, slow strokes. Stop the moment no white streaks remain.
- Fold in 8 crushed Oreos. Pour filling over the prepared crust and smooth the top. Cover tightly and refrigerate for a minimum of 4 hours, or overnight.
- Release the springform clip. Slice with a hot dry knife, wiping between each cut. Serve cold.
Notes
More Cheesecake Recipes You’ll Enjoy
- No-Bake Strawberry Cheesecake
- Mini Oreo Cheesecake Cups
- Baked New York Cheesecake
- No-Bake Lemon Cheesecake
Did you make this Oreo cheesecake? Leave a ⭐⭐⭐⭐⭐ rating below and let me know in the comments how it turned out. I read every comment and would love to know what worked for you.