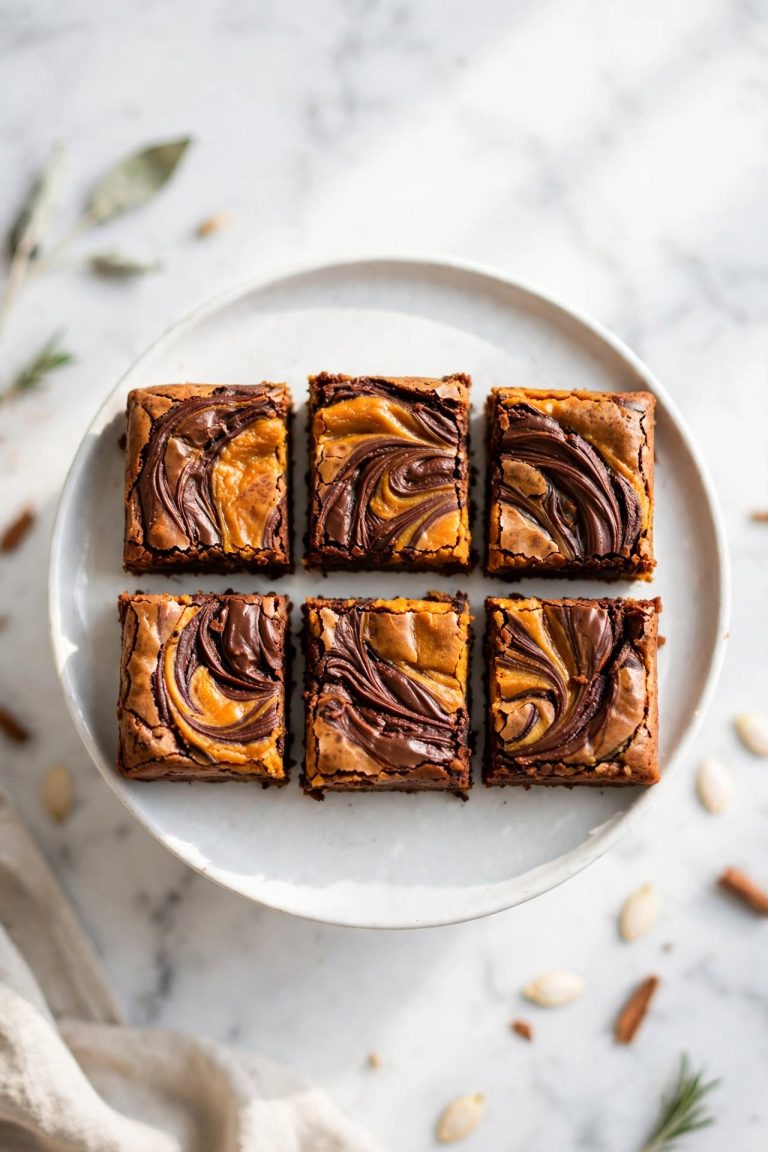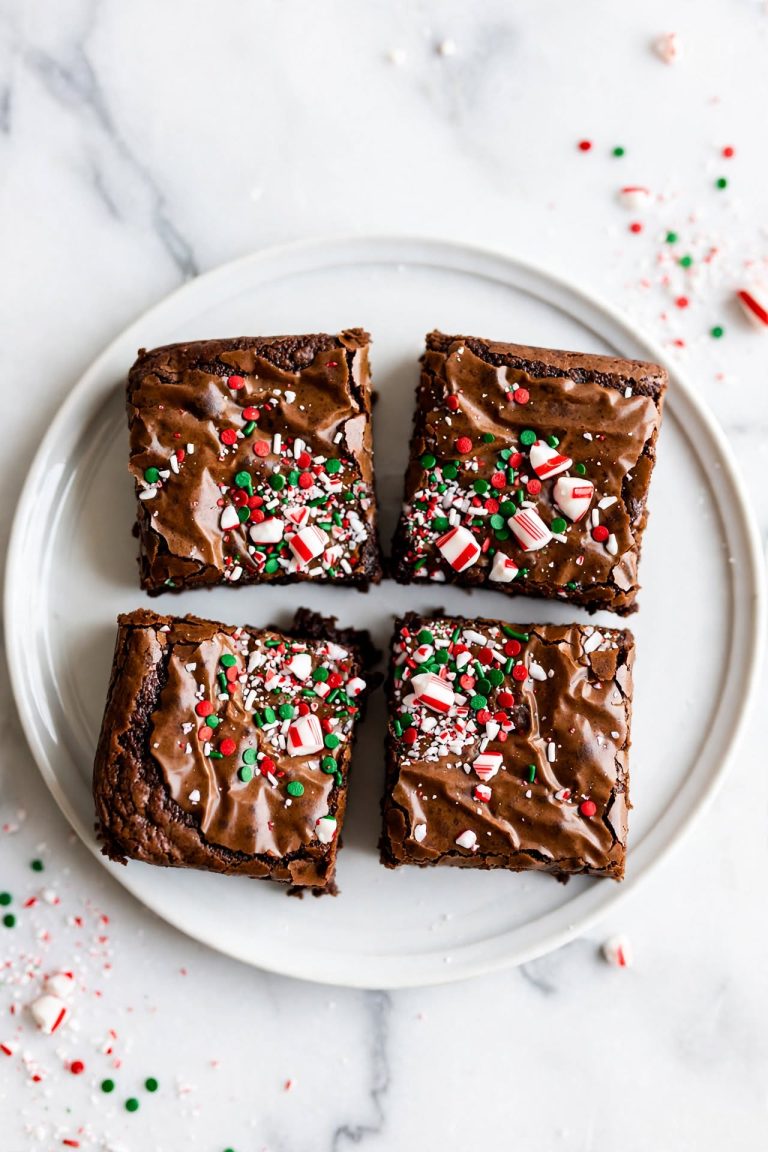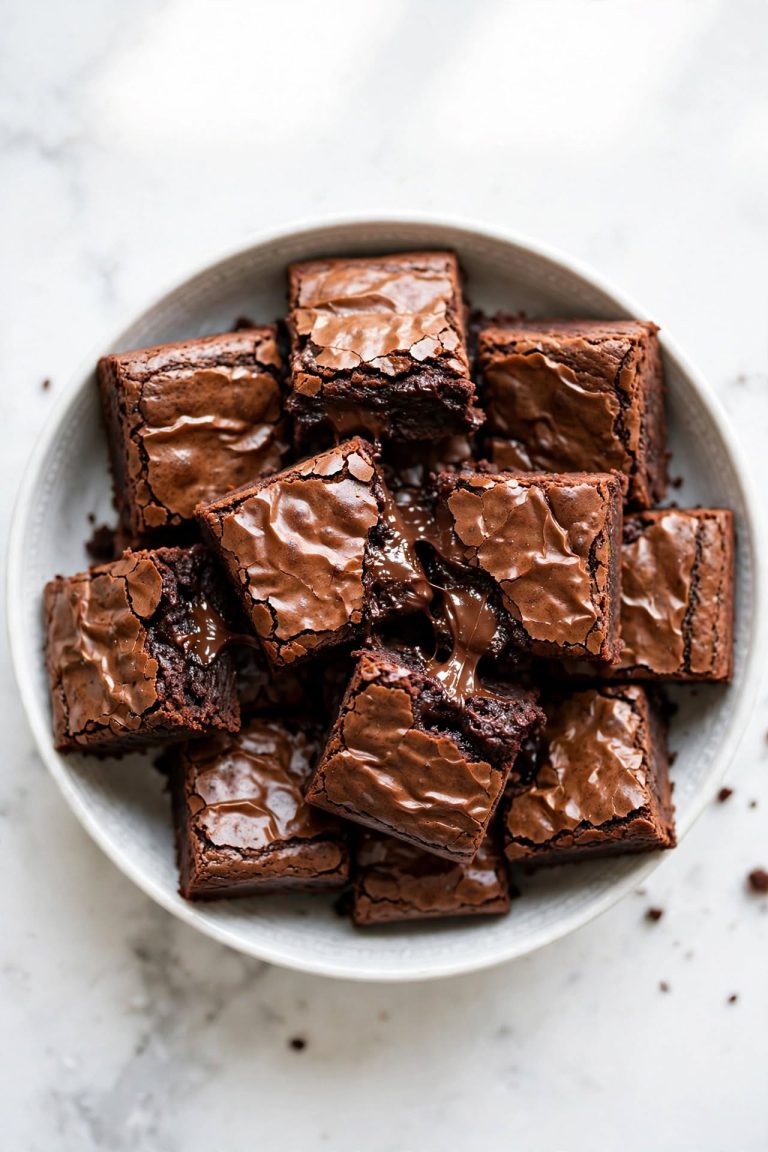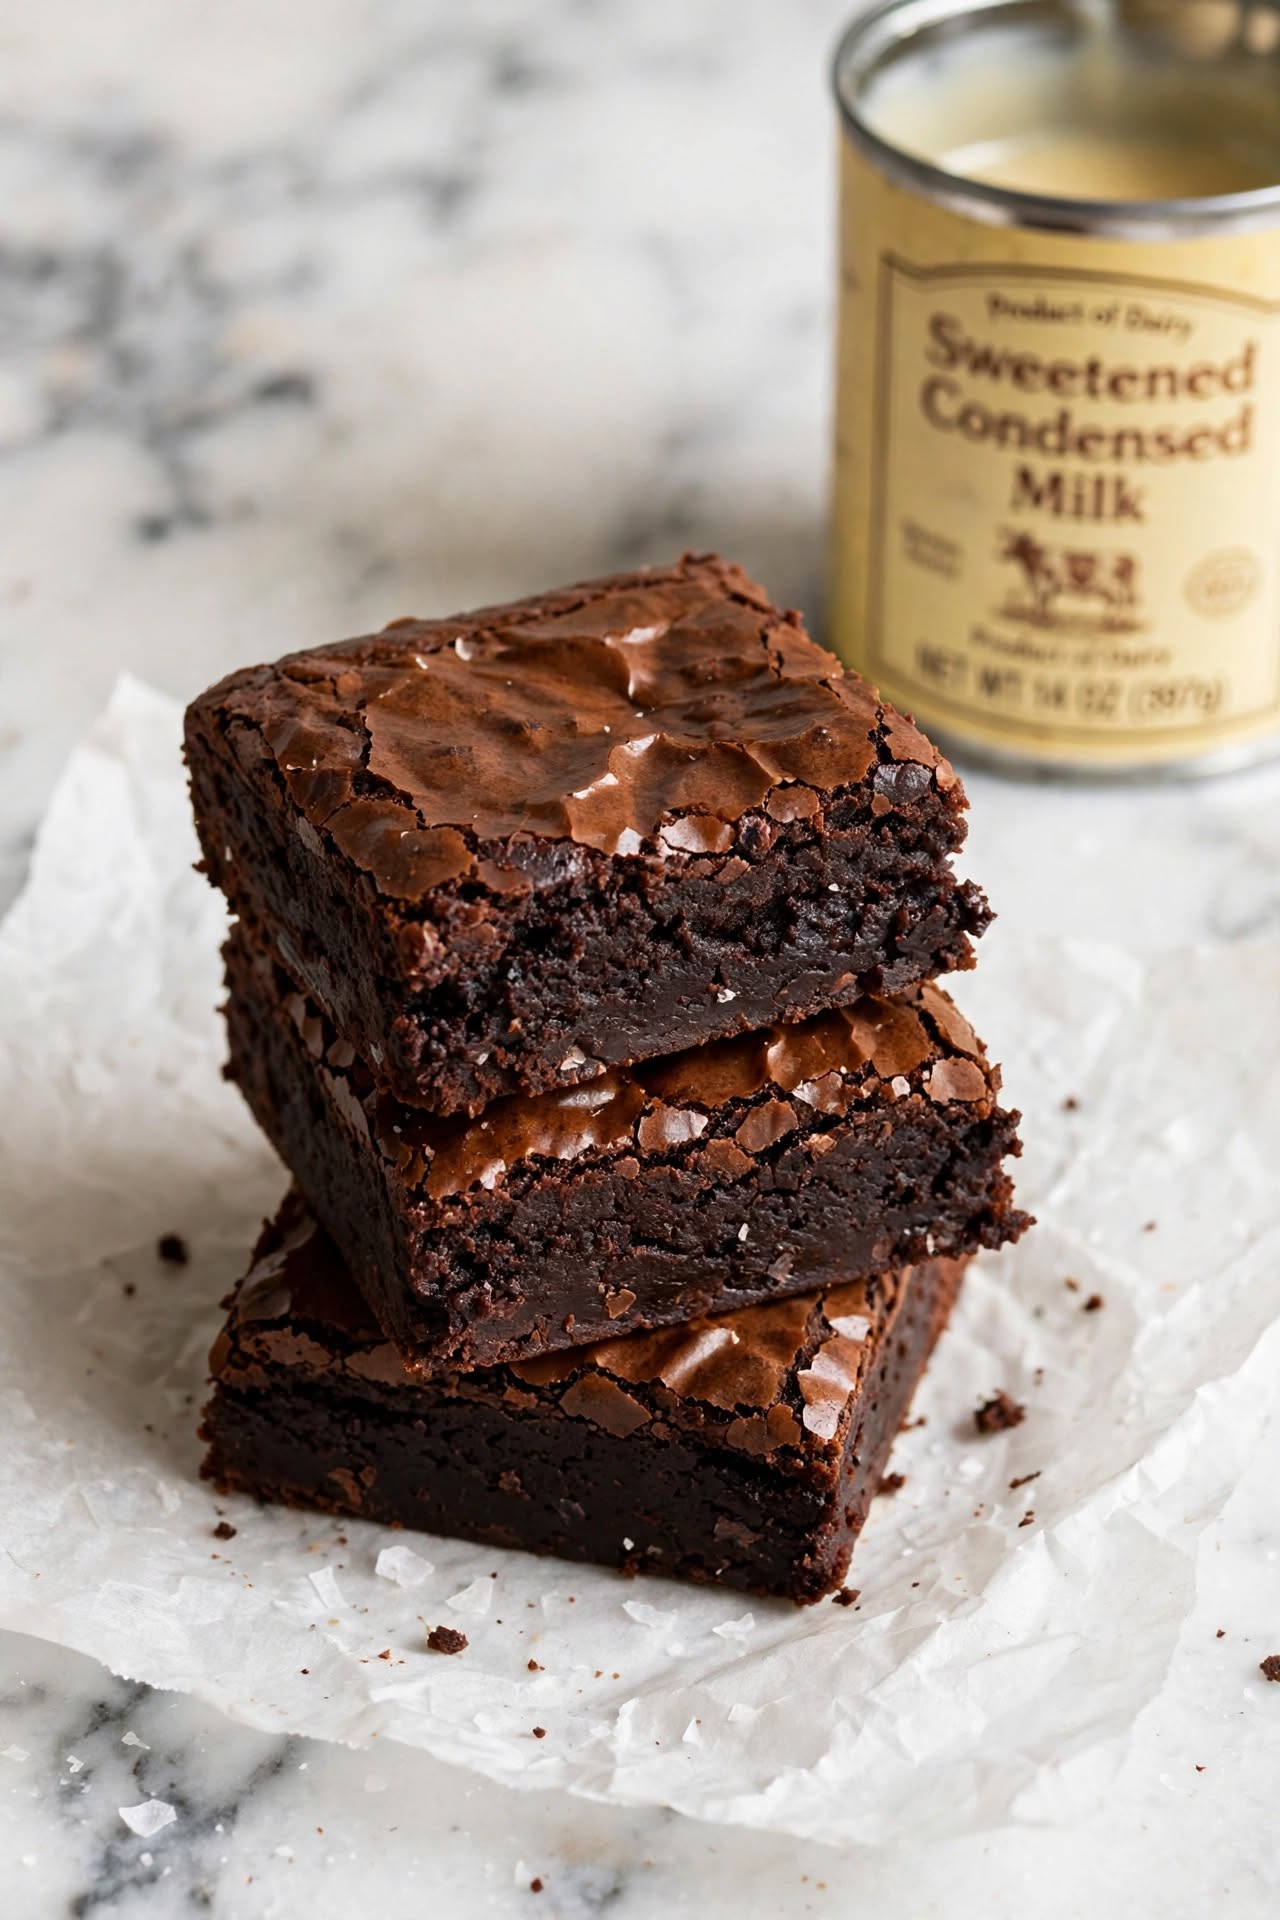
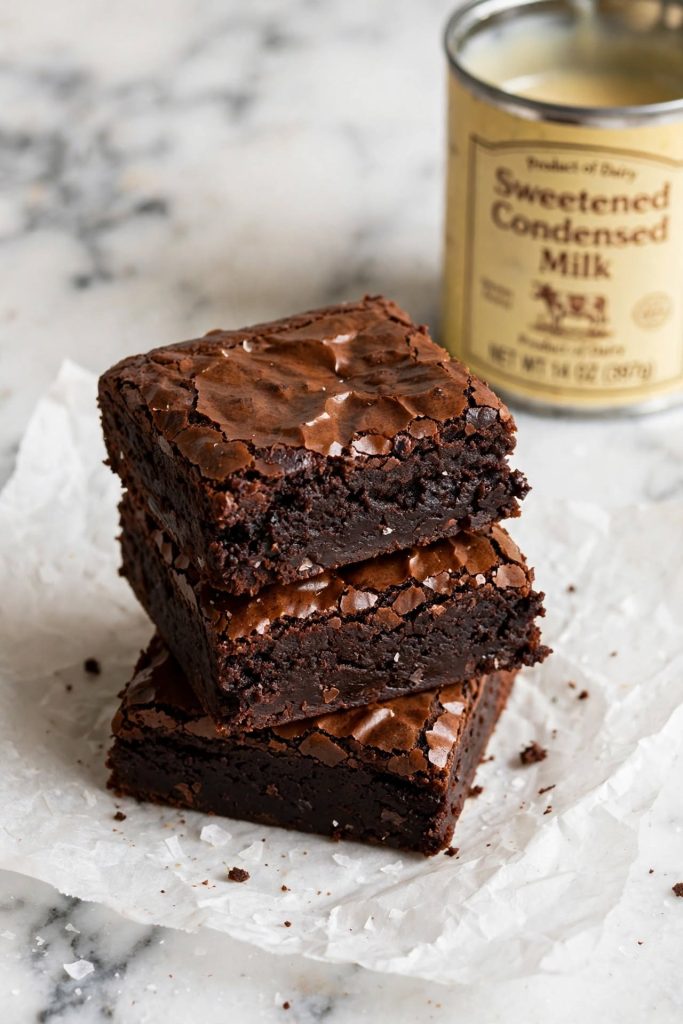
What are condensed milk brownies? Condensed milk brownies are a dense, fudgy chocolate bar made with a full can of sweetened condensed milk in place of sugar. The condensed milk contributes concentrated milk solids, natural caramel undertones, and intense moisture retention that produces a texture closer to a chocolate fudge bar than a traditional brownie. They bake in 25 to 30 minutes in an 8×8 inch pan and must be refrigerated before cutting. Best for bakers who want the richest, most indulgent brownie result possible.
These condensed milk brownies are unlike any brownie you have made before. A full can of sweetened condensed milk replaces the sugar entirely — and what it brings in return is a deeply rich, fudge-like texture, a subtle caramel undertone, and a moisture level that keeps every square soft and glossy for days. They are not a light, cakey brownie. They are an intensely indulgent, dense chocolate slab that needs to be refrigerated before it can be cut cleanly. If that is the result you are looking for, this is the recipe. I tested this multiple times before publishing to confirm the condensed milk-to-flour ratio, bake time, and cooling method produce the same dense, fudgy result across different ovens.
Why These Condensed Milk Brownies Work
The ingredient substitution at the centre of this recipe — condensed milk in place of sugar — is not just a swap. It is a complete change in the chemistry of the batter that produces a fundamentally different brownie.
- Condensed milk replaces sugar entirely — sweetened condensed milk is roughly 45% sugar by weight, plus concentrated milk solids and fat. It sweetens the brownie while also adding richness, moisture, and a subtle caramel flavour that granulated sugar simply cannot provide.
- Natural caramel undertone — the concentrated milk proteins in condensed milk undergo Maillard browning and caramelisation reactions during baking. The result is a toffee-like depth behind the chocolate that makes condensed milk brownies taste more complex than the ingredient list suggests.
- Extended moisture retention — the high sugar concentration of condensed milk is hygroscopic — it draws moisture from the air. This keeps condensed milk brownies soft and glossy for up to a week without drying out.
- Forgiving bake window — the sheer volume of concentrated sugar and fat in the batter means these brownies do not dry out as rapidly as standard brownies when slightly overbaked. The margin for error is wider than a standard recipe.
- Fudge-bar texture, not traditional brownie crumb — the condensed milk produces a denser, more cohesive crumb that firms as it cools. The finished result sits textually between a traditional brownie and a chocolate fudge slice — incredibly satisfying, intensely rich, and designed to be served cold rather than warm.
- Lower baking temperature — these bake at 170°C / 340°F rather than the standard 175°C. The higher sugar concentration from the condensed milk means the surface browns faster than a standard brownie batter — the lower temperature gives the centre time to set before the edges darken.
🔗 IL-1: “For more [fudgy chocolate dessert recipes] that push the richness envelope, our indulgent baking guide covers them all.” — Replace anchor text and URL before publishing.
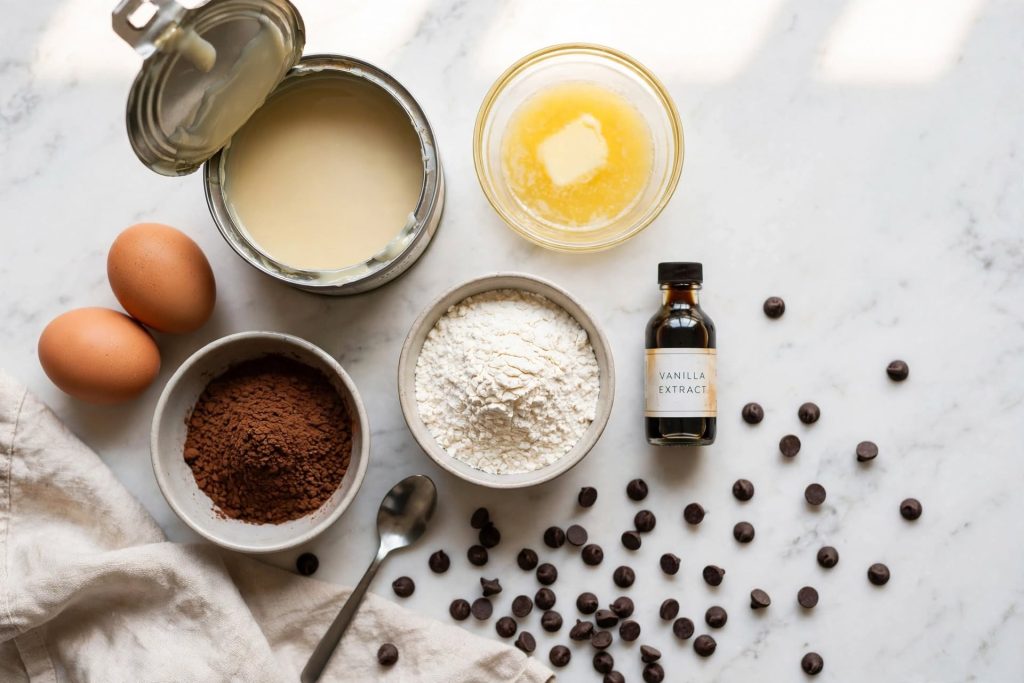
Ingredients for Condensed Milk Brownies
Nine ingredients, with the condensed milk doing more work than any other single component. Here is what each one does — and what to use if you need a substitution.
The Brownie Batter
| Ingredient | Amount | What It Does | Best Substitute + Impact |
|---|---|---|---|
| Sweetened condensed milk | 397g / 14oz (1 can) | Replaces sugar; provides richness, caramel depth, and extended moisture retention | No substitute — see The Condensed Milk Guide below for why evaporated milk does not work |
| Unsalted butter, melted | 115g / ½ cup | Fat base for flavour, richness, and workable batter consistency | Salted butter — omit added salt; coconut oil — produces a slightly different flavour with a subtle coconut note |
| Eggs, room temperature | 2 large | Binds the batter and adds structure to the set crumb | Can be omitted — see FAQ; texture becomes even more fudge-like without eggs |
| Vanilla extract | 1 tsp | Rounds out and deepens the chocolate and caramel flavours | Vanilla bean paste — same quantity; slightly stronger |
| Dutch-processed cocoa, sifted | 75g / ¾ cup | Primary chocolate flavour — alkalized for smooth, deep, non-bitter taste that balances the sweetness of the condensed milk | Natural cocoa — add ¼ tsp baking soda alongside baking powder; sharper, less balanced flavour |
| All-purpose flour | 90g / ¾ cup | Structure — the exact amount needed to produce the fudge-bar texture; more flour produces a cakey result, less produces a gooey one | Measure by weight (90g) — the most critical measurement in this recipe |
| Salt | ¼ tsp | Balances the considerable sweetness from the condensed milk and amplifies the chocolate | Increase to ½ tsp if you find the brownies too sweet — the extra salt cuts through the richness effectively |
| Baking powder | ¼ tsp | Minimal lift — without it the extremely dense batter produces a gummy, overly compressed centre | No substitute |
Optional Add-Ins
| Add-In | Amount | When to Add | What It Changes |
|---|---|---|---|
| Dark chocolate chips (70% cocoa) | 100g / ½ cup | Fold in after the flour; reserve some for the surface | Textural contrast and pockets of extra dark chocolate; the bitterness of 70% cocoa chips balances the sweetness of the condensed milk |
| Flaky sea salt | Pinch | Sprinkle onto the surface before baking | Cuts through the richness and provides a salty-sweet finish that many people find essential in a condensed milk brownie |
| Chopped hazelnuts or walnuts | 80g / ½ cup | Fold in after the flour | Crunchy textural contrast against the very dense crumb; toasted nuts work best |
Key Ingredient Notes
Sweetened condensed milk: Use a standard 397g / 14oz can — the most common size globally. Full-fat is essential. Low-fat condensed milk has a different sugar-to-fat ratio that produces a thinner batter and a less set, stickier finished brownie. Do not use light condensed milk, evaporated milk, or any product without the word “sweetened” on the label.
Dutch-processed cocoa: More important here than in a standard brownie recipe, because the condensed milk is very sweet and natural cocoa’s sharpness does not provide enough counterbalance. Dutch-processed cocoa’s smooth, deep flavour is what makes these brownies taste like rich dark chocolate rather than sweet chocolate cake. Hershey’s Special Dark, Droste, or Valrhona are all excellent options.
Butter: Melt gently and allow to cool slightly before combining with the condensed milk. Hot butter added directly to cold condensed milk can cause the condensed milk to thicken unevenly and create lumps in the batter.
Flour: The condensed milk provides so much moisture that this recipe uses the same lean flour ratio as a standard fudgy brownie — but the tolerance for deviation is even lower here. Extra flour produces a dry, cakey result that wastes the condensed milk’s potential. Too little flour and the brownies will not set. Weigh it (90g).
Equipment You Need
- 8×8 inch square metal baking pan
- Parchment paper with overhang on two sides
- Large mixing bowl and a sturdy spatula
- Whisk for the wet ingredient stage
- Kitchen scales (strongly recommended)
- Wire cooling rack
- A sharp knife for cutting — warm the blade under hot water and wipe dry between each cut
- Refrigerator space for the cooling and setting step
The Condensed Milk Guide
The most-asked question about this recipe is always a variant of “can I use X instead of sweetened condensed milk?” Here is the definitive breakdown.
🥛 The Four Types of Condensed / Concentrated Milk — and What Each Does in This Recipe
| Product | What It Is | Sugar Content | Use in This Recipe? |
|---|---|---|---|
| Sweetened condensed milk (Carnation, Eagle Brand, etc.) | Whole milk, water removed, sugar added — approximately 45% sugar by weight | High — this IS the sweetener | ✅ This is the product the recipe is designed for. Use it. |
| Evaporated milk (also called unsweetened condensed milk) | Whole milk with water removed — no sugar added | None — contains no sugar | ❌ Do not substitute. The batter will be too thin and unsweetened. Completely different product. |
| Coconut condensed milk (dairy-free) | Coconut milk, water removed, sugar added | High — similar to standard SCM | ✅ Works as a 1:1 substitute for a dairy-free / vegan version. Adds a subtle coconut note. Texture is slightly softer. |
| Dulce de leche | Sweetened condensed milk cooked until deeply caramelised — pourable, toffee-flavoured | Very high — also deeply caramelised | ⚠️ Partial substitute only. Use half dulce de leche + half condensed milk for a caramel-forward brownie. Full substitution makes the batter too thick and the flavour overwhelming. |
| Low-fat / light sweetened condensed milk | Reduced-fat version of SCM | High — similar to standard SCM | ⚠️ Not recommended. The reduced fat produces a stickier, less set brownie. Use full-fat for the best texture. |
The visual difference between sweetened condensed milk and evaporated milk: condensed milk pours slowly, looks thick and ivory, and leaves a sticky coating on the spoon. Evaporated milk pours freely, looks pale and watery, and has a much thinner consistency. If yours pours like cream, it is evaporated milk — do not proceed with the recipe.
How to Make Condensed Milk Brownies — Step by Step
The method is straightforward — the patience required is in the cooling and setting, not the mixing.
Step 1: Prepare Your Pan and Preheat the Oven
Preheat your oven to 170°C / 340°F (150°C fan) — note this is slightly lower than a standard brownie temperature. The higher sugar concentration from the condensed milk causes the surface to brown faster than a standard batter; the lower temperature gives the centre time to set. Line an 8×8 inch baking pan with parchment paper, leaving 5cm / 2 inches of overhang on two opposite sides. Lightly grease the pan before pressing in the lining.
What to look for: the lining should sit flat against the base and all four sides with no air pockets at the corners.
Step 2: Combine the Butter and Condensed Milk
Melt the butter gently and allow it to cool for 3 to 4 minutes until warm but not hot. Pour the entire can of sweetened condensed milk into a large mixing bowl. Add the warm melted butter and whisk together until smooth and fully combined. The mixture will look thick, pale, and slightly glossy.
What to look for: a uniform, smooth mixture with no streaks of butter visible. If the mixture looks lumpy or separated, the butter was too hot — whisk vigorously for another 30 seconds and it should come together.
Step 3: Add Eggs and Vanilla
⚠️ Critical step: Add the eggs one at a time, whisking for 20 to 30 seconds after each. The batter is already very thick from the condensed milk — the eggs loosen it slightly and add structure. Add the vanilla extract with the second egg. Do not overwhisk at this stage — you want the eggs incorporated, not beaten into an airy foam.
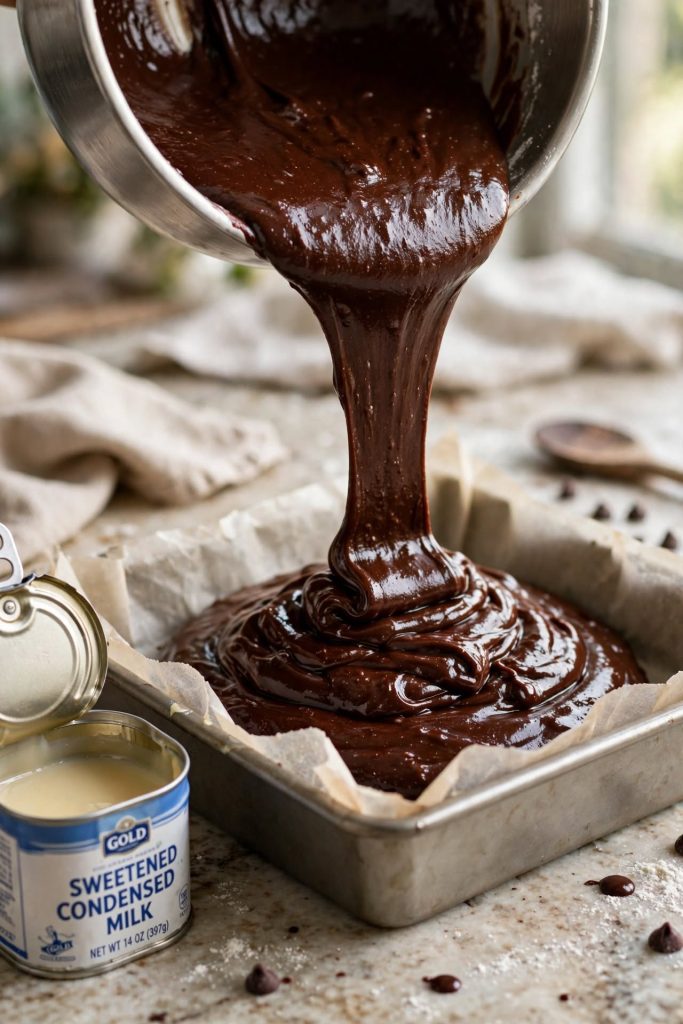
What to look for: a smooth, uniform, glossy batter that falls slowly from the whisk. It will be noticeably thicker than a standard brownie batter at this point.
Step 4: Fold in the Dry Ingredients
⚠️ Critical step: Sift the cocoa powder directly into the bowl, then add the flour, salt, and baking powder on top. Fold with a spatula until just combined — the batter will be significantly thicker than a standard brownie batter and will require more effort to fold. Stop the moment you no longer see dry streaks of flour or cocoa. If making condensed milk brownies for the first time, [our fudgy brownie technique guide] covers the folding method in more detail. [IL-2 — replace before publishing]
What to look for: a very thick, dense, dark batter that barely flows when you tilt the bowl. This is correct — the condensed milk makes the batter considerably thicker than a standard brownie batter. It will spread easily in the pan with a spatula.
Step 5: Add Any Mix-Ins
If using dark chocolate chips, fold them into the batter with 3 to 4 gentle strokes. Reserve a small handful to press onto the surface for visual interest. Other mix-ins (nuts, caramel pieces) also go in at this stage.
Note: because the batter is so thick, mix-ins distribute easily without clumping — 3 to 4 folds is all you need.
Step 6: Bake
Pour the batter into the prepared pan — it will require spreading with the spatula rather than self-levelling, as it is too thick to pour flat. Smooth to an even layer, ensuring the batter reaches the corners. Press the reserved chocolate chips onto the surface. Bake on the centre rack for 25 to 30 minutes. Do not open the oven in the first 20 minutes. Start checking at 25 minutes.
What to look for: the edges should be set and beginning to pull away from the sides of the pan. The surface should look dry and matte — not shiny or wet. The centre may still look very slightly underdone. Insert a toothpick between two chips — it should come out with a few moist crumbs but no liquid batter. The brownies will still feel very soft when you shake the pan — this is normal; they firm dramatically as they cool.
Step 7: Cool Completely and Cut
This step is non-negotiable and longer than for a standard brownie. Place the pan on a wire rack and cool at room temperature for at least 1 to 2 hours — the condensed milk needs this full time to begin setting. Then transfer the entire pan, uncovered, to the refrigerator for a minimum of 1 hour (2 hours is better, overnight is best). The brownie firms dramatically in the cold — what feels like it will never be cuttable at room temperature becomes a clean-slicing, fudge-like slab once cold. Lift out using the parchment overhang and cut into 16 squares with a sharp, warm knife wiped clean between each cut.
What to look for: after refrigeration, the slab should feel firm and slightly resistant to the touch — much firmer than a standard brownie. The surface should be glossy and slightly sticky to the touch, which is characteristic of condensed milk brownies and not a sign that they are underbaked.
The Science Behind Condensed Milk Brownies
Three things in this recipe are genuinely different from standard brownies — and all three are driven by the condensed milk.
Why Condensed Milk Replaces Sugar
Sweetened condensed milk is approximately 45% sugar by weight — a 397g can contains roughly 180g of sugar, more than the 200g that a standard brownie recipe calls for. But it also contains concentrated milk solids, milk fat, and residual water. That combination does more than sugar alone: the milk proteins undergo Maillard browning reactions during baking, which produce the caramel and toffee flavour notes you taste behind the chocolate. Granulated sugar cannot do this — it is a pure sweetener with no protein content and no capacity for Maillard reactions. The result of replacing sugar with condensed milk is a brownie that tastes significantly more complex than its ingredient list suggests.
Why These Brownies Are Denser Than Standard Brownies
Standard fudgy brownies are dense because they use melted rather than creamed butter, keeping air incorporation low. Condensed milk brownies are denser still because the condensed milk itself is a semi-solid, concentrated mass at room temperature — adding it to the batter creates a thicker, more viscous base than sugar dissolved in butter would produce. The higher sugar concentration also has a tenderising effect on the gluten network, which means less structural resistance from the flour and a more cohesive, fudge-like set when cold. This is the texture you are after — it is not underbaked, it is condensed-milk-baked.
Why They Must Cool Completely Before Cutting
High-sugar confections like fudge and caramel firm as their sugar cools and the sucrose molecules partially re-crystallise into a more structured arrangement. Condensed milk brownies undergo a version of this same process — the very high sugar content from the condensed milk means the crumb only reaches its full structural integrity once the sugar has fully cooled and set. At room temperature immediately after baking, the interior is soft enough to deform under a knife. After refrigeration, the sugar and fat have re-solidified completely, producing a firm, clean-slicing slab. Cutting before this happens produces crushed, smeared squares rather than clean cuts.
Tips for the Best Results
Use Full-Fat Sweetened Condensed Milk
Low-fat condensed milk has a modified fat-to-sugar ratio that produces a stickier, less set brownie with a slightly gummy texture even after refrigeration. The fat in full-fat condensed milk contributes to the firm, fudge-like set of the cooled brownie. Full-fat is worth seeking out — it is the most commonly available version and is stocked in every major supermarket.
Sift the Cocoa Powder Directly Into the Batter
Dutch-processed cocoa clumps easily when it contacts the thick, moist condensed milk batter. Sifting it directly into the bowl — rather than pre-mixing it with the flour — breaks up any clumps before they contact the batter and ensures even colour and flavour throughout every square. If you do find a cocoa clump in the finished batter, break it up with the back of the spatula before pouring into the pan.
Do Not Overbake — The Visual Cues Are Different
Condensed milk brownies do not brown and firm the way standard brownies do. The surface should look dry and matte when done — not shiny and wet (underbaked) but not dark and pulling away significantly (overbaked). The centre will still look slightly underdone and the pan will still wobble slightly — this is correct. Trust the moist-crumbs toothpick test and pull at that point, even if every instinct says to give it another 5 minutes.
Refrigerate Before Cutting for Clean Slices
Room-temperature cutting of condensed milk brownies always produces smeared, sticky edges. The refrigeration step is not optional — it is the stage where the brownies reach their final texture. A minimum of 1 hour, but 2 hours or overnight is better. The longer they refrigerate, the cleaner the slice. Warm your knife under hot running water, wipe it dry, make one cut, wipe again. This is the difference between a professional-looking slice and a sticky mess.
Add Dark Chocolate Chips for Texture Contrast
The dense, uniform texture of condensed milk brownies benefits significantly from a counterpoint. Dark chocolate chips (70% cocoa minimum) melt partially during baking and re-solidify as pockets of slightly firmer, less sweet dark chocolate throughout the brownie crumb. They provide textural interest against the fudge-like uniformity of the base and their bitterness balances the sweetness of the condensed milk. This is the single add-in most worth using in this recipe.
Let Them Rest Overnight for the Best Flavour
Condensed milk brownies taste better on day 2 than day 1. The caramel and chocolate flavours meld and deepen overnight in the refrigerator, and the texture firms to its best cutting consistency. Baking these brownies the day before you plan to serve them is not just convenient — it produces a genuinely better result. Wrap the uncut slab in the pan with cling film and refrigerate overnight for the best possible outcome.
Common Mistakes to Avoid
These are the six errors that consistently produce condensed milk brownies that are too gooey, too sweet, or impossible to cut cleanly.
❌ Substituting Evaporated Milk for Condensed Milk
Evaporated milk and sweetened condensed milk are not interchangeable. Evaporated milk contains no sugar — using it produces a thin, unsweetened batter that bakes into a dry, crumbly chocolate bar with no richness and no caramel undertone. The can labels look similar but the products are completely different. Always check for the word “sweetened” on the label before purchasing.
❌ Overbaking
Overbaked condensed milk brownies turn hard and crumbly after cooling — the opposite of the fudge-like result the recipe is designed to produce. Because condensed milk is already dark in colour, the brownie surface looks “done” earlier than a standard brownie would. Do not judge bake time by colour — judge it by the moist-crumbs toothpick test and the matte-but-not-dry surface appearance. For more guides on this technique, [our brownie troubleshooting guide] covers every bake time variable in detail. [IL-3 — replace before publishing]
❌ Cutting Before They Are Fully Cold
Cutting condensed milk brownies while warm — even lukewarm — produces smeared, deformed slices that stick to the knife and to each other. The high sugar and fat content from the condensed milk needs a full cold-set before the structure can support a clean cut. Two hours in the refrigerator is the minimum. If your brownies are smearing when you cut them, they are not cold enough.
❌ Using Natural Cocoa Instead of Dutch-Processed
The sweetness of condensed milk needs a cocoa with enough depth and smoothness to balance it. Natural cocoa’s sharpness and acidity do not provide adequate counterbalance — the result is a brownie that tastes both very sweet and slightly harsh. Dutch-processed cocoa’s smooth, dark flavour is what makes condensed milk brownies taste like high-quality chocolate rather than sweet cocoa powder.
❌ Adding Extra Sugar to the Batter
The condensed milk already provides more than enough sweetness — a full can contains approximately 180g of sugar. Adding additional granulated sugar produces an overwhelmingly sweet brownie that most people find unpleasant after one square. The recipe as written is already on the sweet side for many palates; the salt and Dutch-processed cocoa are calibrated to balance that sweetness. Do not add sugar.
❌ Skipping the Pan Lining
Condensed milk brownies are significantly stickier than standard brownies because of the high sugar content. An unlined pan will result in the brownies bonding permanently to the base and sides during baking — no amount of spatula work will recover them cleanly. The parchment overhang is essential: it is the only reliable way to lift the entire slab out of the pan without breaking it into pieces.
Variations Worth Trying
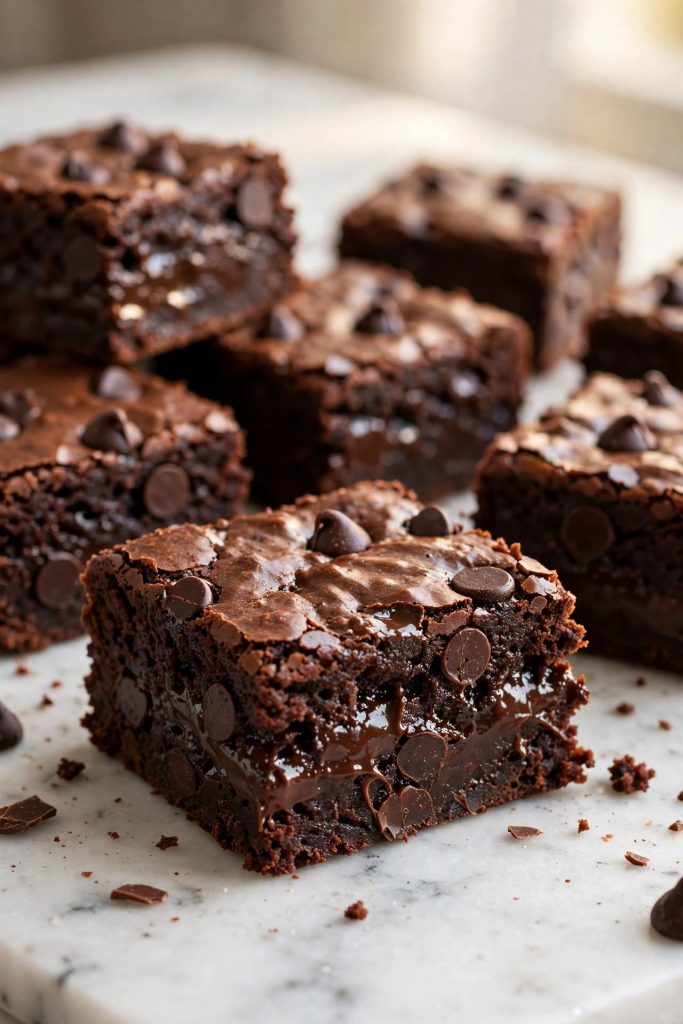
Condensed Milk Brownies with Chocolate Chips
What changes: Fold 100g / ½ cup of 70% dark chocolate chips into the batter after the flour. Reserve a handful to press into the surface before baking.
When: After Step 4, before pouring into the pan.
Result: The most recommended version of this recipe. Dark chocolate chips add bitterness and textural pockets that counterbalance the sweetness of the condensed milk and break the uniformity of the very dense crumb. The surface chips caramelise slightly during baking and add visual interest.
Dulce de Leche Swirl Brownies
What changes: Use a half-and-half mixture of sweetened condensed milk and dulce de leche (about 200g each). After pouring the batter into the pan, dollop 3 to 4 tablespoons of extra dulce de leche across the surface and swirl with a skewer.
When: Mix the dulce de leche with the condensed milk at Step 2; add the surface swirl after the batter is in the pan.
Result: A deeply caramelised, toffee-forward brownie with a burnished caramel swirl on the surface. Richer and more complex than the standard version. The dulce de leche swirl caramelises further during baking — do not be alarmed by the deep brown colour of the swirl at the surface.
Coconut Condensed Milk Brownies (Vegan Option)
What changes: Replace the sweetened condensed milk with coconut sweetened condensed milk (1:1 swap). Replace the butter with coconut oil or vegan butter. Omit the eggs and add an extra 2 tablespoons of flour.
When: At the butter-and-condensed-milk stage in Step 2.
Result: A fully dairy-free, egg-free condensed milk brownie with a subtle coconut undertone. The texture is slightly softer and stickier than the dairy version — refrigerating for at least 2 hours before cutting is even more important. Use vegan dark chocolate chips for a fully plant-based batch.
Condensed Milk Caramel Brownies
What changes: After spreading the batter in the pan, drizzle 3 to 4 tablespoons of thick salted caramel sauce over the surface. Use a skewer to create a swirl. Sprinkle with flaky sea salt before baking.
When: After the batter is in the pan, immediately before it goes into the oven.
Result: The caramel deepens the existing caramel undertones of the condensed milk base and adds a visible, sticky caramel layer on the surface. The sea salt cuts through the combined sweetness of the caramel and condensed milk. Use a thick caramel — a runny caramel will sink into the batter.
Three-Ingredient Condensed Milk Brownies
What changes: Strip the recipe back to its absolute minimum: 1 can sweetened condensed milk + 75g / ¾ cup Dutch-processed cocoa + 115g melted butter. No eggs, no flour, no baking powder.
When: This is a different, simpler recipe — not a modification of the base version.
Result: An intensely fudgy, almost ganache-like chocolate bar that is more confection than brownie. It must be refrigerated for at least 3 to 4 hours to set firmly enough to cut, and is best served cold. The texture is closer to a no-bake chocolate fudge than a baked brownie, but the caramel notes from the condensed milk are even more pronounced without the flour and eggs diluting them.
How to Store
Room Temperature
Condensed milk brownies keep for best quality for up to 4 days at room temperature in an airtight container. The high sugar content from the condensed milk acts as a natural preservative, extending the shelf life beyond a standard brownie. Store in a single layer with parchment paper between layers — the sticky surface means they will adhere to each other if stacked without separation.
In warm kitchens (above 22°C / 72°F), move to the refrigerator after 2 days — the high fat content from the condensed milk means these brownies can become too soft at warm temperatures and lose the clean-cut edges that make them look their best.
Refrigerator
Condensed milk brownies keep for best quality for up to 10 days refrigerated in an airtight container — the longest shelf life of any brownie recipe. Cold temperatures firm the fudge-like crumb to its best consistency. Condensed milk brownies served cold are genuinely better than at room temperature: the caramel notes are more pronounced, the texture is more satisfying, and the sweetness is slightly less forward.
Bring to room temperature for 10 minutes before serving if you prefer a slightly softer texture — but do not microwave, as the high sugar content will make them extremely hot very quickly and the texture becomes gummy when reheated.
Freezer — Complete Guide
Can you freeze condensed milk brownies? Yes — but the refrigeration step before freezing is critical.
Correct method: cool at room temperature for 2 hours, then refrigerate overnight to fully set the texture. Cut into squares, wrap each individually in cling film, and place in a zip-lock freezer bag. Best quality for up to 3 months.
To thaw: move to the refrigerator and thaw overnight — do not thaw at room temperature. The high sugar concentration can cause the surface to become unpleasantly sticky during room-temperature thawing. Thawed from the refrigerator, the texture is very close to freshly baked.
Do not freeze the three-ingredient no-flour version — the ganache-like texture does not survive the freeze-thaw cycle well and becomes grainy.
Use your judgment — if any brownie develops mould or smells off after extended storage, discard it. The high sugar content delays but does not prevent spoilage indefinitely.
🔗 IL-4: “If you enjoy making rich dessert bars in batches to freeze ahead, [our freezer-friendly dessert guide] covers every recipe that stores this well.” — Replace before publishing.
How to Serve
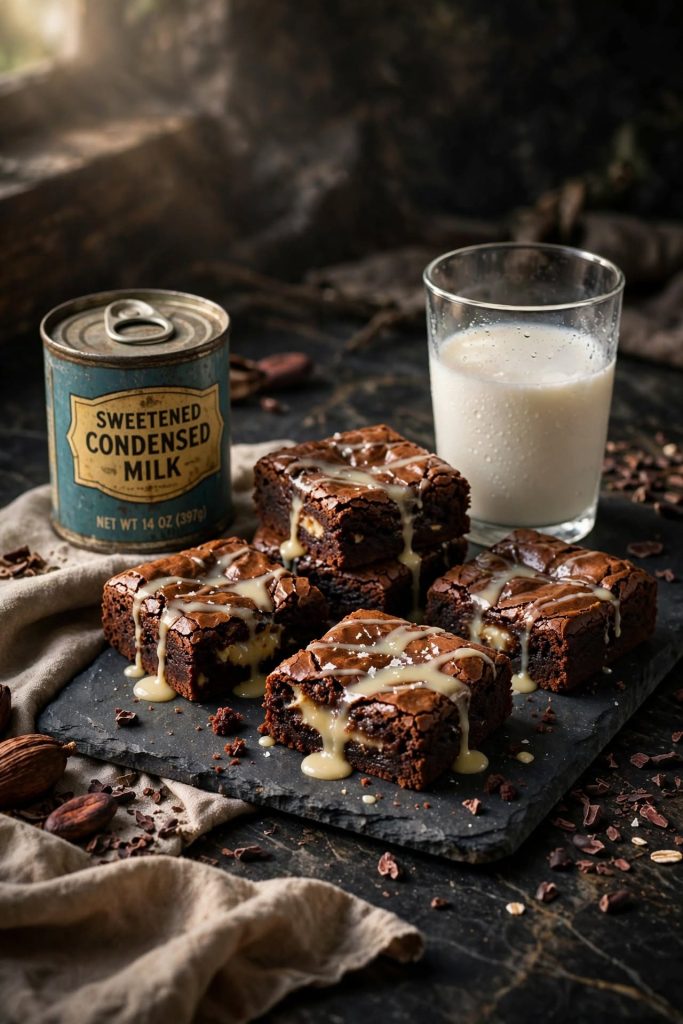
Classic Ways to Serve
- Cold from the refrigerator — this is the definitive serving temperature for condensed milk brownies. The firm, fudge-like texture is at its best when cold, and the caramel notes are more pronounced
- Alongside a cold glass of whole milk or a strong black coffee — the bitterness of coffee cuts through the richness of the condensed milk base in a way that balances the sweetness perfectly
- Sliced thin (2cm squares) and served on a platter alongside other dessert bars — condensed milk brownies are very rich and smaller portions are often more appropriate than a standard brownie square
Upgraded and Occasion-Worthy
- Serve alongside a small scoop of vanilla bean ice cream and a drizzle of salted caramel — the cold ice cream against the dense fudgy brownie creates a textural contrast that elevates both components
- Dust cold brownies with flaky sea salt and cocoa powder immediately before serving for an elegant, dessert-bar presentation with no extra equipment
- Layer small brownie cubes in a glass with whipped cream and crushed shortbread for a condensed milk brownie trifle — the density of the brownie holds its shape in the layers without becoming soggy
Pairs well with: cold milk, strong black coffee, espresso, salted caramel ice cream, vanilla bean ice cream, or a flute of dessert wine.
Best occasions: dinner party desserts, holiday gifting (long shelf life makes these ideal), bake sales, indulgent after-dinner treats, and any occasion where a very rich, deeply chocolatey dessert bar is exactly what is called for.
Frequently Asked Questions
Can I use evaporated milk instead of condensed milk?
No — evaporated milk and sweetened condensed milk are completely different products. Evaporated milk has water removed but no sugar added, while sweetened condensed milk contains approximately 45% sugar by weight. Using evaporated milk produces a thin, unsweetened batter that bakes into a dry, crumbly bar with none of the richness or caramel undertone that defines condensed milk brownies. Always check for “sweetened” on the label.
Why are my condensed milk brownies too gooey?
Too gooey after cooling almost always means underbaked. Unlike standard brownies where a gooey centre is the target, condensed milk brownies need to reach a specific set point to firm properly. The toothpick should come out with moist crumbs, not wet sticky batter. If still gooey after 1 hour of cooling, they needed 2 to 3 more minutes in the oven. Refrigerating for 1 to 2 hours also firms the texture significantly.
How do I know when condensed milk brownies are done?
The edges should be set and beginning to pull away from the pan. The surface should look dry and matte — not shiny or wet-looking. A toothpick inserted into the centre should come out with a few moist crumbs but no liquid batter. The centre may still look slightly soft, but it will firm considerably as it cools and refrigerates. Start checking at 25 minutes.
Can I make condensed milk brownies ahead of time?
Yes — and they are genuinely better made a day ahead. The dense, fudge-like texture firms up significantly overnight in the refrigerator, making slicing much cleaner. The caramel and chocolate flavours also deepen with resting time. Bake, cool completely at room temperature, then refrigerate overnight uncut. Cut the next day for the best texture and cleanest slices.
How long do condensed milk brownies last?
Best quality for up to 4 days at room temperature or up to 10 days refrigerated. The high sugar content from the condensed milk acts as a natural preservative — these last significantly longer than standard brownies. They are at their best on days 2 and 3. If you enjoyed making these, [our dulce de leche fudge recipe] uses a similar condensed milk base in a no-bake format. [IL-5 — replace before publishing]
Can I freeze condensed milk brownies?
Yes. Cool completely and refrigerate overnight before freezing. Cut into squares, wrap each individually in cling film, and place in a zip-lock freezer bag. Best quality for up to 3 months. Thaw overnight in the refrigerator — not at room temperature, which can make the surface sticky and uneven.
Do condensed milk brownies need eggs?
No — eggs can be omitted. Without eggs, the texture becomes even more fudge-like and dense, closer to a set chocolate fudge slice than a traditional brownie. Omit both eggs and add an extra 2 tablespoons of flour to compensate for the reduced structure. The three-ingredient version in the Variations section takes this concept to its furthest point.
Can I double this recipe?
Yes. Use 2 cans (794g / 28oz total) of sweetened condensed milk and double every other ingredient. Bake in a 9×13 inch pan. The bake time increases to approximately 32 to 38 minutes — start checking at 30 minutes. The cooling and refrigeration steps are even more important at double quantity — allow at least 2 hours at room temperature and 2 hours refrigerated before cutting.
Why do my condensed milk brownies taste too sweet?
Three adjustments reduce the sweetness: use Dutch-processed cocoa (its depth balances the sweetness better than natural cocoa); increase salt to ½ tsp; use 70% cocoa dark chocolate chips rather than semi-sweet. Serving them cold from the refrigerator also reduces perceived sweetness compared to room temperature.
Can I make these condensed milk brownies gluten-free?
Yes. Replace the all-purpose flour with an equal weight of a 1:1 gluten-free flour blend containing xanthan gum. The already-dense texture of condensed milk brownies makes them more forgiving of gluten-free substitution than standard brownies — the condensed milk provides so much moisture and binding that the structural role of gluten is less critical. Add 2 to 3 extra minutes to the bake time and refrigerate for at least 2 hours before cutting.
What does condensed milk do to brownies?
Sweetened condensed milk replaces both the sugar and some of the liquid in a standard brownie recipe. Its concentrated milk solids add richness and a natural caramel undertone through Maillard browning reactions during baking. The high sugar concentration keeps the brownie moist for longer than a standard recipe. The result is a denser, fudgier, more indulgent brownie with a texture that sits between a traditional brownie and a chocolate fudge bar.
Can I use coconut condensed milk?
Yes. Coconut sweetened condensed milk (made from coconut milk) substitutes 1:1 for standard sweetened condensed milk. The result is a dairy-free brownie with a subtle coconut undertone. The texture is slightly softer than the dairy version and may require 2 to 3 extra minutes of bake time. Pair with dark chocolate chips for a chocolate-coconut flavour combination.

Condensed Milk Brownies
Ingredients
Equipment
Method
- Preheat oven to 170°C / 340°F (150°C fan) — note: lower than standard brownies. Line an 8×8 inch baking pan with parchment paper, leaving overhang on two sides.
- Melt the butter gently and allow to cool 3 to 4 minutes. Pour the condensed milk into a large bowl. Add the warm melted butter and whisk until smooth and combined.
- Add the eggs one at a time, whisking for 20 to 30 seconds after each. Add the vanilla extract with the second egg. Do not overwhisk.
- Sift in the cocoa powder, then add the flour, salt, and baking powder. Fold with a spatula until just combined — 12 to 15 folds. Stop the moment you no longer see dry streaks. The batter will be very thick.
- Fold in the chocolate chips if using, reserving a handful for the surface. Pour the batter into the prepared pan — spread with the spatula as it is too thick to self-level. Press reserved chips onto the surface.
- Bake on the centre rack for 25 to 30 minutes. The edges should be set, the surface dry and matte, and a toothpick between chips should come out with moist crumbs. The pan will still wobble slightly — this is correct.
- Cool at room temperature for at least 1 to 2 hours. Refrigerate for a minimum of 1 hour (overnight is best). Lift out using the parchment overhang. Cut into 16 squares with a warm, dry knife wiped clean between each cut.
Notes
- Condensed milk: Must be sweetened condensed milk — not evaporated milk. Full-fat only. The labels look similar — check for “sweetened”.
- Bake temperature: 170°C / 340°F — slightly lower than standard to prevent the surface overbrowning before the centre sets.
- Too gooey? Return to the oven for 2 to 3 more minutes. Refrigerate for at least 2 hours before cutting.
- Too sweet? Increase salt to ½ tsp, use 70% cocoa chocolate chips, and serve cold.
- Best served: cold from the refrigerator. Better on day 2 than day 1.
- For a doubled batch: Use a 9×13 inch pan; bake time increases to 32 to 38 minutes.
More Fudgy Chocolate Recipes You Will Love
- Dulce de Leche Fudge — the same condensed milk base taken further into caramelisation territory; a no-bake set fudge that uses dulce de leche for a deeply toffee-forward flavour.
- One Bowl Brownies — the standard brownie recipe made with granulated sugar instead of condensed milk; a lighter, more traditional brownie crumb for those who prefer the classic result.
- No-Bake Chocolate Slice — all the condensed milk richness of these brownies in a refrigerator-set bar format with crushed biscuits; no oven required and ready in under 30 minutes.
- Chocolate Fudge — the traditional stovetop fudge that condensed milk brownies approximate in texture; made with condensed milk, chocolate, and butter, set in the refrigerator in under 2 hours.
Did you make these condensed milk brownies? Leave a ⭐⭐⭐⭐⭐ rating below and tell me in the comments how they turned out — especially whether you tried the dark chocolate chip version. I read every comment and would love to hear from you.